To use a scanner transparency adapter for film, we start by ensuring our flatbed scanner is powered off. Next, we install the transparency unit and perfectly align it. We then select the scanning presets based on the film type, whether it’s negative or positive. Scanning at a resolution of 300 dpi is ideal for standard prints. Finally, we check for common issues like exposure flaws and keep our adapter clean. There’s much more we can explore on this topic!
Key Takeaways
- Ensure the scanner is powered off and unplugged before setting up the Transparency Adapter on the scanner bed.
- Align the adapter’s hinge pins and secure screws to properly install it for film scanning.
- Select the appropriate scanning preset based on the type of film you are digitizing, such as B&W negative or color transparency.
- Calibrate the scanner to optimize settings for accurate color and quality during the scanning process.
- Carefully load your film into the adapter, ensuring there are no obstructions before starting the scanning.
Understanding the Transparency Adapter and Its Purpose
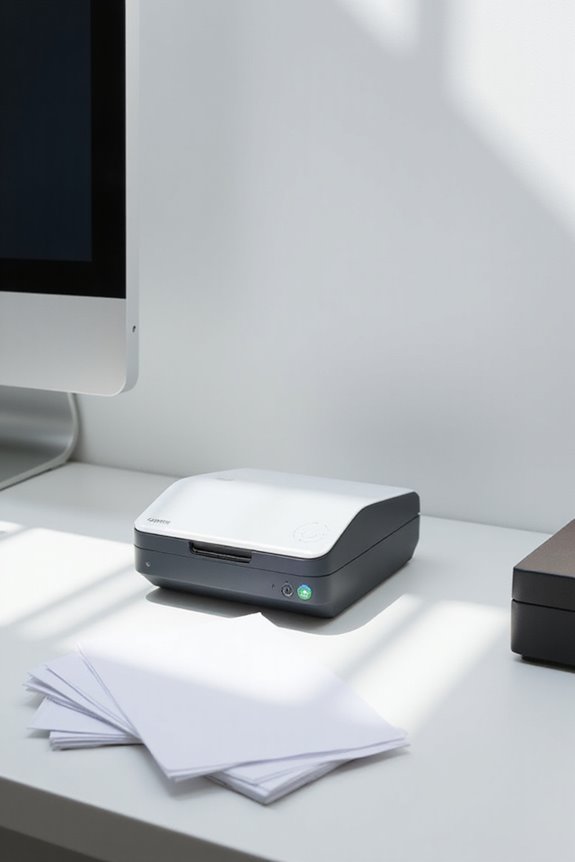
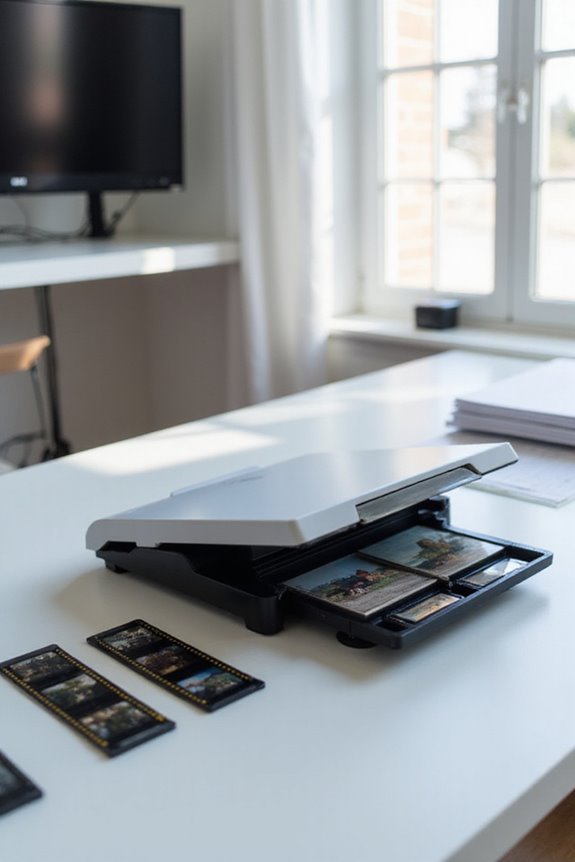
A transparency adapter is an essential tool for anyone looking to digitize film negatives, slides, or other transparent media using a flatbed scanner. This adapter functionality allows light to shine through the film onto the scanner sensor, capturing detailed images unlike standard reflective scanning. By converting our flatbed scanner, we can switch from capturing opaque materials to transparencies, ensuring more accurate color and resolution during film digitization. The adapter often includes frame mounts to hold various film sizes securely. It enhances scanned image quality by providing uniform backlighting. We save time and resources by utilizing our existing scanners, making transparent film digitization accessible, whether we’re hobbyists or professionals preserving cherished memories digitally. Additionally, the built-in transparency unit of some scanners, like the Epson V600, makes this process even more efficient by simplifying the scanning of slides and film.
Setting Up Your Flatbed Scanner
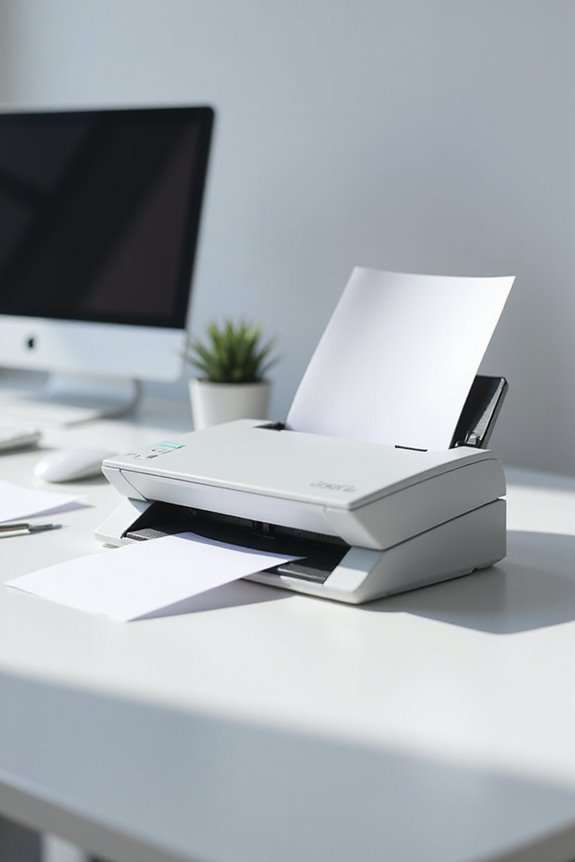
To start setting up our flatbed scanner for transparency scanning, we should first confirm it’s powered off and unplugged. Next, let’s carefully remove the document cover to access the scanner bed. To enable ideal scanning, we’ll take out the reflective white board and install the Transparency Unit by aligning the hinge pins and securing the screws. Once that’s done, we’ll connect the TPU securely. Now, we need to choose the scanning presets based on film type, verifying we’re set for B&W negative or color transparency. High optical resolution, usually 3200 dpi or more, enhances detail. Additionally, performing a scanner calibration verifies our settings are accurate and ready for those striking images we’ll create together.
Types of Film Materials You Can Scan
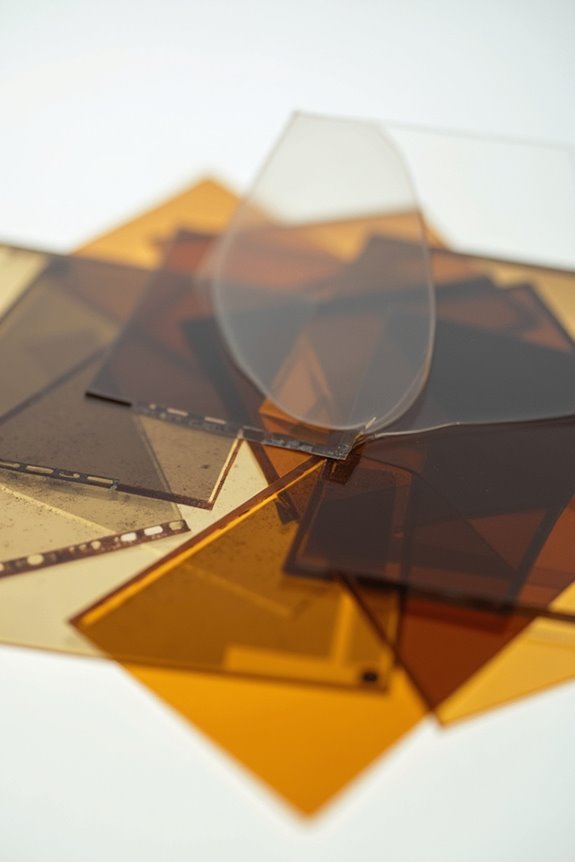
Understanding the types of film materials we can scan is essential for maximizing our scanner’s potential. We’ll encounter positive film, like color transparency films such as Velvia, Astia, and Provia, which provide vibrant colors and detail. Then there’s color negative film, commonly used for everyday photography, requiring software to invert colors during scanning. Black and white films may be negative or positive, focusing on tonal detail. Microfilm types, like 16mm and 35mm, are great for archiving documents. Finally, we shouldn’t overlook specialized films, including large-format and fragile materials needing high-end scanners. By knowing these film types, we can choose our scanning setups wisely and achieve outstanding results. Additionally, selecting a scanner that offers high resolution options can significantly enhance the quality of your scanned images.
Quality Considerations When Scanning Film
Quality matters considerably when we’re scanning film. To achieve the best results, we should scan at our scanner’s highest effective resolution rather than maximum optical dpi, to prevent unnecessary large file sizes. A resolution of about 300 dpi usually works well for standard 5×7 prints. Additionally, dynamic range is vital; it allows us to capture shadow and highlight details faithfully. Choosing a dedicated film scanner often provides a better dynamic range than cheaper flatbed models. We also need to balance resolution with file size, as higher dynamic range scans create larger files that may require specialized handling. By ensuring proper settings and using quality adapters, we can preserve the intricate details of our beloved films efficiently. Moreover, utilizing scanners like the Epson FastFoto FF-680W can enhance scanning efficiency and image quality, making the process smoother.
Step-by-Step Guide to Using the Adapter

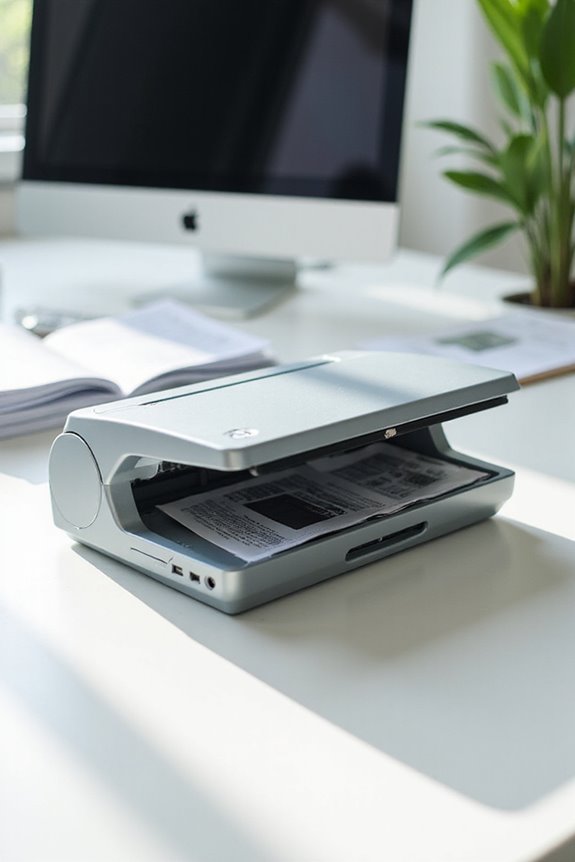
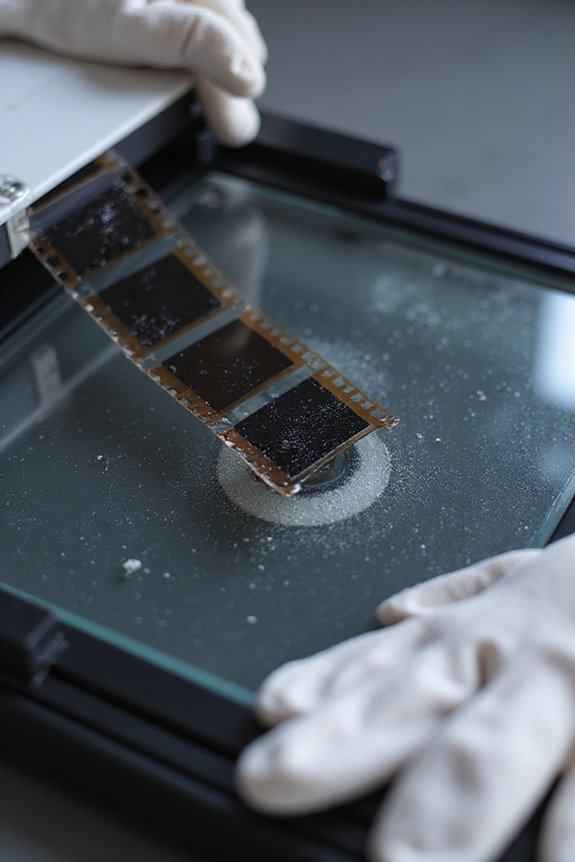
Getting started with the adapter for your scanner can seem overwhelming, but by breaking it down into clear steps, we can master the process efficiently. First, let’s verify our scanner is calibrated and clean. We’ll use gloves to handle the film to avoid fingerprints. Next, we need to attach the film holder, loading our film with the shiny side down and emulsion up. Then, we’ll align the film holder to the arrow marks on the document glass. After that, we connect the film adapter’s cable to the scanner’s rear panel and power it up. Finally, we’ll open our scanner software, remove any reflective mats, and adjust the scan resolution for our desired quality. Following these scanning tips will help achieve the best results! Additionally, utilizing Digital ICE technology can enhance the quality of your scans by removing dust and scratches.
Maintaining Your Transparency Adapter
Maintaining your transparency adapter is essential for achieving ideal scan quality and prolonging the life of the equipment. We should regularly clean glass surfaces using lint-free cloths to avoid scratches, guaranteeing both sides are spotless. Employ cleaning techniques like using mild glass cleaners sparingly for removing fingerprints. When it comes to storage, let’s keep the adapter flat and covered to prevent dust build-up. Avoid stacking heavy objects on it to reduce the risk of warping or breaking. To minimize fingerprints, handle the adapter by the edges or with cotton gloves. Storing it in a dry, cool environment will further prevent moisture damage. By following these tips, we can guarantee our transparency adapter remains in excellent condition for many scans to come! Additionally, regular maintenance of your scanner, including strong security features, is vital to ensure the overall efficiency and longevity of your scanning equipment.
Common Challenges and Solutions
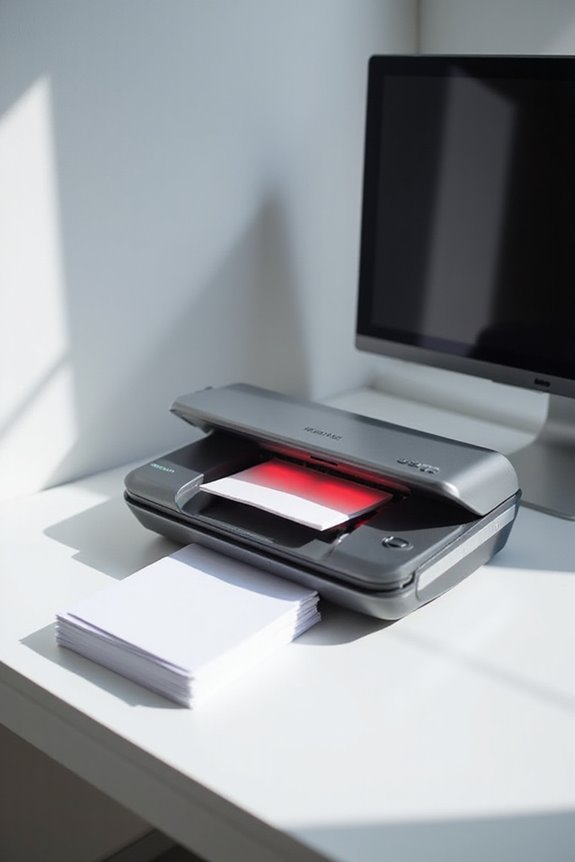
While scanning transparencies can yield stunning results, we often encounter challenges that can affect quality. Issues like light exposure can lead to flaws—overexposure causes thin film density, while light leaks create streaks and fogging. To combat chemical contamination, we must adhere to proper agitation rates and use fresh chemicals, preventing uneven development. Film handling is crucial; misplacing stickers can obstruct images, so we’ll always inspect our film before loading. Equipment maintenance can’t be overlooked either; contaminated scanners can introduce artifacts. Finally, we should regularly check scanning calibration, optimizing resolution and brightness settings. By addressing these environmental factors, we can promote better outcomes for our transparency scans and preserve the quality of our images.
Enhancing Your Scanned Images
Enhancing our scanned images can greatly elevate the quality of our final results, and there are several effective strategies we can use. First, we should guarantee we use the highest optical resolution available, as this greatly improves image clarity. Cleaning both the film and adapter surfaces before scanning will also eliminate dust spots that can affect our outcome. For color correction, we can adjust white balance settings to reproduce original film colors accurately. Additionally, using software enhancements, like dust removal, can further refine our images. Finally, scanning in raw formats will preserve maximum data, allowing us to make detailed adjustments in editing software, guaranteeing our scanned images truly shine with vibrant colors and rich detail.
Cost-Effective Alternatives to Dedicated Film Scanners
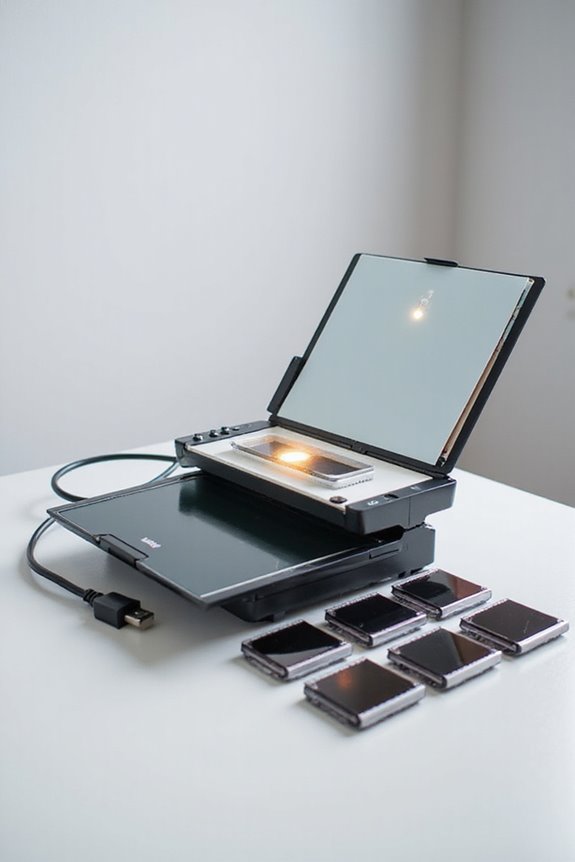
For those of us on a budget, cost-effective alternatives to dedicated film scanners can still deliver satisfactory results without breaking the bank. We can explore several budget scanner options, including DIY scanning methods. For around £13, we can repurpose a work light and a diffuser made from milk bottle plastic to create a simple setup. The “Screwfix Special” uses a single LED to backlight film for scanning with our digital camera or smartphone. Alternatively, we can consider inexpensive standalone film scanners available for £5 to £50, often featuring built-in screens. While these methods might yield lower quality, they’re great for casual use, providing a practical way to digitize our films without significant investment.
Frequently Asked Questions
Can I Scan Negatives and Slides Simultaneously?
Yes, we can scan negatives and slides simultaneously using a suitable scanner with a transparency adapter. It’s essential to guarantee proper setup for film scanning and slide scanning to achieve the best results without compromising quality.
What Is the Ideal Resolution for Scanning Film?
When considering the ideal film resolution for scanning, we’ve found that aiming for 3000 to 4000 dpi balances scanning quality and detail, ensuring our images retain their richness without creating excessively large files.
How Do I Clean the Transparency Adapter?
To clean the transparency adapter, we should use proper cleaning techniques, like a lint-free cloth and mild solutions. Following regular maintenance tips helps keep our equipment in top condition for crystal-clear scans.
Are There Specific Software Requirements for Film Scanning?
We understand software might seem complex, but it’s essential for film scanning. Scanning software needs to support various film formats and modes, ensuring accurate color and exposure for best results. Let’s get scanning!
Can I Use Third-Party Adapters With My Scanner?
When considering third-party adapters with our scanner, we should prioritize compatibility and performance. While they may offer cost savings, they often lack the precision or reliability of OEM options, potentially impacting our scanning results considerably.