To use scanner network shared access, we first configure a dedicated user account with a secure password and create a shared folder on our PC or server. Next, we log into the scanner’s Embedded Web Server and input the UNC path to the folder. By ensuring secure authentication settings and testing the setup, we can efficiently scan documents directly into shared folders, optimizing our document management and collaboration efforts. Let’s explore more about configuration and troubleshooting!
Key Takeaways
- Create a dedicated user account with a secure password for scanning access to the shared network folder.
- Set up and share a folder on your PC or server to save scanned documents.
- Log into the scanner’s Embedded Web Server and input the UNC path for the shared folder.
- Configure authentication settings to ensure secure access to the shared network folder.
- Test the setup by scanning a document to verify functionality and accessibility of the folder.
Overview of Scanner Network Shared Access
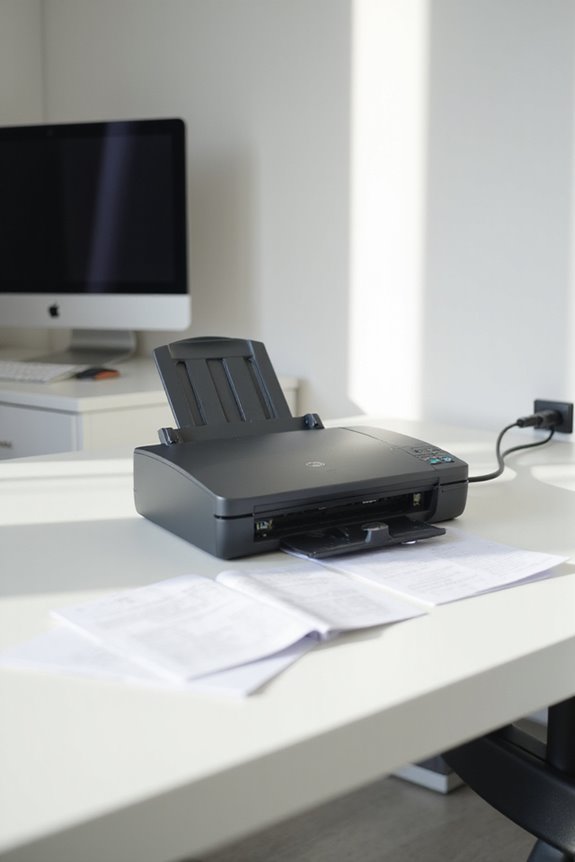
When we think about how to efficiently manage our documents, Scanner Network Shared Access stands out as a powerful solution. This system enables multifunction printers to scan documents directly into shared network folders. Its primary advantage is the network benefits it offers, streamlining workflows and reducing reliance on physical transfer methods. We utilize access protocols like CIFS for effective file sharing, while secure authentication methods such as Kerberos and NTLMv2 protect our sensitive information. By facilitating centralized document storage, we enhance collaboration across teams. Additionally, it supports various file formats, ensuring compatibility with our needs. With this system in place, our document management becomes more efficient, organized, and secure, creating a seamless experience for everyone involved. Furthermore, implementing security measures such as encryption protocols can significantly enhance the protection of sensitive data.
Configuration Steps for Scan to Network
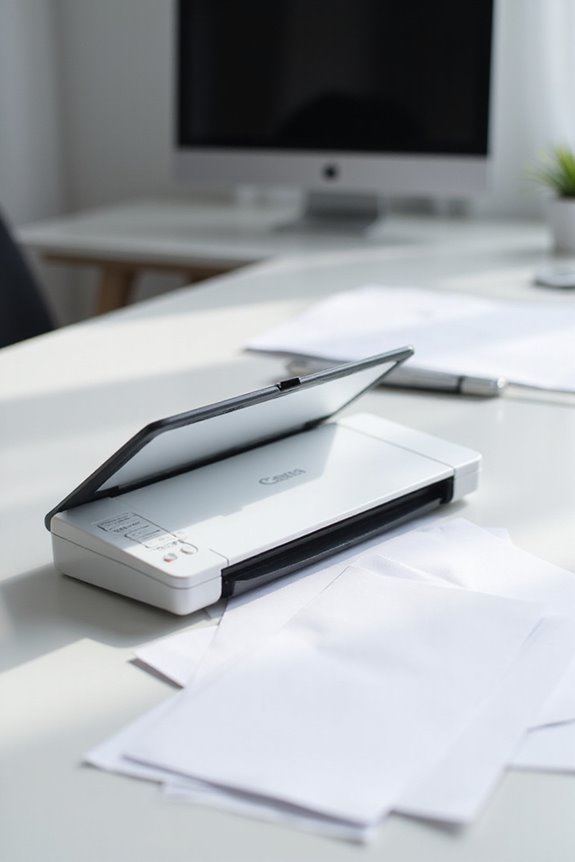
Setting up Scanner Network Shared Access involves several configuration steps that guarantee we can efficiently scan documents to a shared network folder. First, we’ll create a dedicated user account for scanning. This scan account needs a secure password and proper folder permissions. Next, we’ll set up a folder on our PC or server specifically for scanned documents and share it over the network, confirming only the scan account has access. We’ll then log into the scanner’s Embedded Web Server to input the UNC path for the shared folder and configure authentication settings. Additionally, it’s crucial to consider connectivity options to ensure seamless integration with other devices. Finally, we should test everything by scanning a document to confirm successful connectivity and correct folder accessibility. This confirms our setup is functional and secure.
Using the Scan to Network Feature

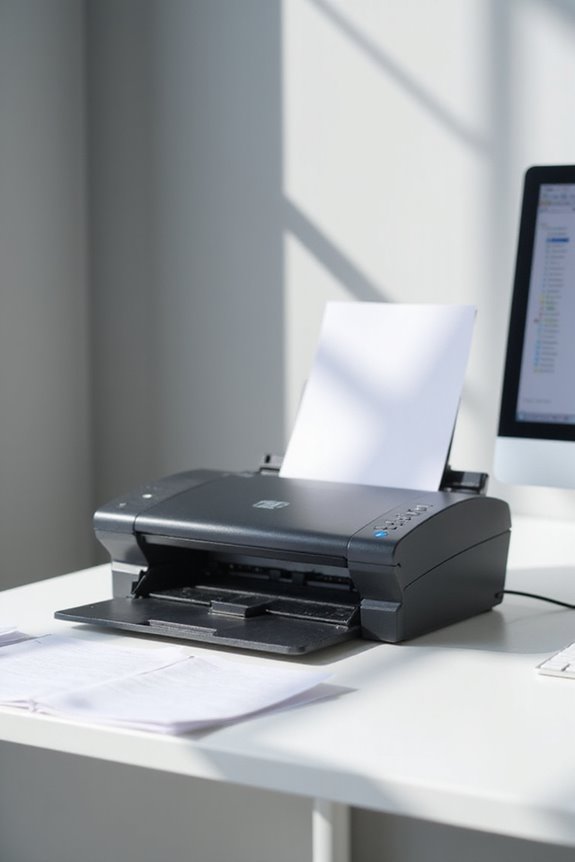
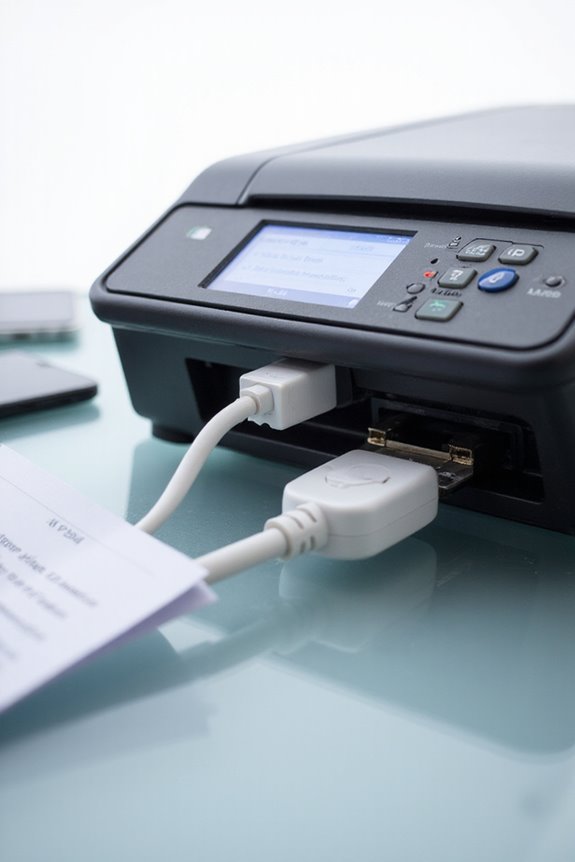
Using the Scan to Network feature enhances our document management capabilities, allowing us to save scanned files directly to a shared network folder. This functionality streamlines our workflow by eliminating the need for physical transfer devices like USB drives. We can handle large file sizes, often 10 MB or greater, making collaboration seamless across multiple users. The scanner may require user authentication, ensuring secure access to the designated folder. Plus, we can choose from various file formats to suit our needs, facilitating efficient sharing. Setting up the network folder correctly with accurate permissions and a reliable connection is essential for smooth operation. This feature truly optimizes our document sharing and supports efficient information flow in our business environment. Additionally, leveraging cloud services integration can further enhance accessibility and collaboration among team members.
Security Considerations
Even though we rely on the convenience of scanning documents directly to a network, we must prioritize security considerations to protect sensitive information. Access control is essential; limiting who can view or modify scanned documents reduces the risk of breaches. We should implement user permissions and device-level authentication to guarantee that only authorized personnel can access scanned files.
Data encryption during transmission and storage is equally important. By using secure protocols, like HTTPS, we can safeguard our documents against unauthorized access. Regular updates to scanning devices and proper network segmentation further minimize vulnerabilities. Together, these steps help us maintain the integrity and confidentiality of the data we handle. Additionally, ensuring that our scanners are compliant with HIPAA regulations is crucial for protecting electronic protected health information (ePHI). Let’s stay vigilant and proactive in securing our scanning practices.
Troubleshooting Common Issues
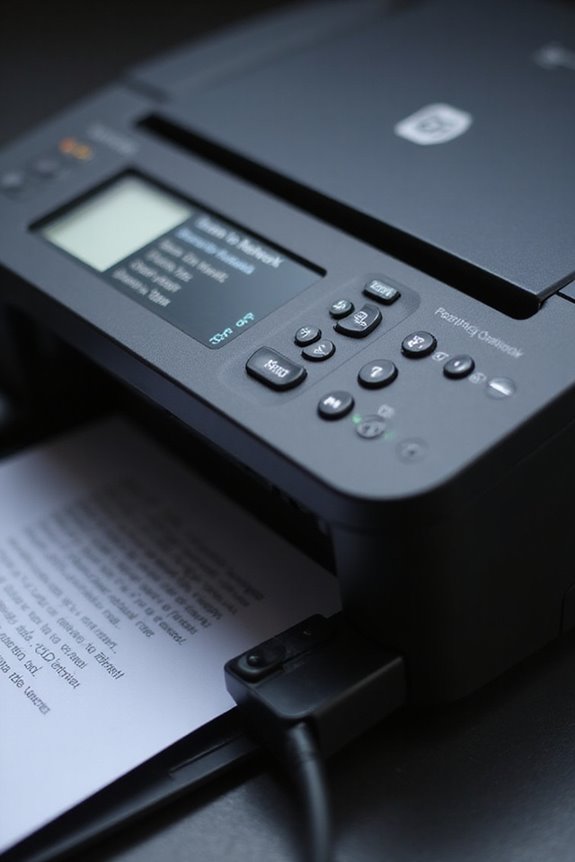
Have you ever run into challenges when trying to scan documents to a shared network folder? First, let’s guarantee network discovery is enabled on all devices. That way, they can be detected across the network. We should also verify that computers appear in File Explorer, confirming visibility. Next, check shared permissions to guarantee the correct user has access rights to the folder. If issues persist, consider testing folder access from another computer to isolate the problem. Don’t forget to adjust firewall settings and guarantee SMB protocols are compatible. Additionally, ensure that your scanner supports cloud storage options for enhanced connectivity. By systematically addressing these areas, we can effectively troubleshoot common issues and guarantee seamless scanning to shared folders.
Frequently Asked Questions
Can Multiple Scanners Use the Same Network Shared Folder?
Imagine a bustling office, where multiple scanners effortlessly share a single network folder. With proper scanner configuration and network accessibility settings, we can streamline our workflow while ensuring everyone has secure access to necessary documents.
What File Formats Are Supported for Scanned Documents?
When we consider scan formats, PDF and TIFF stand out for their excellent document compatibility, allowing us to preserve text and images seamlessly. These formats make sharing and managing multi-page documents efficient and reliable.
How Can I Delete or Edit Scan Profiles on the Scanner?
Isn’t it amusing how managing scan profiles can feel intimidating? Thankfully, we can simplify things by easily deleting or editing profiles through our scanner’s interface, making scan profile management a breeze for our workflow.
Is There a Limit to the Size of Scanned Files?
Yes, there’re scanned file limitations we should be aware of. Network storage capacity can affect how large our scanned files can be, so it’s crucial to manage file size and organization for peak performance.
Can I Schedule Automatic Scans to the Network Folder?
Yes, we can schedule automatic scans to our network folder by configuring the automatic scan settings. This guarantees our scanner has the necessary network folder access to capture documents efficiently during our specified times.