To use scanner cleaning kit supplies effectively, we start by powering off and unplugging the scanner. Next, we gather our supplies, including cleaning cards and wipes. Running a cleaning card through the track helps remove debris, while wiping the image sensor glass with alcohol wipes guarantees clarity. Regular maintenance, like this, is essential after every 1,000 scans. Keep an eye out for signs like paper jams to know when it’s time to clean. There’s more to explore about these supplies.
Key Takeaways
- Power off and unplug the scanner before beginning the cleaning process to ensure safety.
- Inspect the document track, rollers, and sensor glass for any dust or debris.
- Use a cleaning card from the kit, running it through the scanner multiple times to clear contaminants.
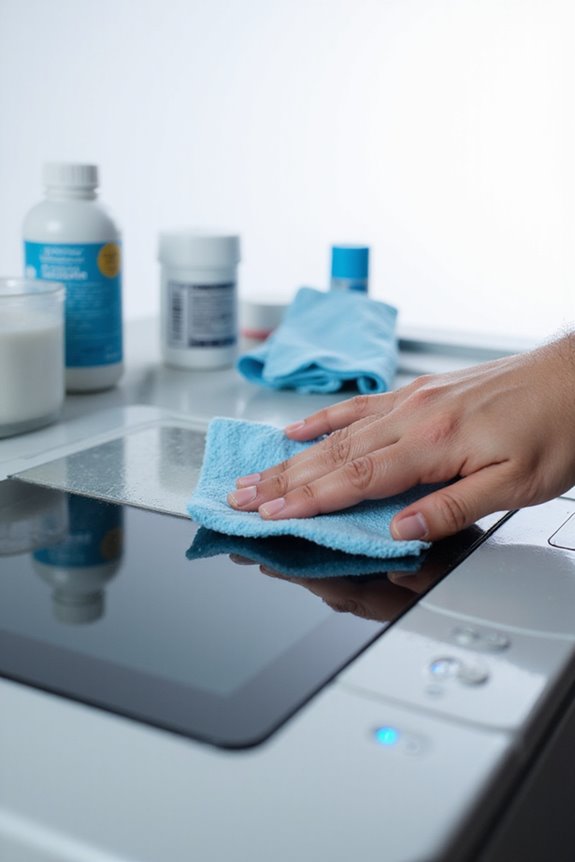
- Wipe the image sensor glass gently with an alcohol wipe, ensuring not to apply liquids directly.
- Store the cleaning kit in a dry place and perform regular maintenance after every 1,000 scans for optimal performance.
Understanding the Purpose of Scanner Cleaning Kits
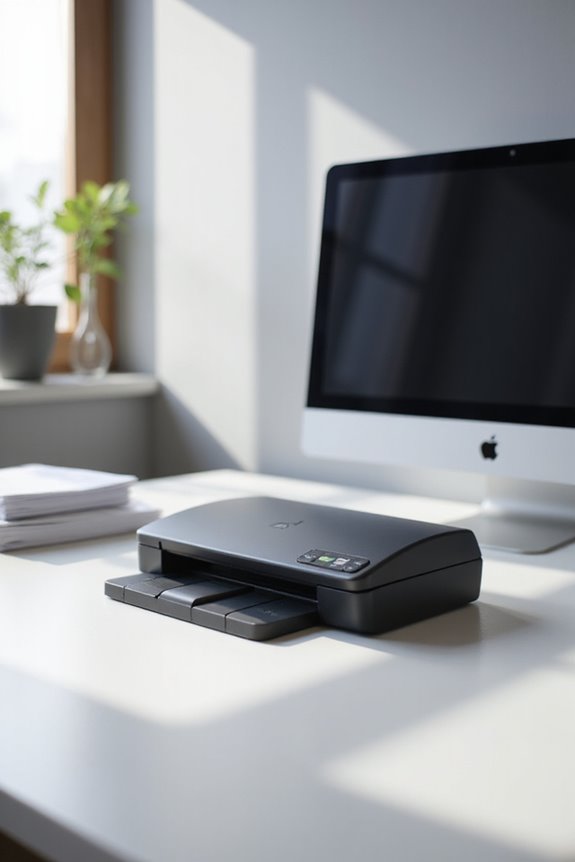
When we’re scanning documents or images, using a scanner cleaning kit is essential for ensuring high-quality results. These kits play a critical role in scanner maintenance by removing dust, debris, and fingerprints from the scanner glass. This process prevents contaminants from appearing in our scan results, reducing the need for touch-ups or rescanning. By enhancing image clarity, we’re ensuring more accurate scans. Regular cleaning also extends our scanner’s lifespan and minimizes costly repairs. Plus, maintaining overall hygiene supports better performance and reduces errors caused by dirt buildup. With efficient cleaning techniques, we can confidently digitize various media types, improving our overall scanning experience. Embracing these cleaning benefits keeps our scanners operating at peak performance, as regular maintenance every few weeks to a month prevents dust buildup and enhances print clarity!
Exploring the Contents of a Typical Scanner Cleaning Kit

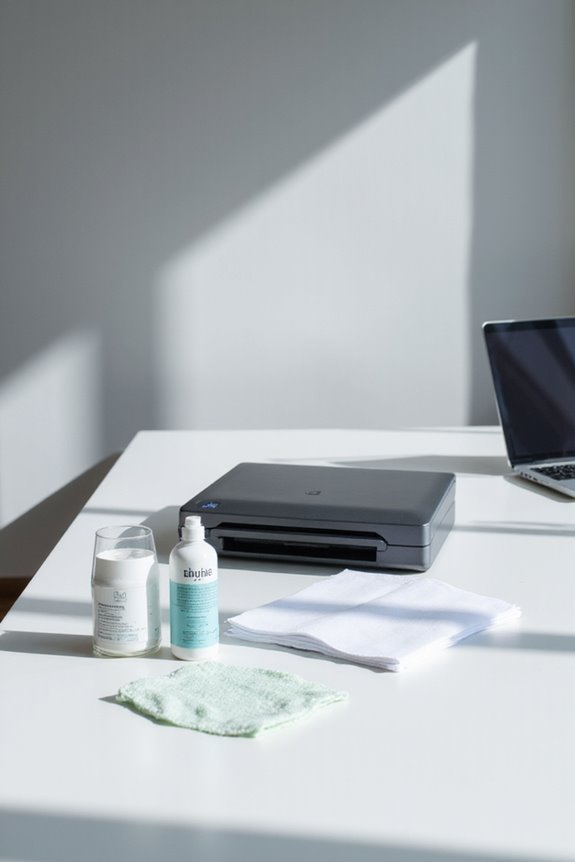
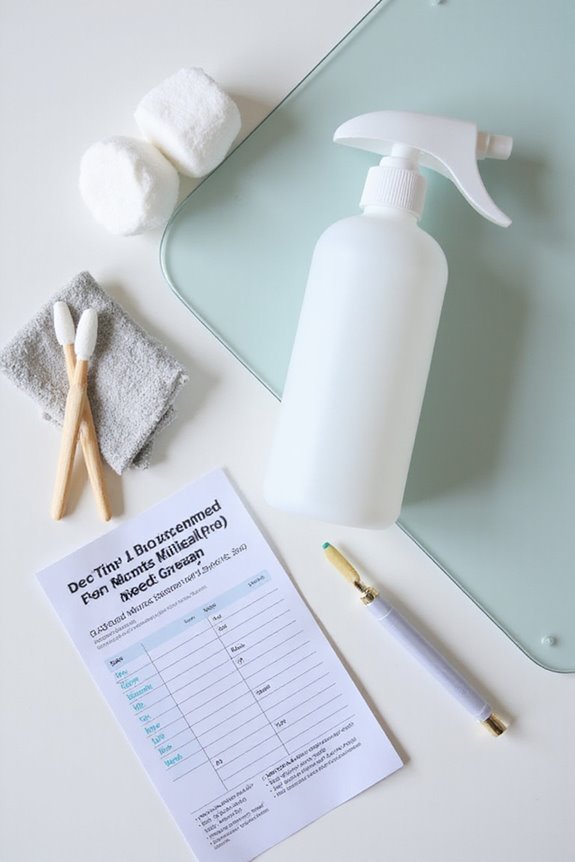
A typical scanner cleaning kit is equipped with essential tools designed to maintain the performance and clarity of our scanning devices. It often includes cleaning cards, which measure about 4” x 6” and are pre-saturated with effective solutions like Evanish. These help break down debris without needing to dismantle the scanner. Additionally, we get cleaning swabs, usually four to six per kit, meant for meticulously removing dirt from sensitive areas. Cleaning wipes, ranging from 2 to 25, guarantee we finish with a pristine surface. Specialized tools, like anti-static brushes, further enhance our cleaning techniques. When we compare products, we notice that kits differ in quantities and tools, but all prioritize safety and effectiveness in cleaning precision devices. Choosing a kit that includes brake and pick rollers ensures comprehensive maintenance for optimal scanner performance.
Recommended Cleaning Frequency and Indicators
Maintaining the clarity and efficiency of our scanners requires attention to cleaning frequency and recognizing indicators that signal when a cleaning is necessary. For heavy usage, we should implement daily cleaning schedules; weekly cleaning is suitable when usage varies. If we only use the scanner occasionally, a monthly clean will suffice. Moreover, we need to look out for maintenance indicators. Frequent paper jams or multiple pages feeding at once suggest dust accumulation. Squeaking noises during operation indicate dirt or lubrication needs. Additionally, if we notice lines or marks on scanned documents, it’s time to clean the glass and sensors. By staying proactive with these guidelines, we can guarantee ideal performance from our scanners. Regular cleaning with cleaning cards can enhance image quality and scanning accuracy.
Step-By-Step Cleaning Process With Kit Supplies
Before diving into the cleaning process, let’s verify we have everything we need for an efficient clean. First, we’ll power off and unplug the scanner, then remove the outer covers. Inspect the document track for paper debris and check the rollers and sensor glass for dirt. Now, we gather our cleaning kit supplies, including cleaning cards, swabs, and wipes.
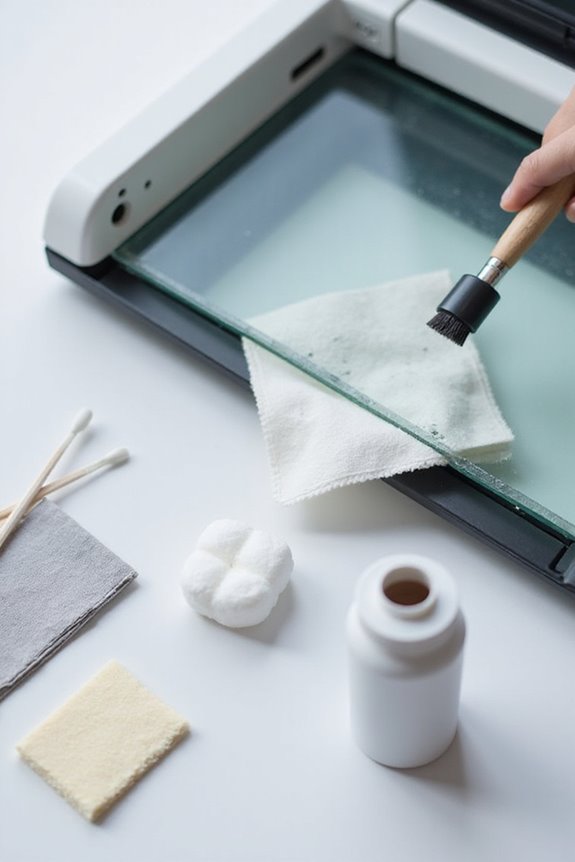
Using effective cleaning techniques, we run a cleaning card through the track multiple times, discarding it afterward. For detailed cleaning, we’ll carefully wipe the image sensor glass with alcohol wipes. It’s crucial to use a non-toxic formula to ensure the safety of the scanner’s sensitive glass. To wrap up, we’ll reassemble the scanner securely and perform test scans, applying maintenance tips to enhance future performance. This systematic approach guarantees peak scanner function and longevity.
Best Practices and Precautions for Effective Cleaning
Now that we’ve covered the step-by-step cleaning process with our kit supplies, let’s focus on best practices and precautions that guarantee our scanners remain in top condition. First, we need to use essential tools like approved cleaning agents, specifically 70% isopropyl alcohol and lint-free microfiber cloths. These cleaning techniques help avoid damaging our scanners. It’s vital to unplug the device before cleaning, ensuring safety from electric shock. Remember, applying liquids directly is a no-go—let’s use damp cloths instead. Regular maintenance, like cleaning after every 1,000 scans, is key to performance. Additionally, maintaining optimal optical resolution ensures better text recognition results. Finally, we should inspect for dust buildup often, preventing malfunctions and extending our scanner’s life. By following these guidelines, we keep our devices pristine and efficient.
Frequently Asked Questions
Can I Use Homemade Cleaning Solutions With the Kit?
We wouldn’t recommend using homemade solutions with the kit. While they might seem effective, their cleaning effectiveness varies and can lead to streaks or damage, potentially compromising our scanner’s performance and longevity. Stick with approved solutions!
How Do I Store My Cleaning Kit Properly?
Imagine we’ve got a cleaning kit stored in a damp garage. To prevent contamination, we should guarantee proper storage in a dry, temperature-controlled area, away from debris, keeping our cleaning kit supplies effective and ready for use.
What Are Signs That My Scanner Needs Cleaning?
When we notice degraded scanner performance, like streaks or missing pages, it’s time to assess cleaning frequency. Regular maintenance helps us avoid issues and guarantees our scans remain sharp and clear for every project.
Are There Specific Tools Needed Beyond the Cleaning Kit?
We’ve found additional tools can greatly enhance our cleaning techniques. Using specialized cloths, portable vacuums, or precision brushes, we can optimize the maintenance of our scanners, ensuring superior performance and longevity. Let’s keep our equipment in top shape!
Can I Clean My Scanner While It’s Plugged In?
We recommend never cleaning our scanner while it’s plugged in for safety. To maintain peak performance, let’s follow a regular cleaning frequency, ensuring we power down first to prevent damage and hazards. Safety first!