To use a standard resolution scanner, we first set it on a stable surface and connect it to our computer using USB or Wi-Fi. Then, we select an appropriate optical resolution—300 DPI is ideal for docs, while 600 DPI captures fine details. After ensuring the scanner’s software is installed, we can configure settings for brightness and contrast. Finally, we handle documents carefully and choose suitable file formats for saving. There’s more to explore for optimizing our scanning process.
Key Takeaways
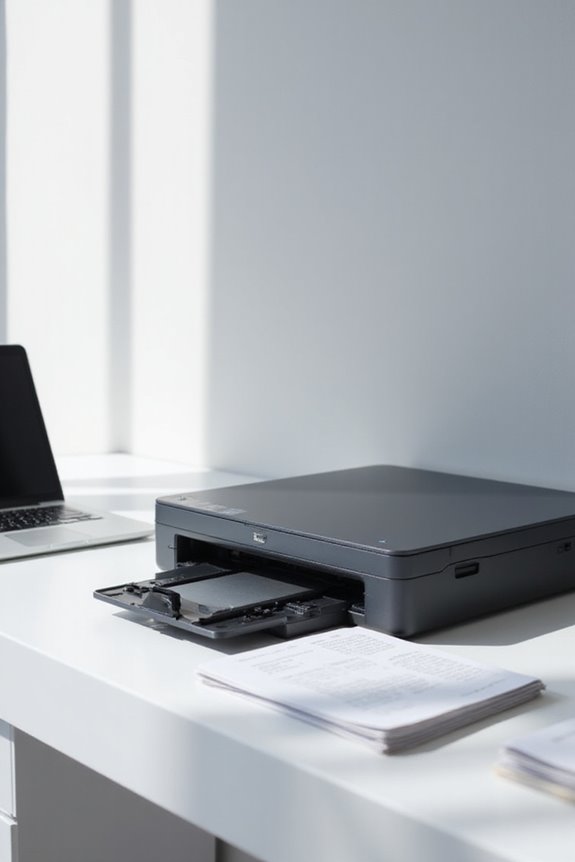
- Place the scanner on a stable surface and connect it to your computer using the appropriate interface.
- Select the desired scanning resolution, typically 300 DPI for standard documents and 600 DPI for detailed scans.
- Prepare documents by removing staples, flattening creases, and ensuring proper alignment in the feeder.
- Use the scanner software to adjust settings like brightness and contrast, and preview scans before finalizing.
- Save scanned files in suitable formats such as PDF for multi-page documents or JPEG for images, considering privacy for sensitive materials.
Understanding Scanner Resolution
Understanding scanner resolution is fundamental, as it directly affects the quality of our scanned images. Scanner resolution is measured in dots per inch (dpi), determining how much detail we can achieve. Optical resolution, typically around 600 dpi for most portable scanners, indicates the scanner’s true ability to capture fine details, while output resolution is adjustable by us, often set between 75 and 600 dpi. Choosing the right scanner type matters too; for instance, CCD scanners excel in color accuracy. Higher optical and output resolutions mean more detail, but also larger file sizes and longer scanning times. Ultimately, selecting the right resolution balances image quality with practical needs, ensuring our scans look great without unnecessary bulk. Additionally, a good understanding of 300 DPI scanners can help us choose a model that meets our specific scanning requirements.
Setting Up Your Scanner
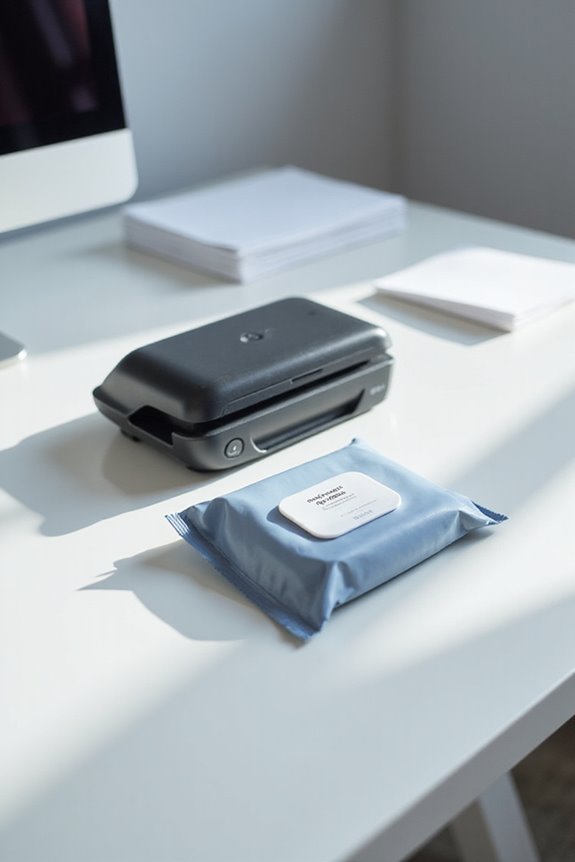
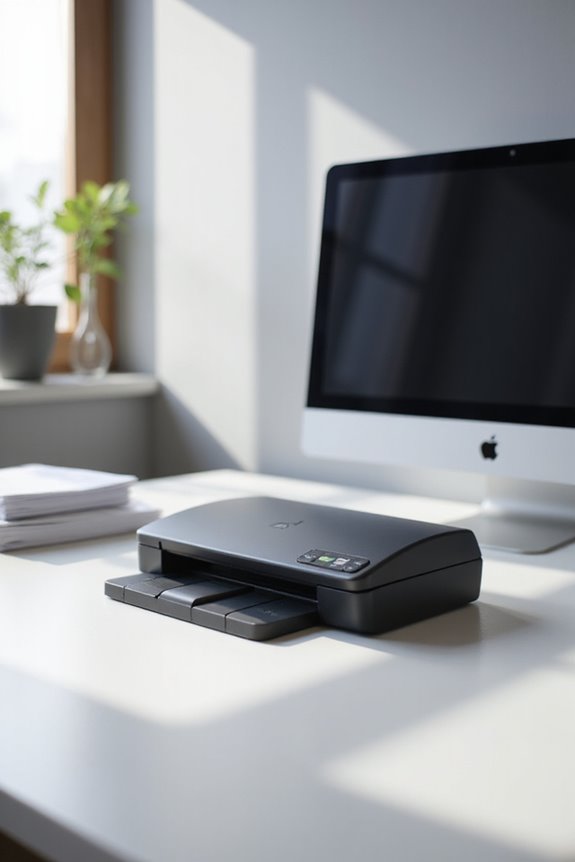
Setting up your scanner correctly is essential for achieving ideal performance and quality during scanning tasks. First, we should guarantee proper scanner placement on a flat, stable surface to minimize vibrations. It’s best to position the scanner within six feet of your computer for easy connectivity and effective cable management. Next, let’s make sure the power cable is securely connected and plugged into a reliable source. Then, connect the scanner to the computer using the specified interface, whether it be USB, Ethernet, or Wi-Fi. Remember to check that the scanner lid and glass are clean to avoid any smudges that could affect scan quality. Following these steps will ensure a smooth scanning experience from the get-go. Additionally, regular maintenance with the right cleaning solutions can enhance longevity and output quality.
Choosing the Right Resolution
How do we decide the right resolution for our scanning tasks? We start by considering the resolution types available: optical and interpolated. Optical resolution, determined by the scanner’s hardware, is essential for capturing detail accurately. In contrast, interpolated resolution uses software to simulate higher quality but doesn’t add real detail. Choosing the right resolution involves understanding the resolution trade-offs. For instance, 300 DPI is perfect for everyday documents, balancing clarity and file size. Meanwhile, 600 DPI is better for intricate details. Lower resolutions like 72 DPI offer smaller files ideal for web use, but they lack the fidelity needed for prints. By evaluating our needs, we can select the best resolution for our specific tasks. Additionally, high optical resolution is crucial for image quality, ensuring that every detail is captured accurately.
Operating Scanner Software

When we operate scanner software, it’s crucial to follow a clear setup and navigation process for best performance. First, we should verify that the software is installed correctly, either from the manufacturer’s website or the included CD/DVD, confirming compatibility with our operating system. Once set up, we can easily explore the scanner interface. The user controls allow us to preview scans, adjust brightness, contrast, and color balance with sliders, and select scanning areas with drag-and-select options. These features not only enhance our scanning experience but also help us complete tasks more efficiently. Regularly checking for software updates maintains functionality and security, guaranteeing our scanning process runs smoothly every time. Additionally, utilizing customizable scan profiles can optimize settings for different document types, further improving operational efficiency.
Document Handling and Preparation
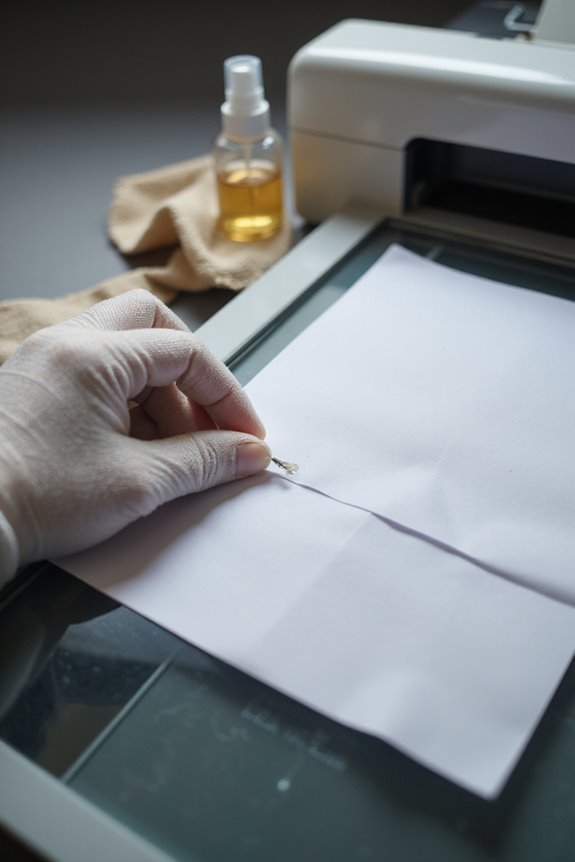
Before we plunge into the scanning process, it’s essential that we properly handle and prepare our documents. Effective document organization is key; let’s group papers by category, like invoices or contracts, to streamline indexing. We should remove staples, sticky notes, and any duplicates, as these can cause confusion and scanning errors.
Next, in our physical preparation, flatten any creases and check for tears or fragile edges, which could lead to misfeeds. Elevate scan quality by cleaning document surfaces and verifying each page is aligned properly in the feeder. For mixed media or varying sizes, treating them with care helps avoid damage. These steps guarantee we maximize efficiency and achieve high-quality scanned documents ready for use. Additionally, ensure that you are aware of the scanner’s scanning resolution specifications, as this will impact the clarity of your final digital documents.
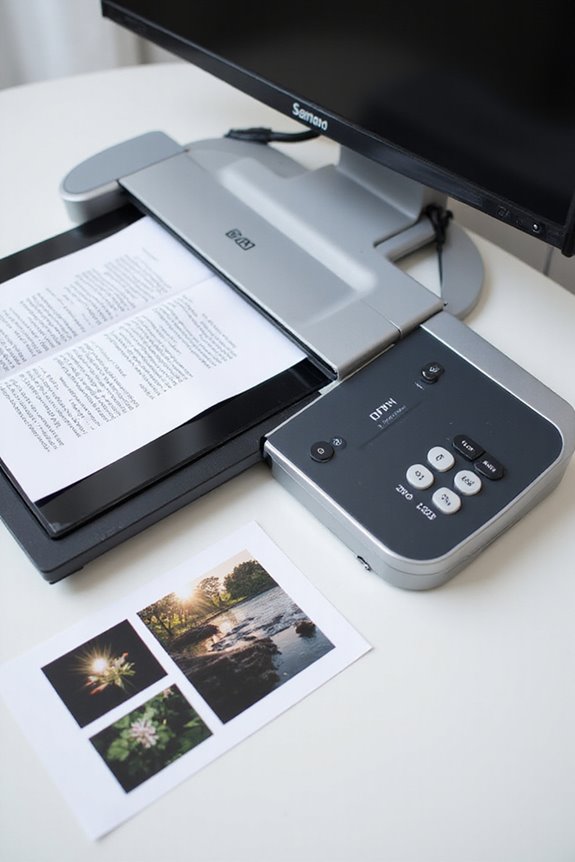
Scanning Photographs
Proper document handling sets the stage for our next task: scanning photographs. For superior photograph preservation, we should set our scanner to at least 300 DPI, ensuring a balance between quality and file size. If we want to capture finer details, remember that 600 DPI is ideal. Before scanning, let’s clean each photo to remove dust and fingerprints; this prevents scan artifacts. Align the photo straight on the scanner bed for an accurate scan. Using the right scanning techniques, like selecting a 16-bit color depth, can enhance color fidelity. Additionally, using Digital ICE technology can further improve image quality by removing dust and scratches during the scanning process. After scanning, save images in high-quality formats like TIFF for archiving, and consider backing them up to external drives or cloud storage to avoid any data loss.
Scanning Text Documents
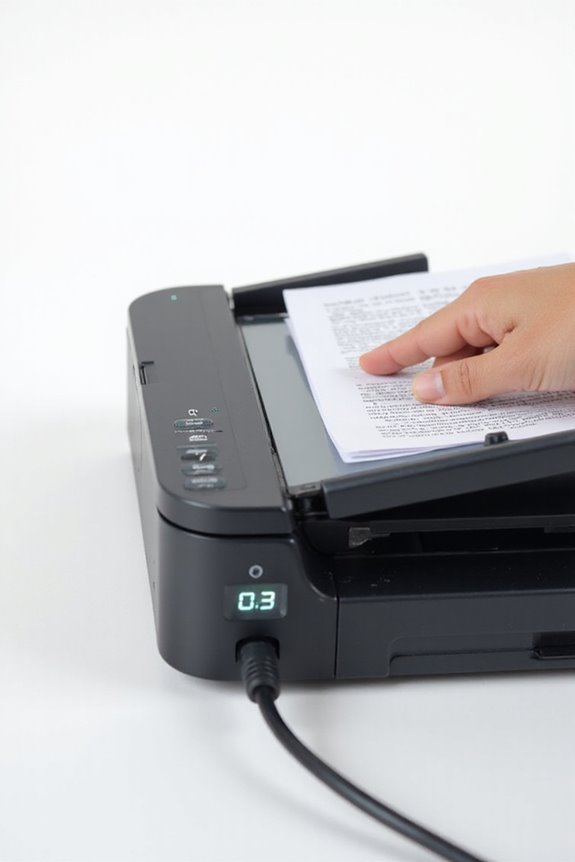
Scanning text documents is a straightforward process that can greatly enhance our ability to manage and preserve important information. We should set our scanner to a standard resolution of 300 dpi to maintain text clarity while keeping file sizes manageable. For documents with smaller fonts or poor print quality, using 400 dpi in black-and-white mode improves legibility considerably. It is crucial to scan at 300 dpi or higher to guarantee ideal OCR accuracy, enabling us to convert scanned text into editable formats. Before scanning, we can remove staples and smooth out wrinkles to prevent jams. Once our documents are scanned, organizing and backing them up in text-friendly formats will further streamline our document management efforts.
Scanning Line Art and Graphics
After mastering the scanning of text documents, we can turn our attention to scanning line art and graphics, which requires a different approach. To achieve high image quality, it’s best to scan line art at twice the intended final resolution—like 600 dpi for a 300 dpi output. We should always set our scanner image type to Line Art or Bitmap to eliminate any grayscale. A bit depth of 1-bit guarantees we capture only pure black and white, enhancing clarity. Previewing and aligning our artwork for best scanning can save time and improve results. If working with larger graphics, scanning overlapping sections and using image editing software for stitching is essential. Consistent resolution settings across all sections maintain quality throughout.
Managing Multi-Page Scans
Managing multi-page scans can streamline our digital filing system, making document handling more efficient. By utilizing an automatic document feeder (ADF), we can enhance multi-page efficiency, scanning multiple pages in one go. Before starting, we should configure our scan settings through software like TWAIN, ensuring we achieve the right resolution and file format, such as PDF or TIFF, for our needs. This speeds up the process, reducing manual intervention while allowing batch processing of large document sets. We can also preview and arrange pages to maintain correct sequence, minimizing errors. Regular cleaning and calibration of our scanner will enhance overall performance, ensuring we capture high-quality scans every time.
Saving and Exporting Scanned Files
Once we’ve efficiently managed our multi-page scans, it’s time to contemplate how we save and export those files for ideal use. We can choose from several file formats like PDF, JPEG, or Text, depending on our needs. For multi-page documents, PDFs are perfect, while JPEGs are great for high-quality images. Text export with OCR allows us to create searchable or editable files. Adjusting the export resolution to 300 DPI strikes a balance between quality and file size for most documents. We can also utilize compression options to manage file sizes efficiently. When sharing, we should select export options that maintain compatibility and privacy, especially for sensitive materials. Organizing files will streamline our retrieval process later.
Frequently Asked Questions
How Do I Troubleshoot Common Scanner Errors?
When we encounter scanner errors, we’ll check connections, ensuring they’re snug, and tackle driver installation problems. A quick restart might just shimmer away connectivity issues, guiding us back to smooth scanning once more.
Can I Scan Directly to Cloud Storage?
Yes, we can scan directly to cloud storage using compatible scanners. By utilizing cloud integration and scanning software, we streamline our workflows, making document management efficient and accessible across multiple devices and locations.
What File Formats Are Best for Archiving Scanned Documents?
When it comes to document preservation, aren’t we all looking for the best file formats? We should definitely consider TIFF for clarity and PDF/A for accessibility; both guarantee our valuable scanned documents stand the test of time.
Are There Recommended Maintenance Tips for Keeping My Scanner Clean?
For effective scanner cleaning, we recommend regular maintenance based on usage. Cleaning every 5,000 to 8,000 scans keeps our scanner performing at its best. Let’s prioritize this to avoid jams and maintain image quality.
How Can I Improve Scan Quality for Damaged Documents?
To enhance scan quality for damaged documents, we’ll embrace effective document restoration techniques. By repairing tears, ensuring cleanliness, and optimizing scanner settings, we’ll transform fragile pages into clear digital treasures that preserve precious details beautifully.