As an Amazon Associate, we earn from qualifying purchases. Some links on this site are affiliate links at no extra cost to you. Our recommendations are based on thorough research and editorial judgment.
How To Use Canon CanoScan LiDE 400?
To use the Canon CanoScan LiDE 400, we start by unboxing and connecting it to our computer with the Type-C USB cable. After installing the software from Canon’s website, we select the appropriate scanning mode—like “Document” for text or “Photo” for images—to guarantee maximum quality. With a resolution of up to 4800 x 4800 dpi, our scans will be crystal clear. There’s much more to explore about its features, so let’s continue!
Key Takeaways
- Connect the Canon CanoScan LiDE 400 to your computer using the provided Type-C USB cable and ensure the scanner is powered on.
- Download and install the appropriate software from Canon’s official website (ij.start.canon) for compatibility with your operating system.
- Choose the desired scanning mode based on your document type: “Document” for text, “Magazine” for glossy pages, and “Photo” for high-quality images.
- Utilize the EZ buttons on the scanner for quick functions like auto scanning, emailing, or creating PDFs.
- If issues arise, ensure all connections are secure, check for driver updates, and consult the user manual or Canon support for troubleshooting.
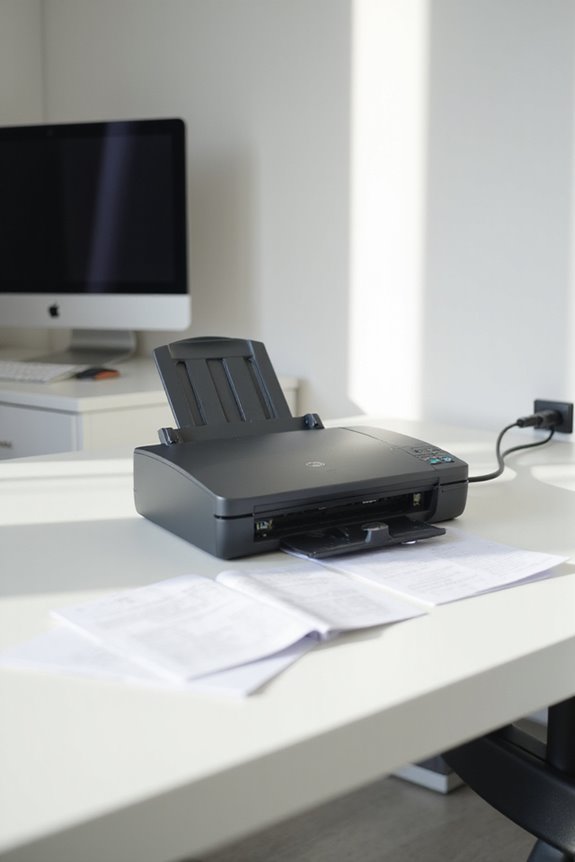
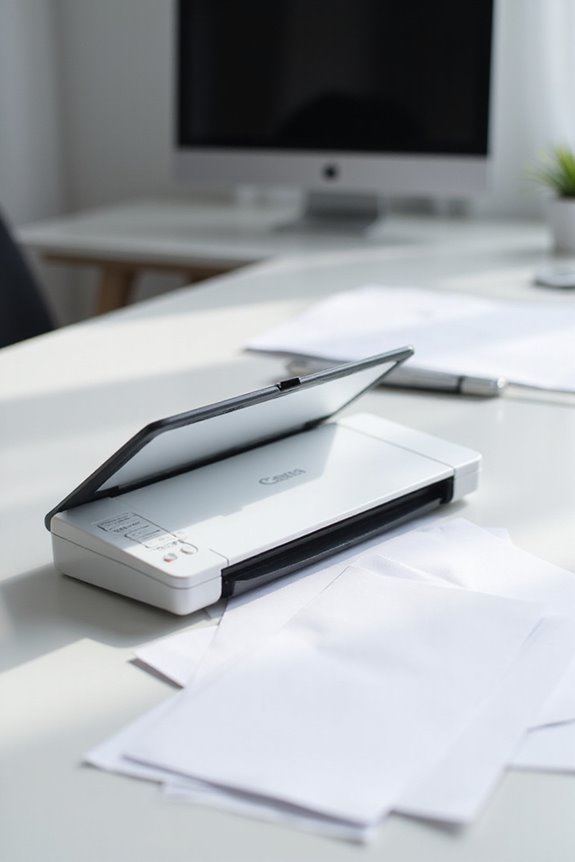
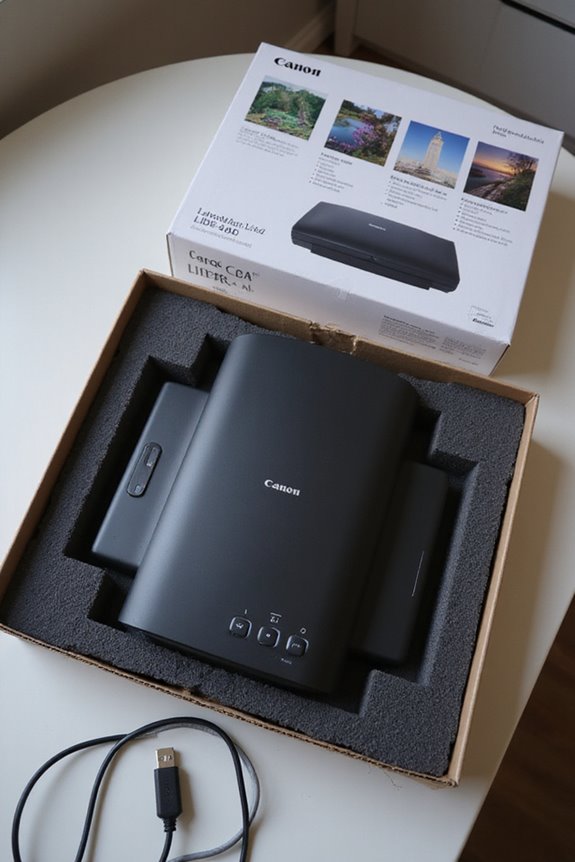
Unboxing the Canon CanoScan LiDE 400
You may be interested
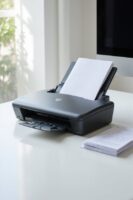
When we unbox the Canon CanoScan LiDE 400, the first thing we notice is its compact design, which is perfect for any workspace. Inside the box, we find the scanner, a USB Type-C cable, essential manuals, and a handy vertical stand. This upright stand not only saves desk space but also enhances convenience during use. The scanner features impressive high-resolution scanning capabilities up to 4800 x 4800 dpi. With its EZ buttons, we can easily perform tasks like auto scanning, emailing, and PDF creation. Additionally, the innovative Z-Lid allows us to scan bulky documents up to 21mm thick. These scanner contents and features make the Canon CanoScan LiDE 400 an ideal choice for both home and office environments. Furthermore, its high optical resolution ensures that detailed scans are produced, making it suitable for various scanning needs.
Setting Up Your Scanner
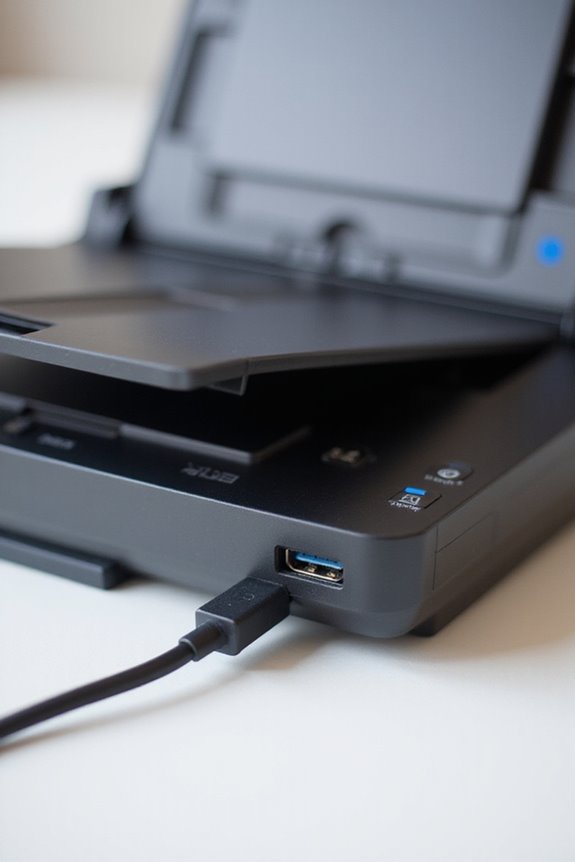
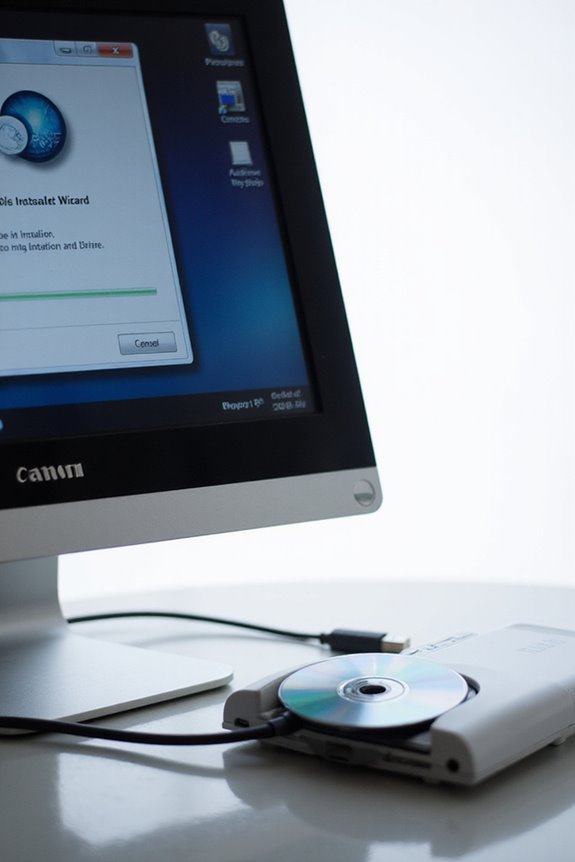
Setting up your Canon CanoScan LiDE 400 is straightforward and essential for accessing its scanning capabilities. First, let’s place the scanner on a level surface. We’ll use a Type-C USB cable to connect it to our computer. This connection powers the scanner, so there’s no need for an extra adapter. Make certain our computer is on before we plug in the scanner to guarantee it’s recognized properly. Remember to keep the lock switch in the open position for smooth operation. If the scanner doesn’t connect, we might need to try a different USB port or check our connections. Additionally, ensuring that our scanner is compatible with TWAIN and ISIS drivers will enhance its integration with document management applications. These setup tips will help us maximize the scanner features and guarantee a seamless scanning experience.
Installing Required Software
With the scanner successfully set up, we’re now ready to install the required software for the Canon CanoScan LiDE 400. We can download the software package from Canon’s official website or via ij.start.canon. This software is compatible with Windows and macOS, including the latest version, macOS Sonoma.
We need to download the Scanner Driver and the IJ Scan Tool, with the option to include Quick Menu for easier access. The installation process is straightforward: we run the installer and follow the on-screen instructions. It’s important to verify software compatibility to avoid installation errors. Once we’ve installed everything, restarting our computer guarantees the software functions properly, ready for our scanning needs. Additionally, the software offers features like automatic PDF combination, enhancing productivity and simplifying file management.
Connecting the Scanner to Your Computer
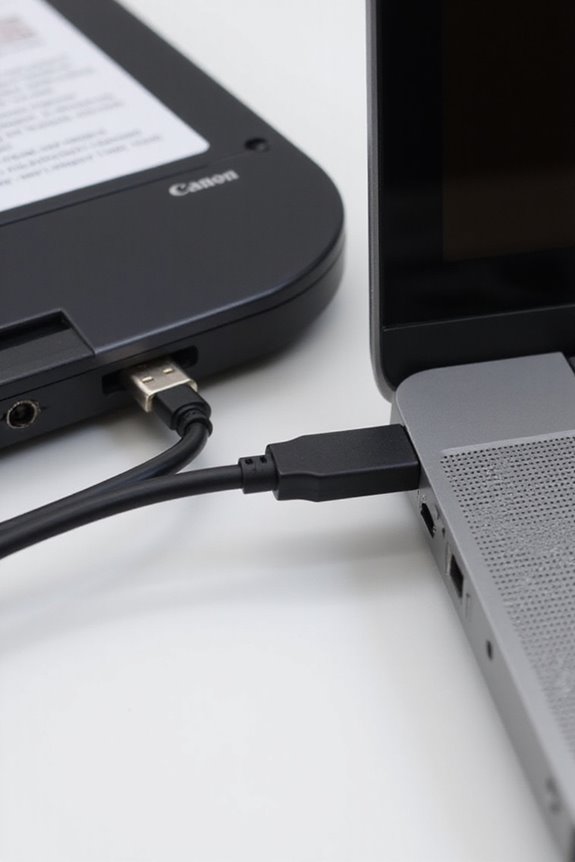
Connecting your Canon CanoScan LiDE 400 scanner to your computer is a straightforward process that sets the stage for efficient scanning. First, verify the computer is on and operational. We’ll locate the supplied USB cable, which has a Type-A connector for your computer and a Type-C connector for the scanner. It’s essential to connect these directly to avoid issues with scanner compatibility. Plug the Type-C end into the scanner and the Type-A end into a USB port on your computer. After pressing the scanner’s power button, the computer should recognize it automatically. If it doesn’t, restarting the devices might help. Use the original USB cable to maintain strong connectivity and optimize performance through a reliable USB connection. Additionally, ensure that your scanner is compatible with your operating system, as software compatibility is crucial for seamless operation.
Choosing the Right Scanning Mode
Choosing the right scanning mode is essential for getting the best results from your Canon CanoScan LiDE 400. Depending on what we’re scanning, we should choose the appropriate source option—whether it’s a document, magazine, or photo. For text documents, we’ll select the “Document” mode for clarity. Glossy materials benefit from the “Magazine” setting, balancing color and detail, while “Photo” mode is perfect for rich color accuracy in photographs. Additionally, our color mode choice affects both quality and file size. Full color captures detail, whereas grayscale reduces file size while retaining important elements. By carefully considering these scanning techniques, we can achieve excellent results that meet our needs, ensuring ideal outcomes for every project. Image quality is significantly impacted by the chosen mode, so selecting the appropriate setting is crucial for optimal results.
Scanning Documents and Images
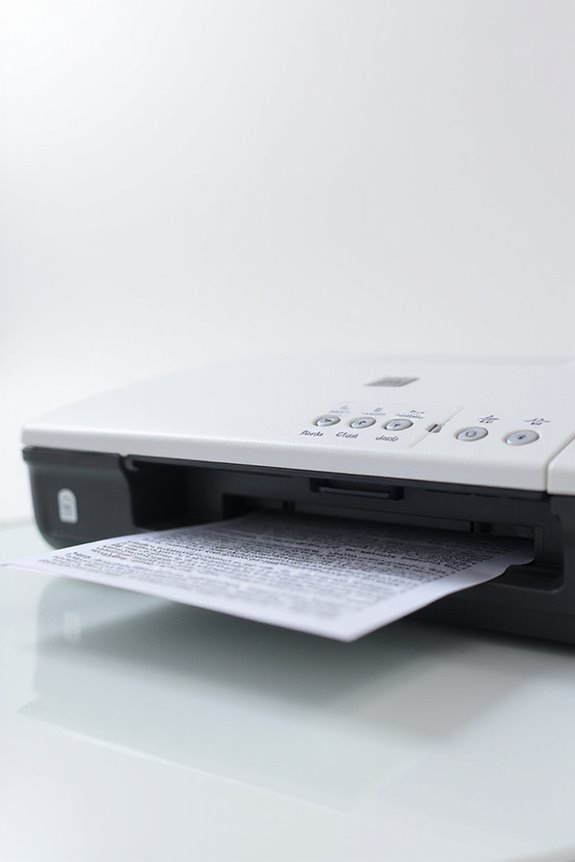
Scanning documents and images using the Canon CanoScan LiDE 400 is a straightforward process that delivers impressive results. First, we’ll place the document or image face down, aligning it with the reference marks. Opening the lid fully prevents shadows and guarantees a complete scan. Next, using Canon IJ Scan Utility, we select “Document” or “Photo” mode to match our item type. For peak document quality, we can set the resolution to 300 or 400 dpi for standard scans or higher for fine details. The scanner efficiently handles high-volume scanning tasks, accommodating various media types, including receipts and full-sized documents. After confirming our settings, we click the scan button, and the process begins. Monitoring the preview screen helps us verify everything is captured correctly. Utilizing these tips, we’ll achieve the best results every time.
Saving and Uploading Your Scans
When we finish scanning our documents or images with the Canon CanoScan LiDE 400, the next step involves saving and uploading these files efficiently. We can customize file names and formats within the IJ Scan Utility, choosing from options like PDF, JPEG, or TIFF. For better file organization, creating dated folders automatically segregates our scans, making retrieval simpler. Before saving, let’s confirm our destination folder, ensuring consistent access later. Once saved, we can easily upload our scans to cloud services or email, as common formats are supported. Using a clear naming convention helps us identify files quickly, enhancing manageability when uploading multiple scans at once. This streamlined process boosts our productivity and keeps our files organized.
Maintaining Your Scanner
Maintaining our Canon CanoScan LiDE 400 is essential for ensuring consistent performance and high-quality scans. To keep it in top shape, we should always disconnect the USB cable before cleaning. Using soft, dry cloths for the platen and exterior helps prevent scratches, while a damp cloth can tackle stubborn stains—just remember to dry immediately. We need to avoid harsh solvents that can damage the scanner. Additionally, we must handle the scanner with care; never apply heavy pressure on the cover or platen to prevent breakage. Storing it with the cover lifted helps maintain its mechanism. By following these cleaning techniques and care tips, we can extend the life and functionality of our scanner dramatically.
Troubleshooting Common Issues
Troubleshooting common issues with the Canon CanoScan LiDE 400 can help us quickly restore its functionality, guaranteeing our projects stay on track. If we encounter error messages, the first step is checking our driver installation; verifying we use the correct drivers can eliminate many issues. We should also verify our scanner’s compatibility with our operating system, whether it’s Windows 10 or macOS. Connectivity problems often stem from a loose USB connection—let’s confirm the cable is secured on both ends. Additionally, checking the scanner status and power settings can prevent unexpected disconnects. If problems persist, consulting the user manual or contacting Canon support might be necessary to resolve more complex configurations.
Frequently Asked Questions
Can I Use the Scanner With a USB Hub?
Sure, we can use a USB hub! Just remember, hub performance is essential for our CanoScan’s USB compatibility. An unpowered hub might lead to chaos, so let’s opt for a powered one for flawless scanning adventures!
What File Formats Can I Scan To?
When it comes to scanning options, we’re able to choose from JPEG formats for photos, PDF documents for multi-page files, and TIFF images for high-quality archiving. Each format serves our unique needs effectively!
How Does the EZ Buttons Feature Work?
Imagine scanning with just a touch! Our EZ buttons overview reveals magical scanning shortcuts. Just place your item, press the right button, and voilà—the process is as easy as pie, saving us tons of time!
Is There a Warranty for the Scanner?
Yes, there’s a warranty for the scanner! It has a 1-year limited warranty. For warranty details and customer support, we can visit Canon’s official site or register our product for quicker assistance.
Can I Scan at the Maximum Interpolated Resolution?
While we can technically scan at maximum interpolated resolution, it often doesn’t improve scanning quality considerably. For most needs, we should prioritize optical resolution for clarity, balancing quality with file size and scan time.