As an Amazon Associate, we earn from qualifying purchases. Some links on this site are affiliate links at no extra cost to you. Our recommendations are based on thorough research and editorial judgment.
How To Clean Scanner Rollers?
To clean scanner rollers effectively, we should turn off the scanner and gather necessary materials, like lint-free cloths and Cleaner F1. First, we’ll moisten the cloth with the recommended solution and gently wipe the rollers while rotating them. This process prevents debris buildup and paper jams. After cleaning, it’s essential to allow the rollers to dry completely before reassembling the scanner. Following these steps helps maintain ideal performance, and there’s more to explore for ongoing care.
Key Takeaways
- Turn off the scanner and remove any documents or attachments before beginning the cleaning process.
- Use a lint-free cloth moistened with a suitable cleaning solution to clean the rollers gently.
- Rotate the rollers manually while cleaning to ensure a comprehensive wipe down without causing damage.
- Allow the rollers to dry completely before closing the scanner and reconnecting the power.
- Schedule regular cleaning of the rollers every few weeks to maintain scanner performance and prevent issues.
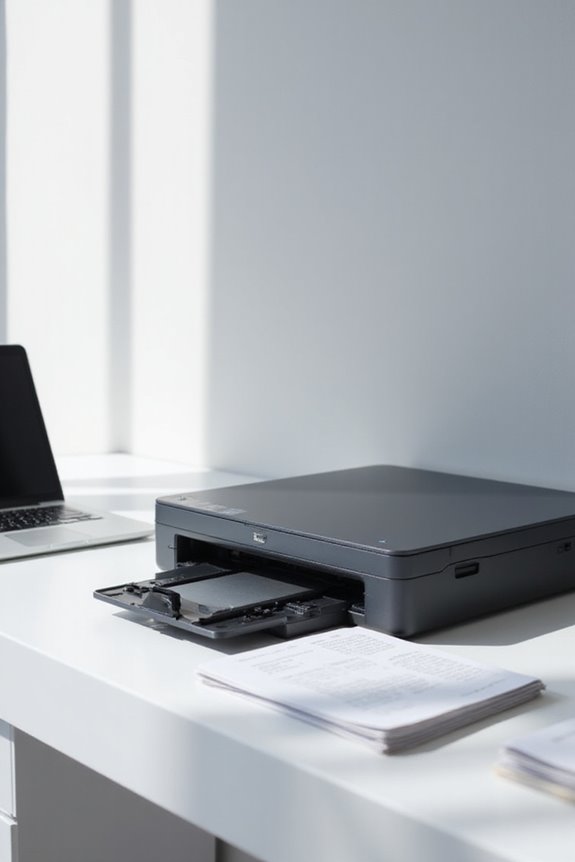
Preparing for Cleaning Scanner Rollers
You may be interested


Before we start cleaning the scanner rollers, it’s vital to prepare adequately to guarantee a smooth process. Proper scanner maintenance begins with turning off the scanner to avoid electrical risks. Next, let’s remove any cassettes or documents to prevent damage during cleaning. Open and lift the scanner lid to access internal components, including rollers and glass plates. It’s significant to use lint-free cloths to wipe away dust from the scanner’s surface. We should also inspect the rollers for dirt or debris, ensuring they’re clear before we proceed. Regular cleaning frequency helps maintain peak scanner performance, and these preparation steps set the stage for effective roller care. Additionally, ensure that you have high-quality cleaning supplies on hand for optimal results. Let’s get our scanners ready for a thorough cleaning!
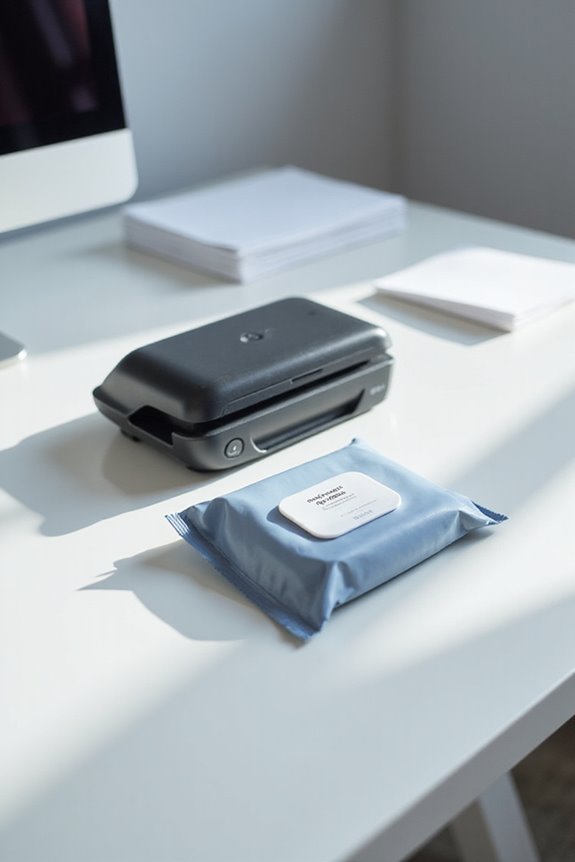
Gathering Necessary Cleaning Materials
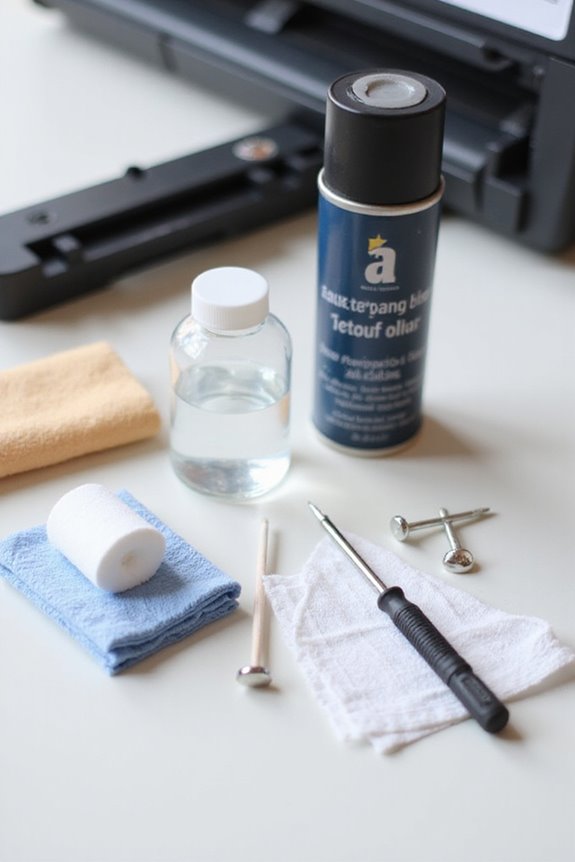
Having prepared our scanner for cleaning, it’s time to gather the necessary materials to guarantee an effective process. We’ll need several cleaning supplies to make sure every area is addressed. Start with Cleaner F1, specifically formulated to remove debris from rollers. Cleaning paper, sprayed with Cleaner F1, is perfect for the paper path. For detailed work, cotton swabs will help us reach tight spots. Pre-moistened cleaning wipes are convenient for quick exterior touch-ups. We can use dry cleaning cloths, moistened with Cleaner F1, for manual wiping. A scanner cleaning kit, tailored for our model, is a smart investment, typically including essential tools like cleaning cards and wipes. Regular maintenance every few weeks to prevent dust buildup ensures optimal scanner performance. Let’s make certain everything’s ready before diving into the manual cleaning process!
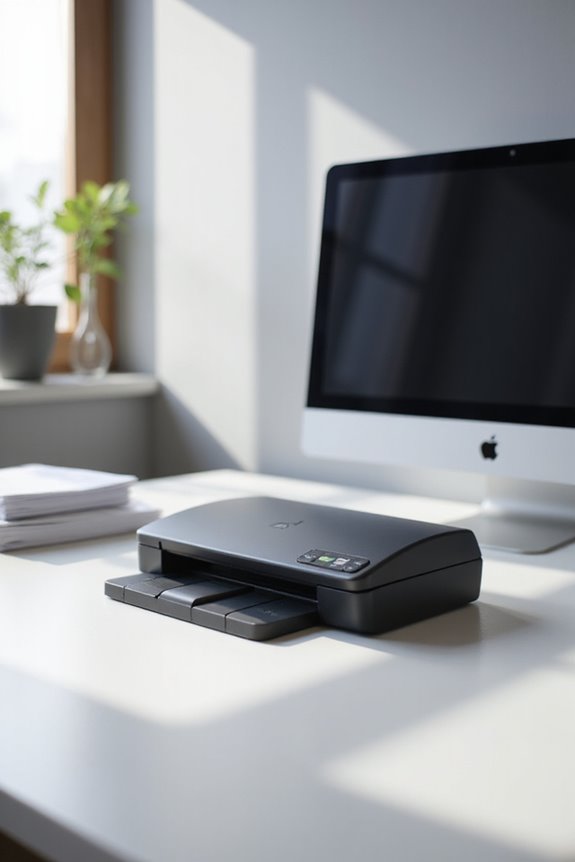
Manual Cleaning Process for Rollers
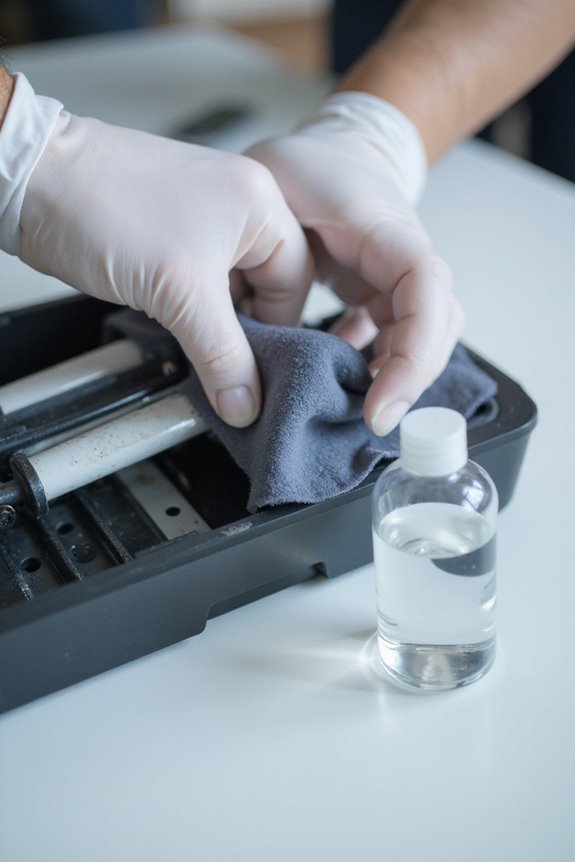
To effectively clean scanner rollers, we need to follow a systematic approach that guarantees thoroughness and safety. First, we should turn off the scanner and disconnect the power to avoid any electrical hazards. Once we’ve gently opened the scanner cover and removed attachments, we can access the rollers. Using lint-free cloths and a manufacturer-recommended cleaning solution, we’ll moisten a cloth without soaking it excessively. We wipe rollers horizontally, rotating them gently to clean all surfaces, avoiding excessive force. It’s important to let the rollers dry completely before reassembling. For ideal roller maintenance, we recommend cleaning every few months, depending on usage. Regular use of cleaning cards helps maintain optimal scanner performance and catch any potential wear early. Documenting cleaning frequency helps us maintain the scanner’s performance and catch any potential wear early.
Using Software-Assisted Cleaning Procedures

After manually cleaning the rollers, we can enhance the maintenance process using software-assisted cleaning procedures. Many scanners have a built-in cleaning mode that we can access via the operator panel or control software. For instance, in Fujitsu fi-series scanners, pressing the scan pause button slowly rotates the rollers, allowing us to wipe them effectively. The software often provides prompts for each cleaning step, ensuring we understand when to open covers or use cleaning cards. Additionally, it tracks cleaning intervals and sends alerts when it’s time for maintenance. This guidance simplifies our cleaning routine, reduces the risk of damage, and helps maintain ideal scanner performance, ensuring our equipment runs smoothly for longer periods. Using OCR technology can further enhance text recognition and efficiency during scanning.
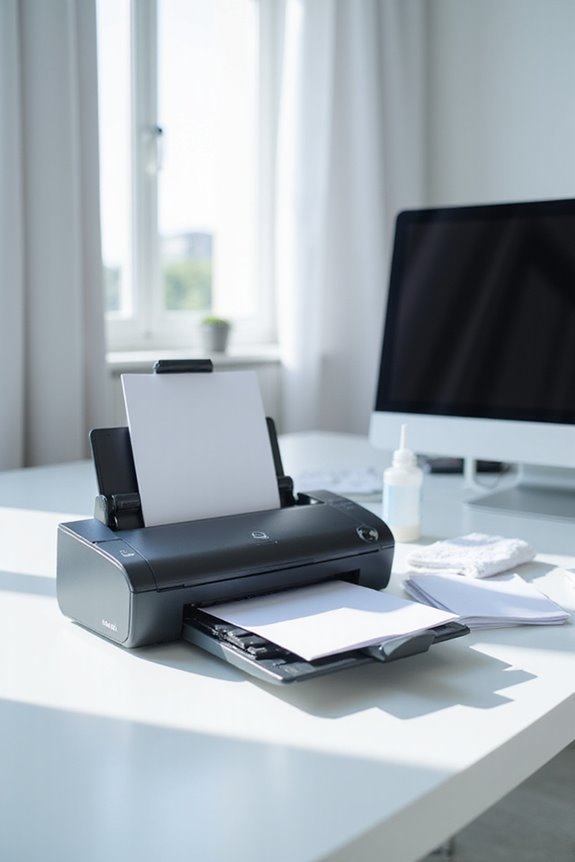
Post-Cleaning Care and Precautions

Guaranteeing our scanner remains in prime condition starts with proper post-cleaning care and precautions. After we’ve cleaned, a thorough post cleaning inspection is essential. We should dry the rollers and surfaces with a clean, lint-free cloth to avoid moisture that can lead to jams. Let’s examine the rollers for signs of wear, as degraded rollers can hinder our scan quality. Performing regular calibration and testing immediately after cleaning guarantees peak functionality. It’s wise to run test scans to catch any issues early. By scheduling routine preventative maintenance, we can maintain our scanner’s performance. Additionally, ensuring that the scanner’s software is compatible with operating systems helps in maintaining optimal functionality. Finally, documenting maintenance activities helps us track its condition, making it easier to anticipate future needs and keep our scanner running smoothly.
Common Mistakes to Avoid During Cleaning
While we often want to guarantee our scanners remain efficient and reliable, cleaning is where mistakes frequently occur. One common oversight is using excessive moisture, which can leave residue on rollers and lead to paper jams. We should always use a slightly moistened cloth, avoiding harsh chemicals that can cause roller deterioration. Another mistake is not waiting for the scanner to cool down; cleaning while it’s powered or hot could damage components. Additionally, we shouldn’t neglect cleaning frequency; regular maintenance based on usage helps prevent serious issues. Finally, let’s not overlook critical areas like the glass strips—dirt on these can affect scan quality. By being mindful of these common mistakes, we can maintain our scanners’ functionality effectively. For optimal performance, ensure you are aware of scanning efficiency and features that your scanner offers, as this knowledge can help you identify when cleaning is necessary.
Understanding Roller Wear and Damage
Maintaining our scanners’ efficiency starts with understanding roller wear and damage. Various roller types encounter specific wear indicators; abrasive wear develops from dust and debris, while surface fatigue arises from repetitive pressure. We should also watch out for uneven wear, leading to inconsistent paper feeding and potential jams. Speciality media usage can accelerate premature wear, diminishing the roller’s grip. Signs of wear include visible cracks, shiny patches, and unusual noise during operation. Additionally, environmental factors like humidity and temperature can degrade the roller material. By recognizing these indicators early, we can prevent significant damage, ensuring our scanners operate smoothly and deliver high-quality scans. Let’s be proactive about our scanner maintenance!
Recommended Cleaning Schedule
Establishing a recommended cleaning schedule for our scanners is essential to guarantee they operate efficiently. We should aim to clean the rollers after every 5,000 to 8,000 scans. For light usage, like a single-feed scanner, once or twice a year might suffice. However, in high-use environments such as teller windows, we may need to clean every two weeks. If we’re using batch processing scanners heavily, daily cleaning could be necessary. Let’s focus on our cleaning frequency based on actual scan volume rather than elapsed time alone, as this provides better maintenance control. By adapting our cleaning schedule to usage impact, we help maintain image quality and avoid scanner jams and errors, ultimately enhancing our scanning experience.
Troubleshooting Common Scanning Issues
When we encounter scanning issues, understanding the common problems can greatly enhance our ability to troubleshoot efficiently. We should check all connections, as loose or disconnected cables often lead to scanner connectivity issues. If needed, switching USB ports or cables can reveal faulty connectors. For wireless scanners, confirming we have a strong Wi-Fi connection is vital. Misaligned documents often result in poor image quality, so positioning them correctly is essential. Regularly inspecting rollers can prevent feeding issues and improve scan accuracy. Finally, keeping the scanner glass clean with isopropyl alcohol guarantees that our scanned images are clear and free of distracting marks. By addressing these problems, we can optimize our scanning experience and achieve better results.
Maintaining Your Scanner for Longevity
Proper upkeep of our scanner can greatly extend its lifespan and guarantee it operates at peak performance. Regular scanner maintenance is essential. We should clean the rollers every few weeks, especially during frequent use, to maintain consistent operation. It’s wise to schedule cleaning sessions before any visible issues, like paper jams or poor feeding occur. We need to avoid cleaning immediately after heavy use to let the machine cool down. Using lint-free cloths and isopropyl alcohol guarantees we don’t damage the rollers. Additionally, storing our scanner in a dust-free area while covering it during inactivity can help. Let’s also keep an eye on roller wear and replace them when necessary, following manufacturer guidelines for longevity tips.
Frequently Asked Questions
How Often Should I Clean My Scanner Rollers?
When it comes to cleaning frequency, we should always stay ahead of the game. For roller maintenance, daily cleaning for heavy use, weekly for regular loads, and monthly for occasional scanners keeps our equipment running smoothly.
Can I Use Baby Wipes to Clean the Rollers?
We shouldn’t use baby wipes for cleaning scanner rollers due to their effectiveness containing lotions, which can leave residue. Instead, let’s consider alternative cleaning methods, like a moist lint-free cloth, for ideal maintenance.
What Signs Indicate My Rollers Need Replacement?
When we notice roller wear, like smooth surfaces or frequent scanning issues, it’s time to contemplate replacement. Jams and misfeeds are clear signs our rollers are struggling, signaling deterioration that cleaning won’t fix.
Is It Safe to Use Vinegar for Cleaning?
As we ponder the best way to cleanse our beloved devices, vinegar’s effectiveness might tempt us. Yet, we should consider safer cleaning alternatives to avoid risking damage, as manufacturers recommend more gentle methods instead.
Can Cleaning Rollers Improve Scan Quality?
Yes, we’ve found that proper roller maintenance greatly enhances scan quality. Regularly cleaning rollers prevents errors like jams and double-feeds, ensuring smoother operation and clearer images, which ultimately boosts our overall scanning efficiency.