To use your Xerox duplex scanner wirelessly, we first verify it’s compatible with wireless connectivity. Next, we install the necessary drivers from the Xerox website. Using the Xerox Easy Wireless Setup Utility, we connect the scanner via USB, select our Wi-Fi network, and enter the password. Once configured, we can enjoy efficient duplex scanning without cable clutter. Plus, if you encounter issues, we can troubleshoot connectivity seamlessly to keep our workflows running smoothly.
Key Takeaways
- Ensure the scanner supports wireless connectivity and has the necessary wireless adapter installed correctly.
- Download and install the required drivers and software from the official Xerox website.
- Use the Xerox Easy Wireless Setup Utility to configure the scanner’s wireless settings by connecting via USB temporarily.
- Connect the scanner to your Wi-Fi network, entering the required password to establish a secure connection.
- Verify the connection by checking the scanner’s control panel for the correct network settings and IP address.
Preparing for Wireless Setup
Preparing for wireless setup is essential for guaranteeing our Xerox duplex scanner operates seamlessly in our network. First, we need to verify that our scanner supports wireless connectivity or is compatible with the Xerox Wireless Network Adapter. It’s important to check the wireless standards, like 802.11a/b/g, to align with our device’s specifications. We also should make sure our network uses secure protocols, such as WPA2, to protect our data. For hardware setup, obtaining the wireless adapter kit is critical. We connect it using the Ethernet crossover cable, positioning the adapter within range of our router for stronger signals. Finally, confirming our IP addressing scheme—static or dynamic—will facilitate communication between the scanner and our other devices. Additionally, ensuring compatibility with various document management software can enhance the overall efficiency of your scanning tasks.
Installing Drivers and Software
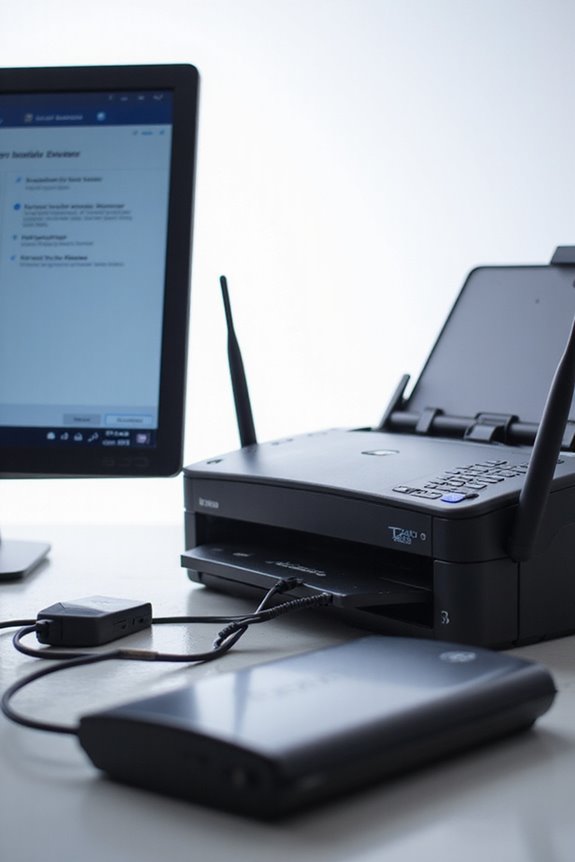
After ensuring our Xerox duplex scanner is set up for wireless connectivity, the next step involves installing the necessary drivers and software. We can download the installation package from the official Xerox website or use installation media. Once we locate the executable file, we’ll launch the installer and review the license agreement. By accepting the terms, we can select “Install software” on the main menu. It’s essential we check the boxes for the Scanner Driver and Visioneer OneTouch software for full software compatibility. Following the prompts for driver installation, we connect the scanner via USB. This process allows our computer to recognize the scanner, enabling it to function properly once driver installation completes. Additionally, it’s crucial to ensure that the scanner has strong security features to protect sensitive data during the scanning process.
Using the Xerox Easy Wireless Setup Utility
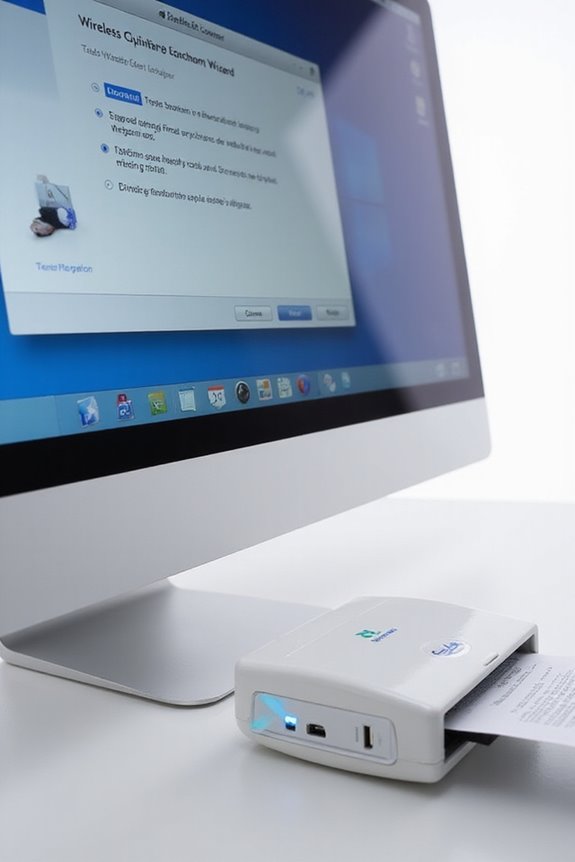
What’s the easiest way to wirelessly connect our Xerox duplex scanner? We can start by downloading the Xerox Easy Wireless Setup Utility. This utility is designed for Windows and Mac 10.15 or higher, ensuring broad Xerox compatibility. First, we need to connect our Xerox device using a USB cable, then disable Wi-Fi Direct to enhance wireless security. After launching the utility, we’ll select our wireless network and enter the password if prompted. The utility helps streamline configuration, allowing us to disconnect the USB cable and confirm our network settings. Once complete, we can install additional printer drivers via the utility, ensuring our Xerox scanner seamlessly connects to our wireless network for future use. Additionally, the utility supports various document management software, enhancing usability across diverse environments.
Establishing a Wireless Connection
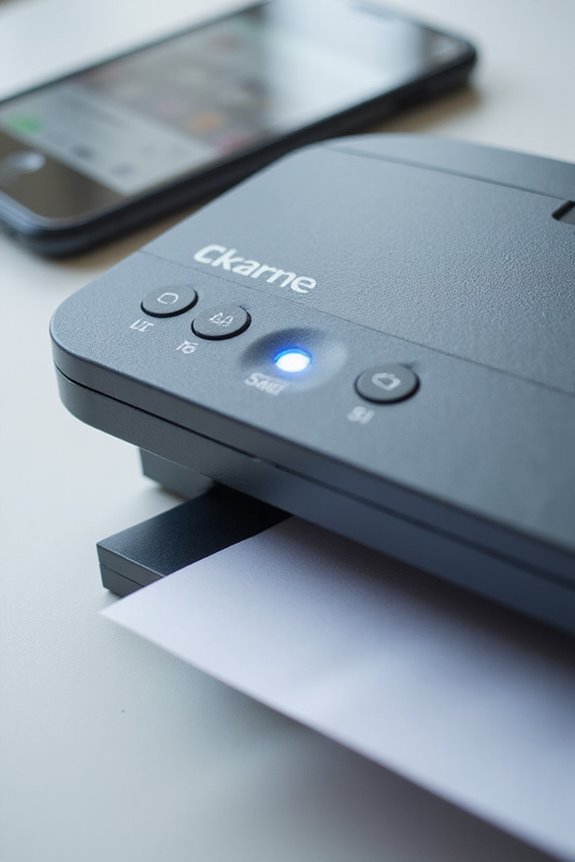
Once we’ve set up our Xerox duplex scanner using the Easy Wireless Setup Utility, we can move on to establishing a wireless connection directly on the device itself. First, we access the control panel by pressing the Home button and, if prompted, authenticate as an administrator. Then, we navigate to Device, Connectivity, and Wi-Fi. Here, we’ll toggle the Wi-Fi to “enable” and select our desired network from the list, entering the password if required.
To guarantee connection stability, we can manually input the network SSID and security parameters, confirming the Wi-Fi frequency is set to AUTO. After saving our settings, we check that the Wi-Fi is the primary network, which is vital for maintaining wireless security and seamless scanning. Additionally, ensuring compatibility with mobile devices can enhance the overall scanning experience.
Initiating Wireless Scanning
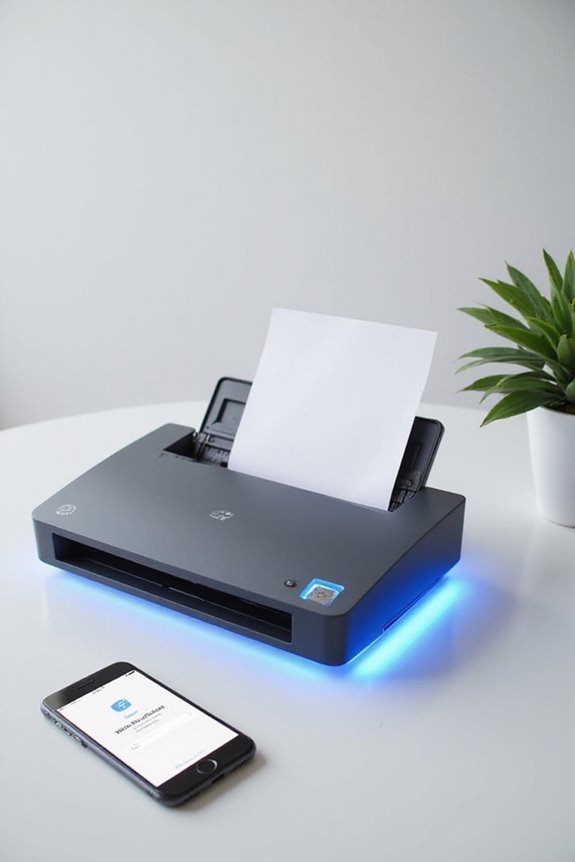
To initiate wireless scanning effectively, we first need to assure our documents or images are positioned correctly for ideal results. Let’s align our documents using the scanner’s reference frame arrows to guarantee proper orientation. We can place them on the flatbed glass or in the automatic document feeder, assuring everything’s flat and free of obstructions—this clearly boosts scan quality. After that, using the scan button on the control panel makes it easy to kick off the process, whether we’re choosing simplex or duplex options. Don’t forget to close the lid carefully, preventing any movement that could affect our document alignment. With these steps, we’re all set to enjoy efficient scanning without any hassle! Additionally, utilizing the scanner’s continuous scan mode allows for processing unlimited pages into a single file, enhancing productivity during large scanning tasks.
Verifying Network Stability
Before we start scanning, it’s essential to verify our network stability, as a reliable connection greatly enhances the performance of our Xerox duplex scanner. First, we can conduct a ping test to check packet loss and latency; consistent low latency is vital for smooth operation. Next, using a traceroute tool, we can identify potential delays in our network. Monitoring signal strength guarantees our scanner is well-connected, preventing dropouts during scans. Bandwidth testing will help us confirm that our connection can handle scanning data, while network diagnostics can uncover any hidden issues, allowing us to maintain ideal throughput and minimize jitter. By following these steps, we can guarantee our scanning process runs seamlessly. Additionally, understanding wireless scanning options can further improve our setup for efficient operation.
Troubleshooting Connection Issues
Even with a stable network, connection issues can arise with our Xerox duplex scanner. First, we should verify that the wireless adapter is correctly connected and check the printer’s configuration. It’s crucial to confirm the printer’s IP address matches the one displayed on the control panel. Additionally, we need to ensure that we’re connected to the right Wi-Fi network with the correct security settings, like WPA2 or WPA3, and double-check our password for accuracy. If problems persist, power cycling the printer and resetting the wireless adapter may help. Finally, let’s monitor the status indicators for any error messages that could guide us in solving connectivity issues. Staying proactive minimizes frustration and maximizes efficiency!
Maintaining Your Scanner and Software
Maintaining our Xerox duplex scanner and its software is essential for peak performance and longevity. We should clean the scanner at least weekly by using a soft, lint-free cloth lightly dampened with water. This helps prevent streaks and feeding issues. For maximum functionality, regular scanner maintenance includes checking and cleaning the pickup and feed rollers.
We also need to keep up with software updates to guarantee our scanner stays compatible with new features. Checking for updates regularly helps maintain stable connectivity. If we notice image quality issues, performing a calibration after cleaning can enhance our scanning accuracy. By following these steps, we can guarantee our Xerox scanner operates efficiently and effectively for years to come.
Frequently Asked Questions
How Can I Reset My Xerox Duplex Scanner to Factory Settings?
Did you know 70% of users face issues due to misconfigured settings? For a factory reset, we can press the reset button or access troubleshooting tips via the touchscreen to restore our Xerox scanner’s original configuration.
What Should I Do if My Scanner Gets Stuck During Setup?
If our scanner gets stuck during setup, let’s focus on some scanner troubleshooting. Restarting the devices, checking connections, and ensuring correct configurations can resolve most setup issues and help us complete the process smoothly.
Can I Connect Multiple Devices to the Scanner Wirelessly?
Yes, we can connect multiple devices to the scanner wirelessly. This multi-device compatibility enhances our workflow, allowing us to enjoy the wireless scanning benefits of seamless connectivity with smartphones, tablets, and laptops simultaneously.
Do I Need to Uninstall Old Drivers Before Setting up New Ones?
When we recently updated our Xerox scanner, we found that uninstalling old drivers resolved compatibility issues. We should always uninstall previous drivers to guarantee smooth driver installation and ideal scanner functionality with the latest software.
What Types of Documents Can I Scan With the Xerox Duplex Scanner?
When considering document types, we can scan standard papers, business cards, and photos using various scanning options. The Xerox duplex scanner efficiently handles both single and double-sided documents, making it incredibly versatile for our scanning needs.

