As an Amazon Associate, we earn from qualifying purchases. Some links on this site are affiliate links at no extra cost to you. Our recommendations are based on thorough research and editorial judgment.


How To Use Scanner USB Direct Connection?

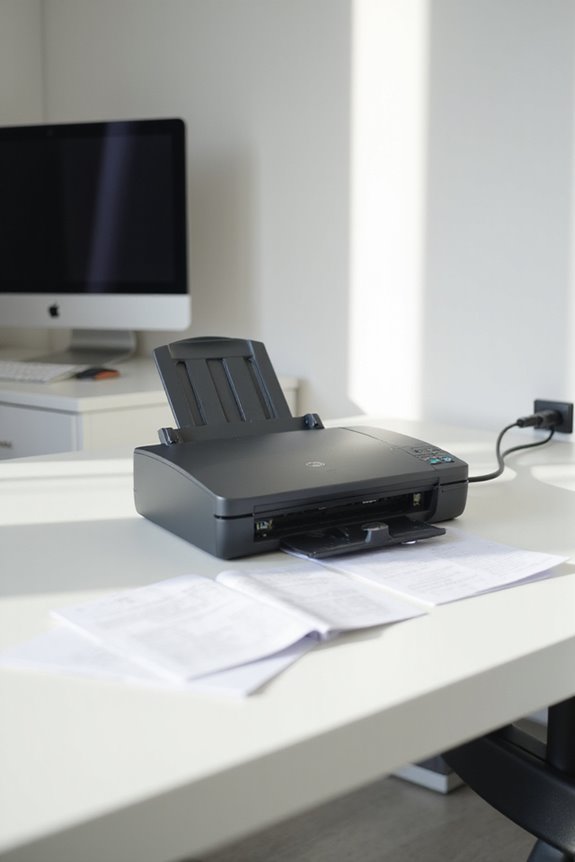
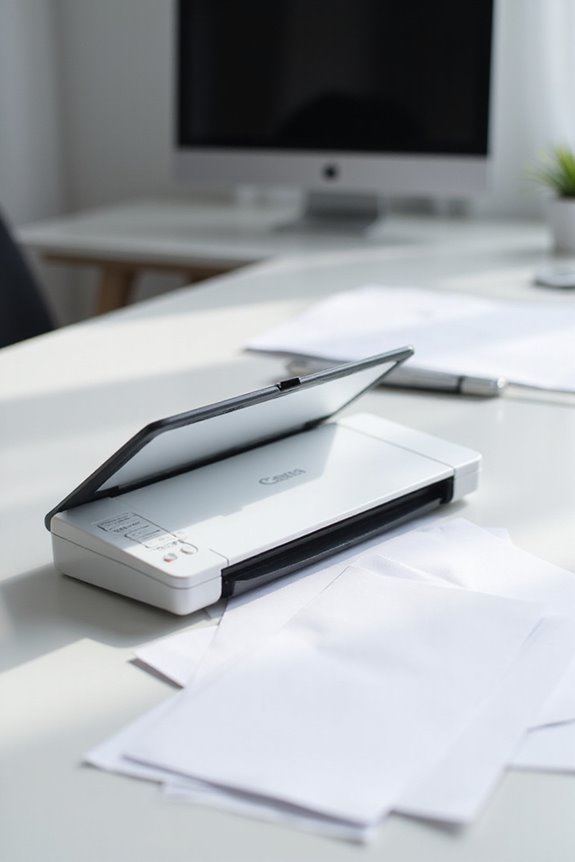
To use a scanner with a USB direct connection, we start by plugging the USB cable into a powered port. Next, we toggle the power button if the scanner doesn’t turn on automatically. After downloading the appropriate software from the manufacturer’s site, we connect the scanner to our computer. Windows usually auto-installs drivers, but we may need to check the settings if recognition fails. By following these steps, we enable efficient scanning—stay tuned to learn more tips!
Key Takeaways
- Ensure the scanner is powered on and properly connected to a USB port on your computer.
- Install the necessary software from the manufacturer’s website to ensure compatibility.
- Verify that the USB cable is functional and securely connected without any hubs, if possible.
- Check your computer’s device settings to confirm scanner recognition and configure settings as needed.
- Regularly update device drivers to maintain connection stability and functionality.
Initial Setup and Powering On the Scanner
You may be interested

To get started with your scanner, we first need to assure it’s properly set up and powered on. Begin by inserting the scanner’s USB connector into a fully powered USB port, preferably on the motherboard or a reliable powered hub. This assures connection integrity and stable scanner power. If the scanner doesn’t automatically power on, toggle its power button after connection. Look for indicator lights or startup sounds to confirm it’s on. Once powered, confirm the device’s recognition by the computer, usually with a beep or notification. If issues arise, check cable integrity and USB port functionality. This initial setup sets the stage for a smooth scanning experience, leading to efficient data input and effective use of your device. To enhance your scanning capabilities, consider using the Epson ScanSmart software for creating searchable PDFs and editable documents.
Software Installation and Preparation
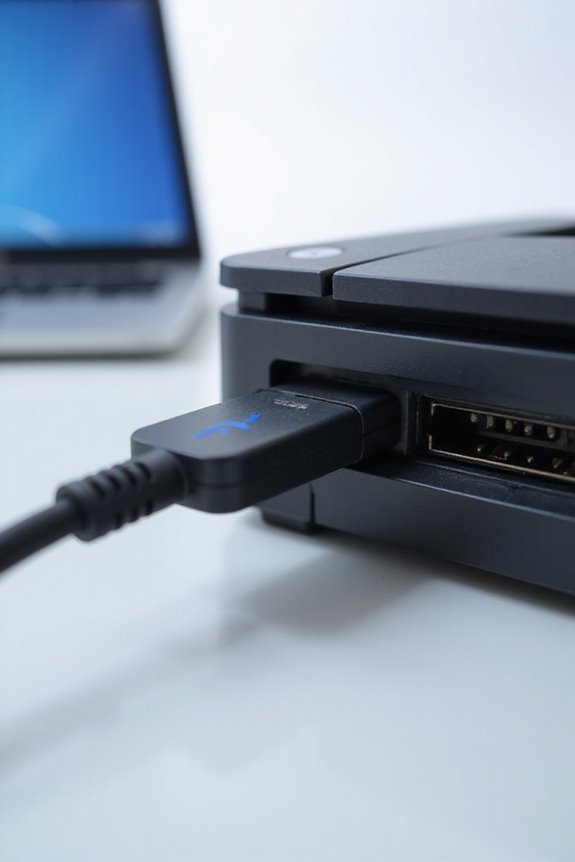
Now that the scanner is powered on and properly connected, let’s focus on getting the software up and running. First, we’ll download the software from the official manufacturer’s website to guarantee software authenticity. Before installation, we must check compatibility with our operating system, whether it’s Windows or macOS. It’s essential that our system meets the necessary requirements, such as processor speed and RAM, to avoid any conflicts. We should close other applications and may need installation rights to authorize the setup. If we have a CD-ROM, we’ll confirm it matches our OS version. Finally, let’s read the Quick Setup Guide for any specific instructions, as this will help pave the way for a smooth installation experience. Additionally, ensure that the scanner has strong security features to protect sensitive documents during the scanning process.
Connecting the Scanner to the Computer via USB
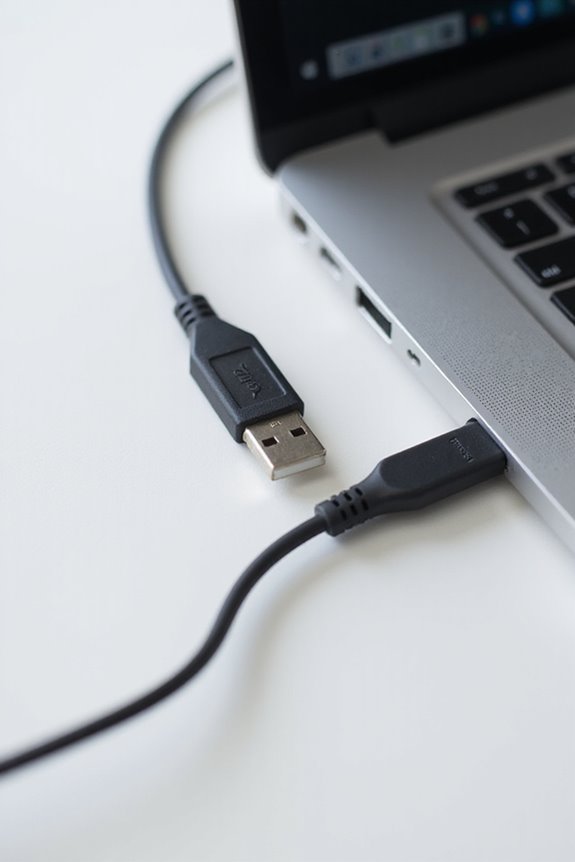
Connecting a scanner to a computer via USB is a straightforward yet vital step in guaranteeing effective operation. First, we should verify our scanner is powered on to enable data transfer. We recommend using the provided USB cable, typically a USB-A to USB-B or USB-C, based on scanner compatibility. If our model has multiple power options, connect to an outlet first. Once we’ve connected the USB cable, we might need to switch on the USB mode manually. Checking that the scanner display shows a USB connection status is essential. Remember, avoid using USB hubs unless specified. Additionally, ensuring the scanner has plug-and-play functionality can significantly enhance the ease of connection. By following these steps, we can establish a reliable connection for smooth scanning experiences and streamlined file management.
Software Configuration and Scanner Recognition
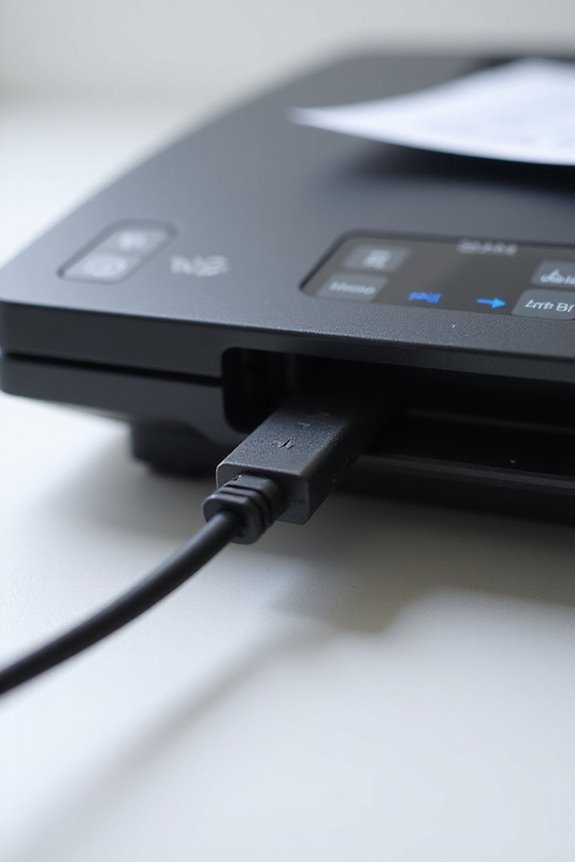
While configuring software for our scanner, it’s important to guarantee that we meet the necessary system requirements and compatibility criteria. We should verify that our operating system—Windows 10, Windows 11, or a compatible macOS version—supports the scanning software. The recognition process begins when we connect the scanner via USB; Windows will usually auto-detect it and install drivers. If this fails, we can manually add the device through “Settings > Bluetooth & devices > Printers & scanners.” After ensuring our scanner settings are accurate, like resolution and file format, we’re set for efficient scanning. Regularly updating drivers keeps the scanner functioning effectively and enhances software compatibility, ensuring a seamless scanning experience. Additionally, many scanners with duplex scanning capabilities streamline the process by allowing both sides of a document to be scanned simultaneously.
Troubleshooting Common USB Scanner Connection Issues
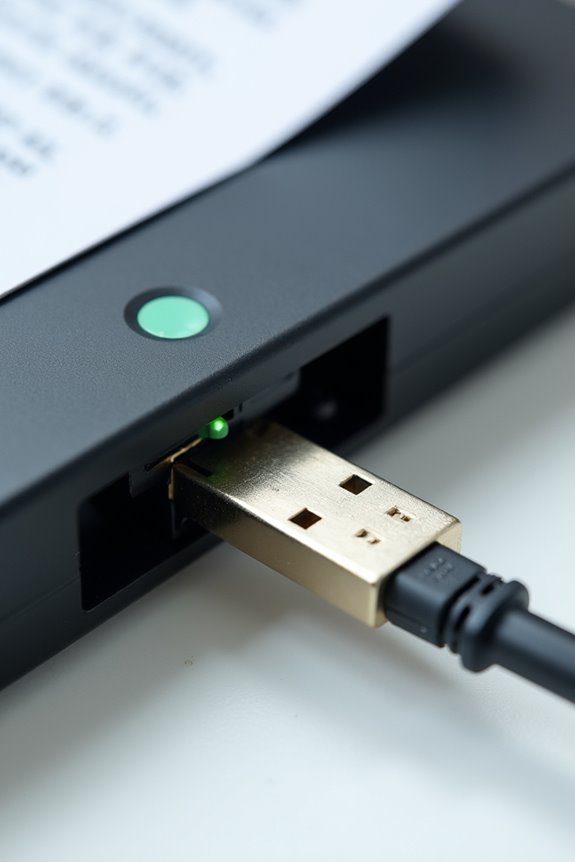
To guarantee our USB scanner works smoothly, we need to be aware of potential connection issues that can arise. First, let’s check USB power management settings; disabling the selective suspend can help maintain our connection. Next, we should conduct a thorough cable inspection; using the wrong orientation can disrupt connectivity. Additionally, let’s verify we’re using the latest driver updates. Sometimes, outdated drivers can cause connection failures. Don’t forget to look into firewall settings as they may block the USB scanner. Ultimately, we should perform compatibility checks to confirm that our scanner works well with our operating system. By addressing these areas, we can greatly reduce frustrating connection problems and enhance scanning efficiency. Remember to consider data transfer speeds when selecting a USB cable, as they can significantly affect performance.
Frequently Asked Questions
Can I Use My Scanner Wirelessly Instead of USB?
Imagine the freedom of wireless scanning! While our dream of a cable-free scanner setup is appealing, most USB scanners require additional hardware or specific support for wireless connectivity. Let’s explore the best options together!
How Do I Clean the Scanner Glass?
To clean the scanner glass, we’ll follow essential cleaning tips that guarantee proper scanner maintenance. Let’s unplug it, wipe gently with a soft cloth, and avoid harsh chemicals for lasting quality and performance.
What File Formats Can I Save Scanned Documents In?
When we save scanned documents, we can choose from PDF formats for text, various image types like JPEG and TIFF, balancing document quality and file compression for our specific needs.
How Can I Adjust Scanning Resolution Settings?
Adjusting scanning resolution settings is essential for achieving stunning scanning quality. We can easily select options on the scanner’s interface or software, balancing detail and file size for our specific needs and preferences.
Is My Scanner Compatible With Macos?
To determine our scanner compatibility with macOS, we should check macOS requirements like driver support and system version. Remember, scanning hardware must also have the appropriate interface for seamless connection. Let’s verify together!