
To use a scanner for preserving our holiday photo memories, we should start by choosing the right scanner based on our needs. Flatbed scanners work well for various photo sizes, while dedicated photo scanners offer superior detail. Before scanning, prepare our photos by cleaning them gently and sorting by size. Set the scanner to at least 300 DPI for good quality. Once scanned, we can enhance images using editing software to guarantee they look their best. There’s more to explore on organizing and sharing our memories effectively.
Key Takeaways
- Gather all loose holiday photos and group them by size for a more organized scanning process.
- Clean each photo with a soft, lint-free cloth to ensure high-quality scans.
- Choose a scanner with at least 300 DPI for sharing holiday memories effectively.
- Create a consistent file naming system, like YYYY-MM-DD, for easy sorting later.
- Use photo management software to tag and organize scanned photos by holiday events.
Choosing the Right Scanner for Your Needs
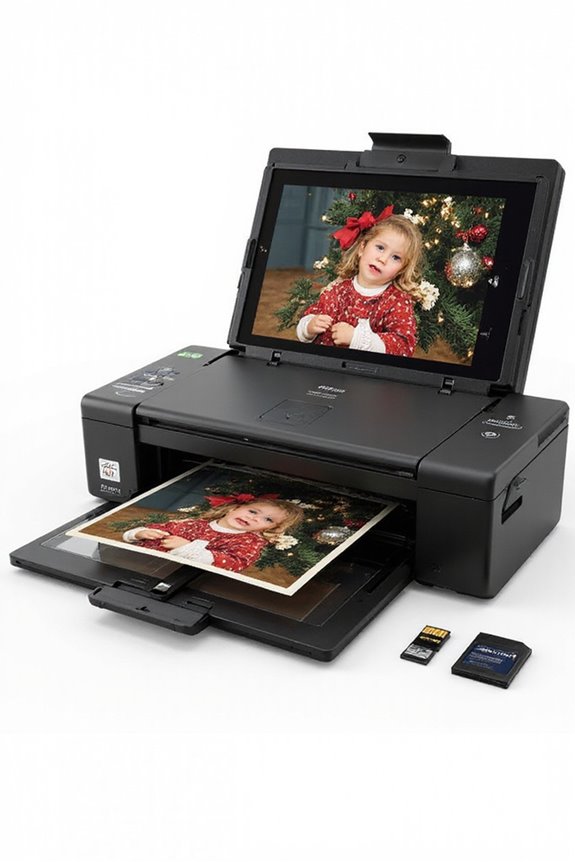
When it comes to preserving our cherished holiday memories, choosing the right scanner is essential. There are various scanner types available, each suited for different needs. Flatbed scanners are ideal for various photo sizes, ensuring high resolution while gently handling delicate prints. Dedicated photo scanners often provide higher dpi and color accuracy, making them great for quality preservation. Resolution importance can’t be understated; for standard scanning, 300-600 dpi is adequate, but if we want enlargements, 1200 dpi or higher is ideal. We should also consider color depth and dynamic range when selecting a scanner. Ultimately, evaluating our specific needs will help us choose the best scanner to protect our holiday treasures for years to come. Additionally, high-resolution scanners like the Canon CanoScan Lide 400 offer exceptional detail capture, enhancing the quality of scanned images.
Preparing Your Photos for Scanning

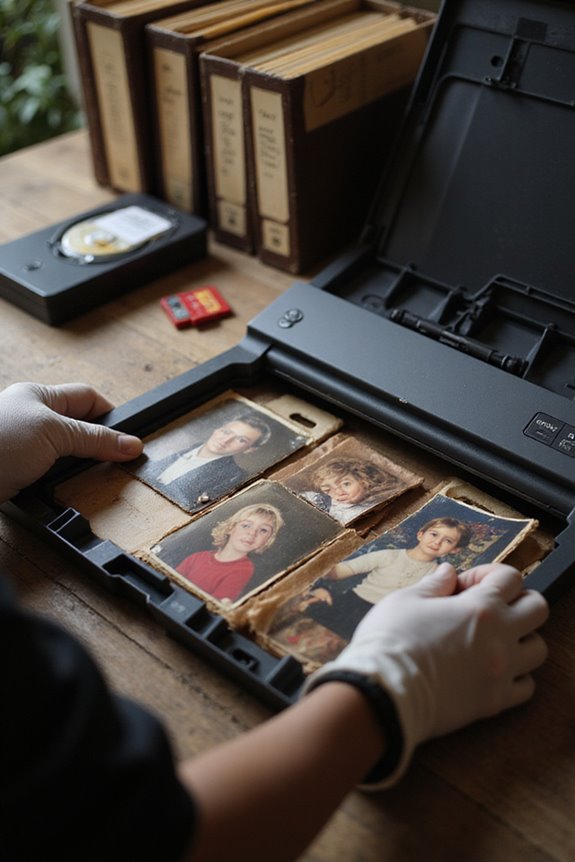
Once we’ve chosen the right scanner for our needs, preparing our photos for scanning is the next important step. First, let’s gather all our physical and loose electronic photos from various spots to guarantee we don’t overlook any memories. We should group the photos by size—4x6s together, 5x7s together—to streamline our scanning process. Next, using a soft, lint-free cloth, we’ll carefully apply cleaning techniques to remove dust and dirt. It’s essential to check for staples or sticky materials that could damage both the photos and the scanner. Finally, let’s sort out damaged or laminated photos, as these can complicate the scanning process. High scanning resolutions ensure image detail retention, which is crucial for preserving our cherished memories. By following these steps, we’ll set ourselves up for scanning success!
Understanding Scanner Settings and Features
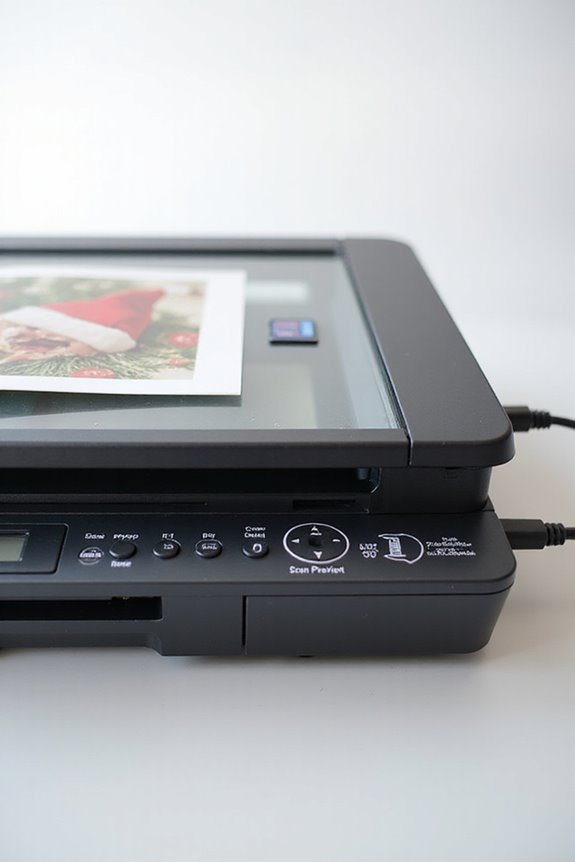
Understanding scanner settings and features is essential for capturing holiday photo memories effectively. First, we need to take into account scanner resolution. A DPI of 300 is usually adequate for digital sharing, but if we’re looking to enlarge our photos, we might opt for 600 DPI or higher. Just remember, higher DPI increases file size and can slow scanning speed. Next, let’s choose the right color modes. Using a 24-bit color mode preserves the original hues of our photos, ensuring vibrant details. If enhancing our scans, we can adjust saturation and color balance in the software before saving. Exploring features like professional mode offers more control over settings, boosting our scanning experience and the quality of our cherished memories. Additionally, utilizing a scanner with high optical resolution can further improve the clarity of your scanned images.
Digitizing and Organizing Your Scanned Photos
After mastering scanner settings, we can now focus on digitizing and organizing our scanned photos. First, let’s sort our physical photos chronologically or by event to streamline the scanning process. Next, using consistent file naming, like YYYY-MM-DD and event details, guarantees clarity. We can create year-based folders for easy access, along with sub-folders for specific moments or people. Remember to batch scan smaller photos for efficiency and label piles to maintain reference accuracy. High-quality formats like TIFF preserve details, while JPEGs work well for sharing. Employ digital photo management software to facilitate tagging and sorting. Additionally, using OCR technology can enhance the searchability of your scanned images, making it easier to locate specific photos later on. Let’s also regularly back up our files to prevent loss and keep our memories organized and accessible for years to come.
Enhancing and Restoring Photo Quality
Enhancing and restoring photo quality is essential for bringing our cherished holiday memories back to life, especially when dealing with older or worn-out images. We can utilize noise reduction techniques to minimize graininess, ensuring clarity in our scanned photos. Adjusting contrast and brightness enables us to reveal hidden details, enhancing overall picture quality through techniques like histogram equalization. Additionally, sharpening methods help our images appear crisper, accentuating edges without introducing noise. For black and white scans, adaptive binarization improves visibility and separates foreground from background. Finally, removal of shadows and artifacts makes our scans more professional and visually appealing. Through these photo retouching and digital restoration techniques, we’re effectively preserving our priceless memories for future enjoyment. Using Digital ICE technology can significantly enhance the scanning process by automating dust and scratch removal, ensuring a cleaner final image.
Sharing and Preserving Your Holiday Memories
Sharing our holiday memories has never been easier, thanks to advancements in technology and storage options. By utilizing reliable photo sharing platforms, we can securely share high-resolution images, guaranteeing our cherished moments stay intact. Let’s protect our digital rights while sharing by embedding metadata, which includes context like dates and names. To preserve originals, we should scan them into digital formats and store them in acid-free archival boxes — keeping them cool and dry. Using at least three secure cloud backups prevents data loss, enhancing our photo safety. Regularly inspecting our stored photos ensures we address any signs of deterioration promptly. These practices not only safeguard our treasures but also streamline access for family and friends as we share our wonderful memories together. Additionally, investing in high-quality photo scanners can significantly improve the quality of your digitized memories.
Frequently Asked Questions
Can I Scan Larger Photos With a Standard Flatbed Scanner?
Like fitting a puzzle piece into place, we can definitely scan larger photos with standard flatbed scanners. By adjusting our scanning techniques and knowing how to handle different photo sizes, we achieve fantastic results!
How Many Photos Can I Scan in a Single Session?
When we consider photo scanning capacity, it varies by scanner, typically ranging from 10 to 150 photos in one session. We should also be mindful of session time limits to guarantee efficiency and quality.
What Do I Do if a Photo Jams in the Scanner?
If a photo jams in our scanner, let’s troubleshoot by gently removing it, ensuring proper maintenance, and checking for debris. Regular cleaning and care help prevent future jams, keeping our scanning smooth and efficient.
Are There Mobile Apps for Scanning Photos Without a Physical Scanner?
Have you ever imagined effortlessly digitizing our cherished memories? With mobile technology, we can plunge into photo scanning, using apps like Photomyne and Google PhotoScan—these tools make preserving our treasured moments so convenient and enjoyable!
How Should I Handle Wet or Damaged Photos Before Scanning?
When handling wet or damaged photos, we should prioritize photo preservation techniques like gently rinsing and drying damaged photos individually. This prevents sticking and guarantees the best quality for scanning while minimizing further harm.