To use a Scanner ExpressCard slot, we first ascertain our laptop has the correct slot type—either ExpressCard/34 or ExpressCard/54. Next, we clean the workspace to prevent dust entry and discharge any static electricity. After inserting the Scanner ExpressCard firmly, we power on the device so the system recognizes it. With data transfer rates of up to 5 Gbps, we can now enhance our productivity. If we want to explore more installation and compatibility tips, there’s plenty to discover.
Key Takeaways
- Confirm that your device has a functional ExpressCard slot and meets necessary hardware and operating system requirements.
- Ensure proper grounding before handling the Scanner ExpressCard to prevent static discharge damage.
- Firmly insert the Scanner ExpressCard into the slot, ensuring smooth alignment and a secure connection.
- Power on your device to recognize the new hardware, and install drivers from the included CD or manufacturer’s website if necessary.
- Troubleshoot detection issues by checking BIOS settings, verifying connections, and updating drivers if the card is not detected.
Understanding the Scanner ExpressCard Slot
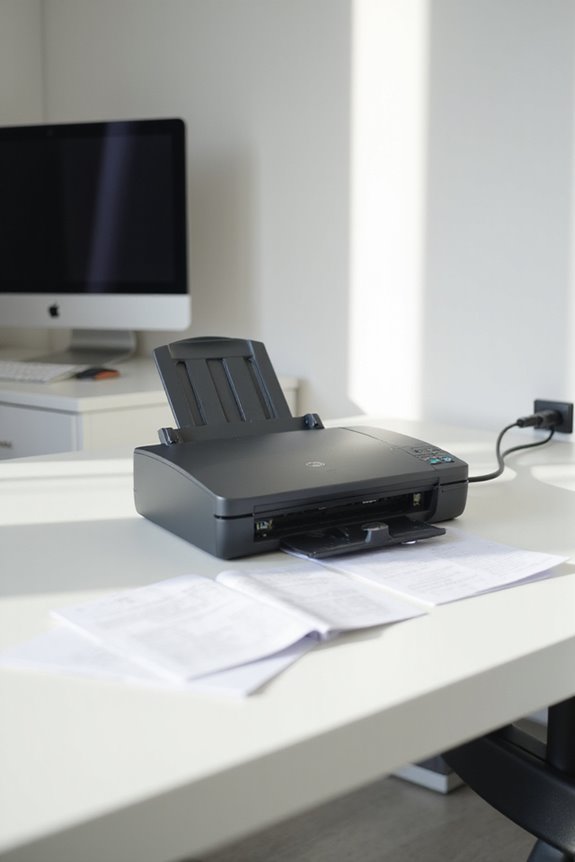
When it comes to enhancing our laptops’ capabilities, understanding the Scanner ExpressCard slot is essential. This slot offers us expansive options for connecting scanner technology that’s vital in various fields. There are two slot types—ExpressCard/34 and ExpressCard/54—both 75mm long and 5mm thick. The 34mm version suits smaller devices, while the 54mm version accommodates larger modules easily. Each slot supports data transfer rates of up to 5 Gbps with USB 3.0, ensuring quick performance. This feature enhances our ability to connect peripherals lacking built-in support, making everyday tasks more efficient. The ExpressCard modules allow for flexibility, allowing us to use various devices, from barcode scanners to receipt printers—ideal for modern professional needs, right at our fingertips. Furthermore, many OCR scanners are designed to integrate seamlessly with such connections for enhanced document management capabilities.
Preparing to Install the Scanner ExpressCard
Now that we comprehend the benefits of the Scanner ExpressCard slot, it’s time to prepare for installation. We need to follow our installation checklist to guarantee everything’s in place. First, let’s confirm our computer has an available and functional ExpressCard slot, and that it meets the manufacturer’s system requirements, including the right operating system.
Next, we’ll clean our workspace to prevent any dust from entering the slot and organize our materials, including the ExpressCard, driver CD, and cables. Don’t forget to touch a grounded metal object to discharge static electricity. Finally, let’s verify we have administrative rights for any necessary driver installations. With proper workspace organization and preparation, we’re ready to move forward confidently. Additionally, ensuring that the scanner supports various paper types will enhance its functionality and efficiency during use.
Installing the Scanner ExpressCard
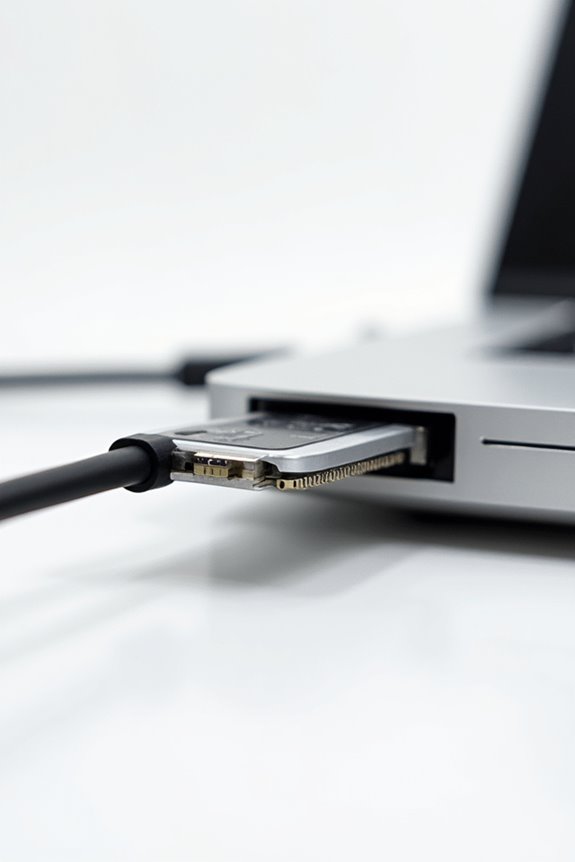
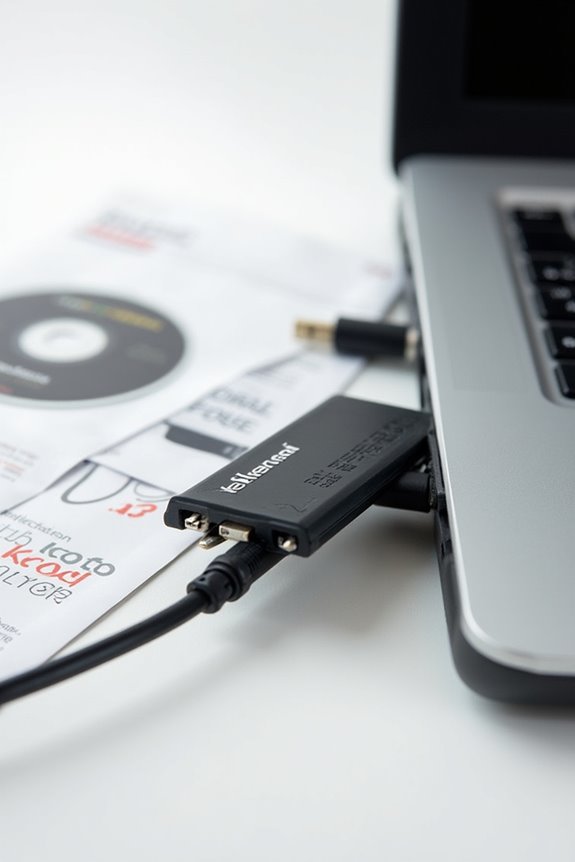
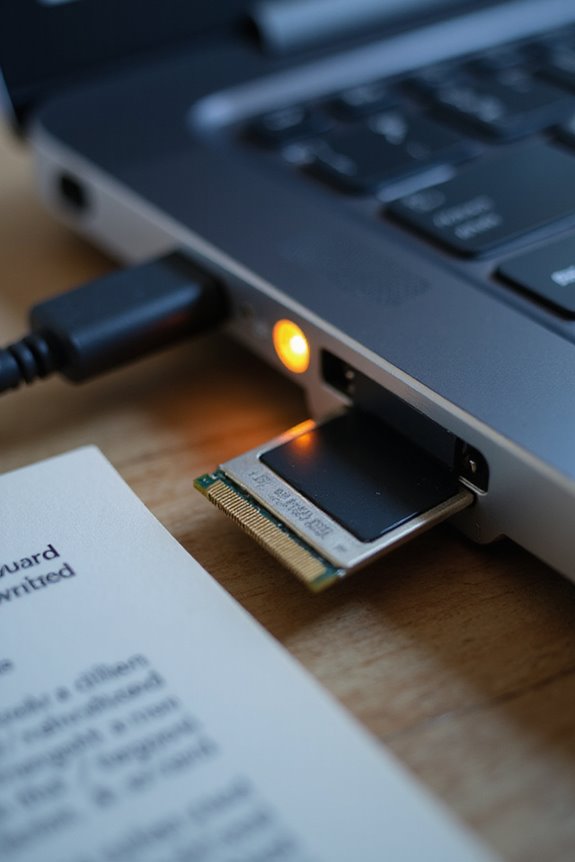
To guarantee a smooth installation of the Scanner ExpressCard, we should begin by locating a free ExpressCard slot on our computer or scanner device. Once we’ve identified the slot, it’s essential to confirm we’re properly grounded to prevent any static discharge. We can do this by touching a grounded metal object. Then, we insert the Scanner ExpressCard firmly into the slot, using proper card alignment techniques. Remember, we shouldn’t force the card; it should slide in smoothly. With our installation best practices in mind, we can power on the device if needed, allowing the system to recognize the new hardware automatically. Following these steps guarantees a seamless setup for efficient scanning and data management, especially when considering Triple Layer Security to protect your scanned documents.
Ensuring System Compatibility

After successfully installing the Scanner ExpressCard, we need to verify our system is compatible with the device for peak performance. First, let’s check our laptop’s hardware requirements. It should have an operational ExpressCard slot—either ExpressCard/34 or ExpressCard/54. We must also confirm that the internal interfaces, like PCIe or USB 2.0, are supported for maximum device performance. Next, it’s crucial to look at the operating system. Most modern systems recognize the Scanner automatically, but we may need to seek driver updates for Windows 10. Checking the manufacturer’s website guarantees we have the latest compatibility information and drivers. Finally, we should verify our BIOS settings to confirm ExpressCard functionality is enabled, preventing any unexpected issues. Additionally, ensuring compatibility with various formats and document types enhances the scanner’s performance and versatility.
Troubleshooting Detection Issues
When we encounter detection issues with our Scanner ExpressCard, addressing the problem systematically can often lead to a solution. First, we should check our BIOS settings—ensuring the ExpressCard slot is enabled and PCI Express Power Management is disabled to prevent detection failures. After saving those settings, it’s crucial to reboot. Next, let’s confirm that the card is firmly inserted and that any connected devices are powered adequately. If detection issues persist, we can look into driver updates specifically for the ExpressCard controller. Testing the card in different operating systems can help isolate software conflicts. Finally, if all else fails, examining hardware connections or consulting professional services may be necessary as our last troubleshooting steps. Additionally, ensuring that the power supply is reliable is crucial, as reliable power adapter cables can significantly impact device performance.
Using the Scanner After Installation
Once we’ve successfully installed our Scanner ExpressCard, it’s time to get started with scanning. We’ll begin by launching our scanning software, which recognizes the scanner as an external device for image capture. Adjust the scanning settings based on our needs—whether it’s resolution, format, or destination for the scanned images. For peak performance, verify our power supply is stable, particularly with high-powered scanners. If everything’s set up correctly, we’ll enjoy seamless scanning workflows, transferring images directly to our computer’s storage. Remember to check for any driver updates if we encounter issues. Additionally, ensure that our scanner supports various document types for maximum versatility. With these steps, we can efficiently manage our scanning tasks and maximize the capabilities of our new ExpressCard. Let’s get scanning!
Maintenance Tips for Your Scanner ExpressCard
To guarantee our Scanner ExpressCard operates effectively and delivers high-quality scans, regular maintenance is imperative. We should commit to a preventative maintenance schedule, performing servicing annually to maintain image quality and reliability. Establishing routine inspections helps identify dust buildup, worn parts, and calibration needs early. For users with heavy scanning needs, cleaning procedures should be done more frequently, like every 1,000 scans.
We’ll keep cleaning cards designed for scanner rollers handy, and use isopropyl alcohol on the scanner bed. Tracking maintenance activities guarantees we never miss significant cleaning, calibration, or software updates. By promptly replacing worn components, we can avoid hardware failures and maintain peak performance, maximizing our scanner’s lifespan. Regular maintenance keeps our scans crisp and reliable!
Additional Applications for Scanner ExpressCard
In addition to the maintenance practices we’ve discussed, the Scanner ExpressCard offers diverse applications that enhance both functionality and user experience. One significant use is card enhancement, allowing instant personalization and issuance of payment cards directly within branch environments. This greatly improves customer service by eliminating mailing delays. Additionally, it facilitates scanner connectivity; compatible Epson scanners can share access among multiple clients, ensuring efficient workflows. With support for high-speed data transfer and seamless integration into various systems, we can easily connect to external drives or security devices. These added functionalities not only simplify media management but also enhance security and efficiency in our everyday operations, making the Scanner ExpressCard a versatile tool for modern computing needs.
Frequently Asked Questions
What Types of Scanners Are Compatible With Expresscard Slots?
When considering scanner compatibility, we find that ExpressCard types include USB, RS232, and contactless options. Each scanner requires the appropriate adapter for seamless integration with our devices, ensuring efficient operation across various applications.
Can I Use Multiple Expresscards Simultaneously?
We can’t use multiple ExpressCards simultaneously due to ExpressCard limitations. While some devices may face compatibility concerns, the typical workarounds involve using USB hubs to expand connectivity through a single ExpressCard slot effectively.
How Do I Know if My Scanner Is Hot-Pluggable?
“Look before you leap,” so let’s explore our scanner’s hot pluggable features. We can check the manual for scanner compatibility, learning if it supports seamless connection without shutting down our system.
Are There Security Features in Scanner Expresscards?
When considering security features in Scanner ExpressCards, we’ve found that they utilize advanced security protocols and card encryption methods to guarantee data integrity, protecting sensitive information during transmission and assuring secure communications throughout the scanning process.
How Can I Optimize Scanning Speed With Expresscard?
To optimize our scanner performance and data transfer speed, we should use updated drivers, limit background processes, and consider medium-resolution scans. Moving to faster interfaces when possible can also greatly enhance our workflow efficiency and throughput.