To use a CIS sensor compact scanner, we first guarantee it’s properly set up and aligned with the scanning surface. Then we prepare our documents by removing staples and organizing them for easy scanning. Next, we select the appropriate scan mode based on our document type, whether color, grayscale, or black & white. We initiate the scan and save the files efficiently. By following these steps, we can achieve high-quality scans with minimal effort. More tips await us for optimizing our scanning experience!
Key Takeaways
- Inspect the scanner for damage and ensure sensor alignment is parallel to the scanning surface before use.
- Connect the device to a power source and install any necessary drivers for proper functionality.
- Prepare documents by removing staples, fanning pages, and organizing them into manageable stacks for optimal scanning.
- Select the appropriate scan mode (Color, Grayscale, or Black & White) based on the document type for best results.
- Regularly check for paper jams and clean the scanner components to maintain high-quality scans and performance.
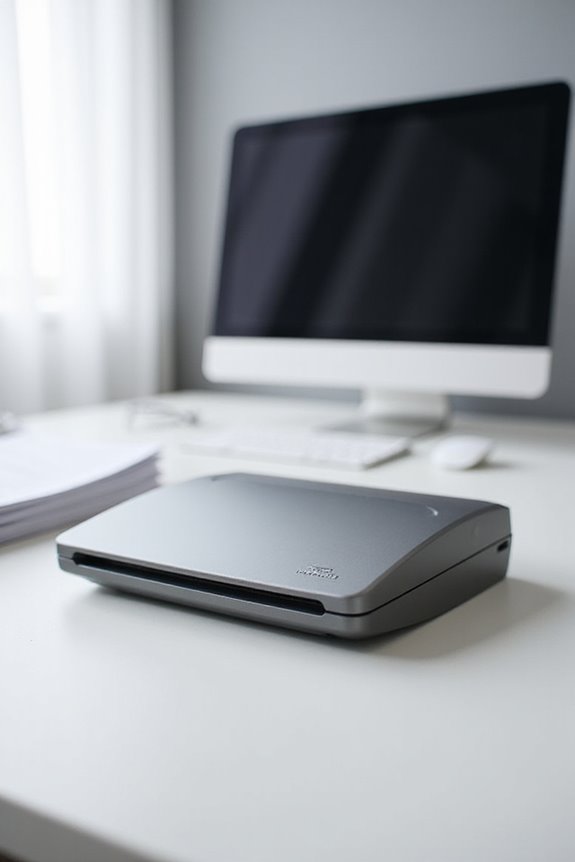
Understanding the CIS Sensor Technology
When we explore the CIS Sensor Technology, we notice that it blends several essential elements into a compact module. This revolutionary CIS technology integrates a linear array of detectors, optics, and LEDs, giving us high-quality image capture without bulky components. By using a line-scan technique, it records images line by line, which greatly enhances precision for quality control applications. The SELFOC lens array minimizes distortion and delivers sharp images, while uniform lighting guarantees consistent image quality. Although depth of field is limited, this technology effectively reduces shadows, highlighting surface details. Plus, its low power consumption, often USB-powered, makes it perfect for portable scanners. Overall, CIS technology strikes a balance between efficiency and image quality for varied scanning needs. Moreover, advancements in scanning technology continue to enhance the capabilities of CIS sensors, ensuring they remain relevant in a rapidly changing market.
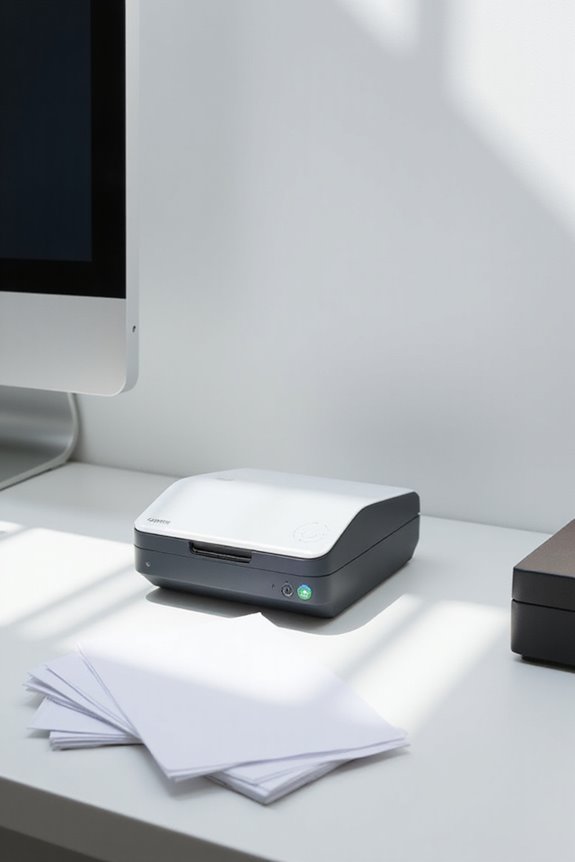
Setting Up Your Scanner
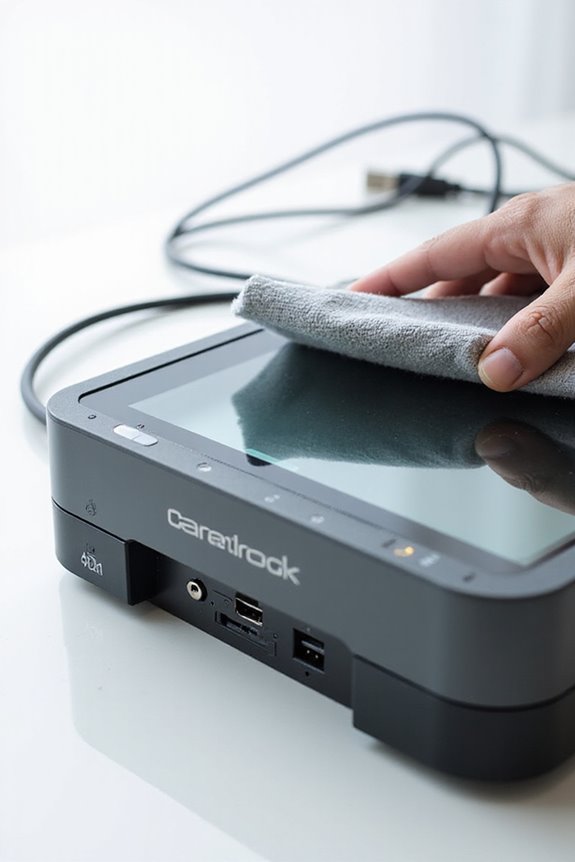
Setting up our scanner with CIS sensor technology is a straightforward process that guarantees we get the finest performance for our scanning needs. First, we unbox the scanner, inspecting for any physical damage. Next, we verify proper sensor alignment, placing the CIS sensor parallel to the scanning surface. Adjusting the distance between the sensor and the object following manufacturer specifications is critical for peak scan quality. After connecting the power and data cables, we proceed to install the necessary grabber card drivers and check device detection in the system’s Device Manager. Finally, we load configuration files for scanner calibration, confirming that all operational parameters are set correctly to enhance performance. This meticulous setup guarantees we achieve reliable and accurate scans. Additionally, ensuring compatibility with mobile devices can further enhance the versatility of your scanning experience.
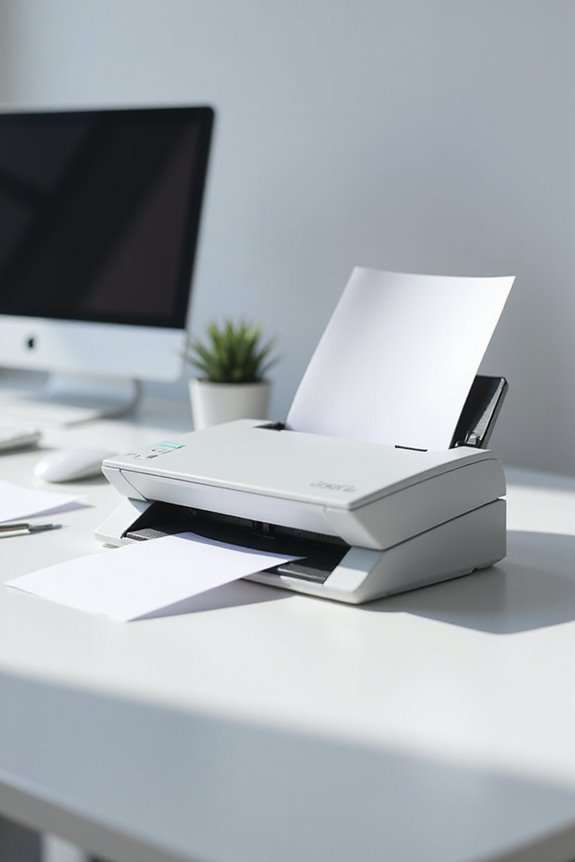
Preparing Your Document for Scanning

Preparation is key for achieving high-quality scans with our CIS sensor scanner. First, we should conduct a thorough document inspection to guarantee all pages are legible, complete, and free of sensitive information that requires masking. Next, physical preparation is important; let’s remove all staples and paper clips to prevent jams. We need to fan the pages to separate any that might be sticking together and smooth out any wrinkles. Additionally, it’s smart to organize our documents by type or size, making sure to keep stacks to 20 pages maximum for accuracy. With these steps, we enhance the chances of clear and efficient scanning, ultimately achieving better digital records and saving time in post-processing. It’s also beneficial to consider scanning speed to ensure you select a scanner that meets your volume needs.
Choosing the Right Scan Mode
Choosing the right scan mode is essential for optimizing the results we get from our CIS sensor scanner. When considering a scan mode comparison, we note that the right choice hinges on our document types. Color mode captures full RGB data, perfect for photographs or colored documents, while grayscale mode is ideal for black-and-white photos and text with subtle contrasts. For text-only documents, black & white mode is the fastest option, producing smaller files without losing significant content. It’s vital to select a scan mode that minimizes detail loss, especially when handling uneven materials. Ultimately, understanding these differences helps us balance image quality and scanning efficiency, ensuring we choose the best mode for our unique needs. Additionally, selecting the appropriate optical resolution can further enhance text recognition capabilities.
Adjusting Scanning Resolution
How can we optimize our scans by adjusting the scanning resolution? By selecting the right dpi settings, we can greatly influence the resolution impact on our scans. Typical options include 300, 450, 600, and 900 dpi, with pixel sizes ranging from about 84 down to 28 micrometers. Higher dpi settings yield more detail but may slow the scanning speed. Additionally, as we adjust the resolution, we must consider the increased data demands on our processing systems. It’s crucial to recalibrate our sensors and guarantee proper light intensity to maintain image clarity. Finding the right balance between resolution and system throughput can enhance image fidelity without compromising efficiency in our scanning tasks. Many scanners, such as the Fujitsu FI-7160, support high-quality image output, making them ideal for achieving optimal results.
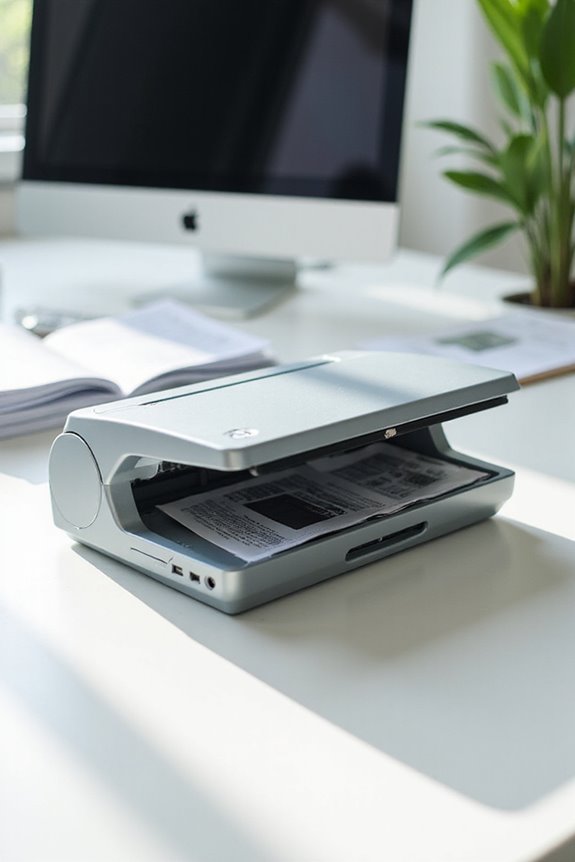
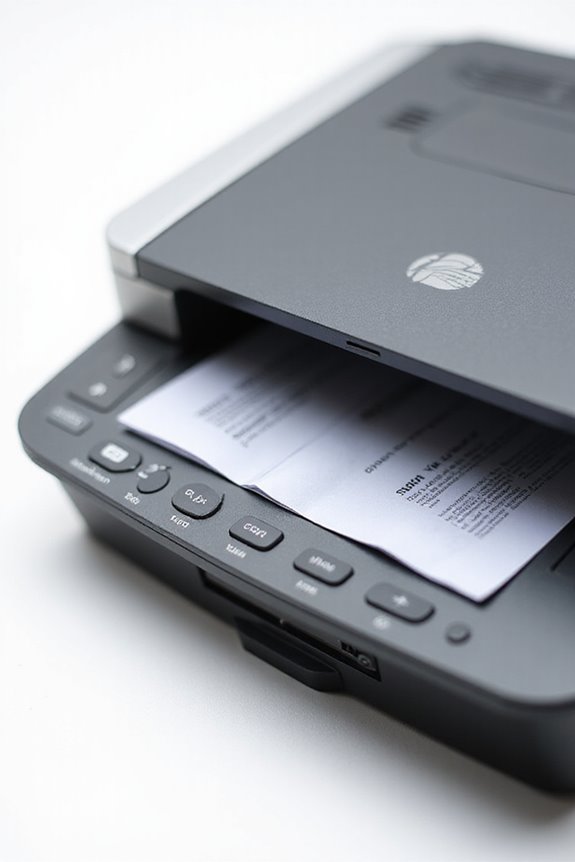
Initiating the Scanning Process
Before we start the scanning process, it’s essential to guarantee everything is set up correctly for ideal results. We’ll begin by placing our document flat on the scanner glass, ensuring it’s aligned. Once we close the lid, we prevent any light interference. Next, let’s make sure the scanner is connected and powered on, with the software functioning properly.
Now, we can select our scan settings using the software interface. Whether we need color, grayscale, or black and white, we just choose the appropriate mode. If we’re scanning only a portion of the document, we can set the scanning area. After that, we’ll hit the start button. We can monitor our scan preview as the process begins, ensuring everything goes smoothly. Additionally, using a scanner that supports multi-page scanning can significantly streamline our document management process.
Saving and Transferring Scanned Images
Once we’ve completed the scanning process, saving and transferring our images becomes essential for easy access and use. The CIS module allows us to save our scanned images in popular file formats like JPEG, PNG, or TIFF, ensuring compatibility and maintaining image quality. We can automate the saving process through scanning software, which lets us choose file names, formats, and destination folders. Images are transferred to our devices via high-speed USB or CameraLink connectors, ensuring efficient data transfer with minimal distortion. For added convenience, some scanners allow us to save directly to cloud storage. By optimizing image resolution and compression settings, we can strike a balance between file size and quality, making our images accessible and useful for various applications.
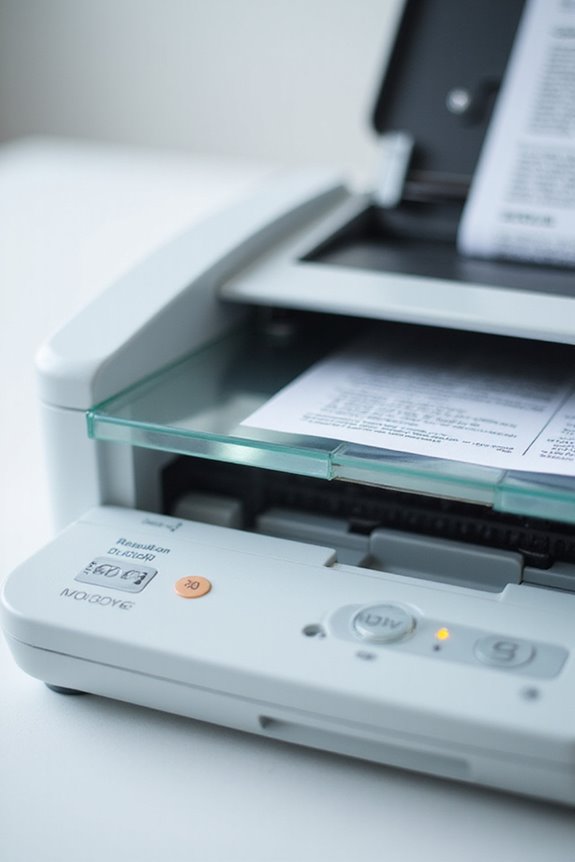
Troubleshooting Common Issues
While using our CIS sensor scanner, it’s important to be prepared for common issues that may arise during operation. If the scanner doesn’t power on, check the power source and connections first. For paper jams, remove stuck pages carefully, and confirm documents are loaded with aligned edges. We should also clean the glass and rollers if we notice ink stains on scanned images.
Maintaining our scanner is crucial; always have the correct driver installed and keep the software updated for peak performance. When encountering error messages, follow proper troubleshooting tips, like power cycling the scanner or confirming cover status. These error solutions and maintenance tips promote smoother operation and better quality results in our scanning tasks.
Frequently Asked Questions
What Types of Documents Can I Scan With a CIS Sensor?
Imagine a painter’s palette; our scanning capabilities with CIS sensors capture a variety of document types—printed text, government papers, and non-glossy photos—transforming them into digital masterpieces, ready for preservation and easy access.
How Does Optical Resolution Affect Image Quality?
When we consider how optical resolution affects image quality, we find that higher DPI enhances image clarity and scanning accuracy. It guarantees we capture fine details, leading to sharper, more authentic reproductions of documents and photos.
Can I Use Third-Party Software With My Scanner?
Sure, we can all just wish third-party software worked flawlessly with our scanners, but reality often brings software limitations. Understanding third-party compatibility helps us navigate choices, ensuring ideal performance without the hidden quirks manufacturers might leave out.
Is Maintenance Required for CIS Sensors?
Yes, we need regular CIS sensor maintenance for best performance. It includes sensor cleaning, which prevents issues like misreads and jams, ensuring our scanning devices work efficiently and last longer. Let’s stay proactive with our maintenance schedule.
What Is the Average Lifespan of a CIS Scanner?
It is understood you might think scanners wear out quickly, but with proper care, CIS scanners can last 5 to over 10 years. Their durability depends on usage intensity and maintenance, thanks to advanced sensor technology.