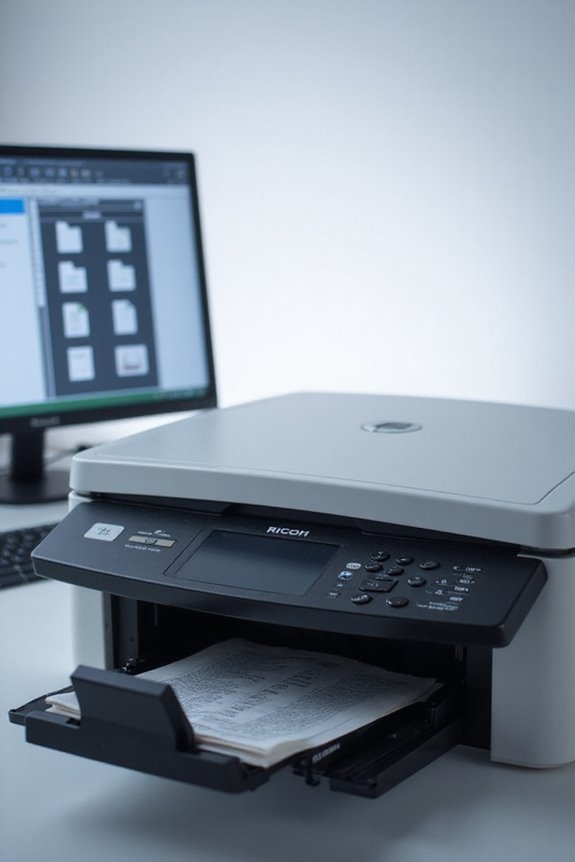
To use the Ricoh Document Scanner Enterprise effectively, we’ll start by ensuring the device is set up and connected to our network. Next, we prepare our documents—removing any staples or clips and aligning them properly. During scanning, we can utilize features like OCR for editable files and automate workflows for efficiency. Regular maintenance includes cleaning the glass and monitoring error messages. By focusing on these steps, we streamline our scanning process and enhance productivity. There’s more to explore.
Key Takeaways
- Ensure the Ricoh Document Scanner is properly set up by connecting it to the network and assigning a static IP address for stable connectivity.
- Prepare documents by cleaning them, removing any staples or fasteners, and ensuring they are neatly aligned in the feeder.
- Utilize RICOH Smart Integration Essentials to automate tasks and choose desired destinations for your scanned documents, such as email or cloud storage.
- Employ Optical Character Recognition (OCR) to convert scanned documents into editable formats for easy editing and collaboration.
- Regularly maintain the scanner by cleaning the glass and ADF, and promptly addressing any error messages displayed on the control panel.
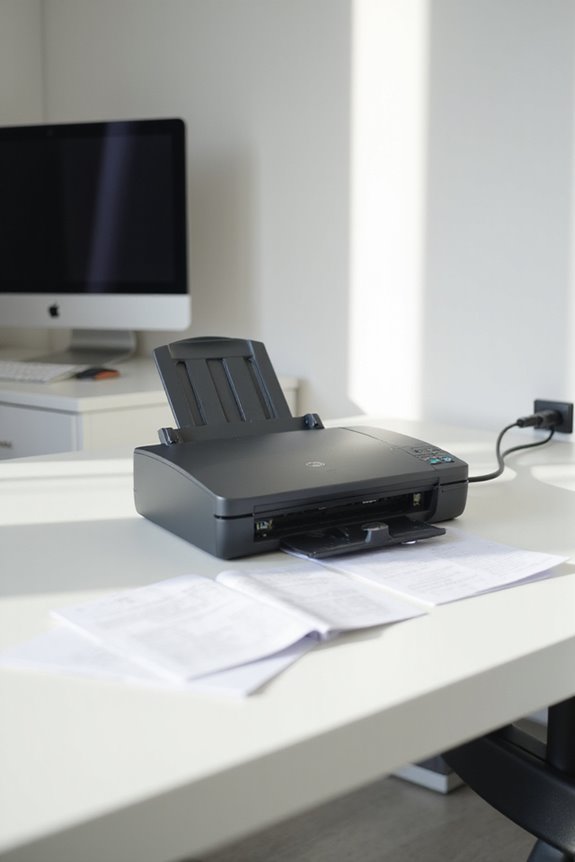
Setting Up the Ricoh Document Scanner
Setting up the Ricoh Document Scanner is vital for seamless operation. First, we need to confirm the device is plugged in and turned on. Next, we connect it to our network, using either USB or Ethernet. For stable network connectivity, it’s essential to assign a static IP address during the network configuration. We should also set up a shared network folder with the appropriate read/write permissions; this guarantees efficient user access for scanning. Remember, configuring the correct subnet mask and gateway settings will optimize our network performance. Finally, checking that our drivers are updated will assure smooth communication between the scanner and our computer, paving the way for effective document management throughout our office. Additionally, utilizing the high-speed duplex scanning feature can significantly enhance productivity in document-intensive environments.
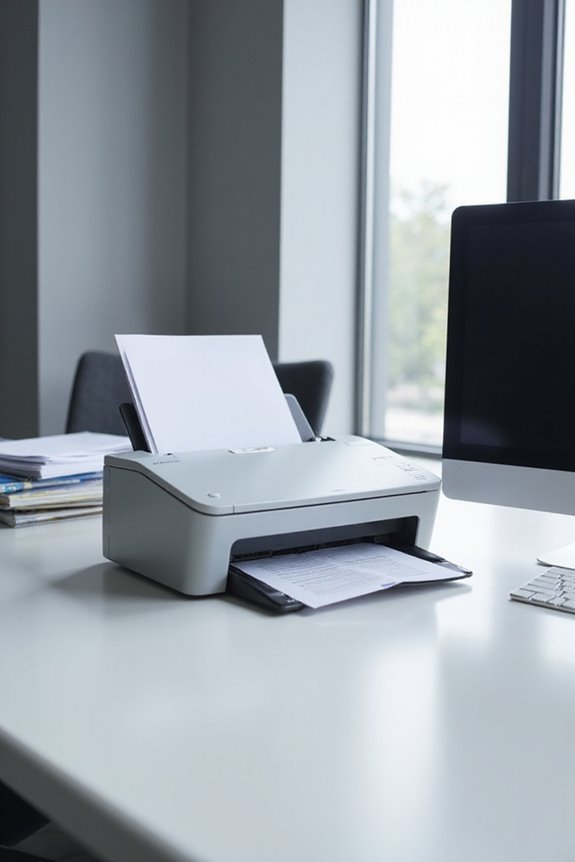
Document Preparation and Feeding Techniques
Before we plunge into the scanning process, it’s vital to prepare our documents properly to guarantee ideal results. First, let’s make sure document cleanliness; we should wipe both sides with a clean, lint-free cloth. Removing all staples, paper clips, and fasteners will help avoid jams and protect our documents. Next, we should align our papers neatly in a stack, making certain all edges are even and all pages face the same direction for smooth feeding. It’s also essential to avoid using glossy or damp sheets, as they may cause misfeeds. Finally, adjust the width guide in the feeder firmly against the stack. Following these document preparation and feeding techniques will pave the way for successful scanning with our Ricoh scanner. Additionally, using automatic document feeders can significantly enhance efficiency by allowing batch processing of multiple pages at once.
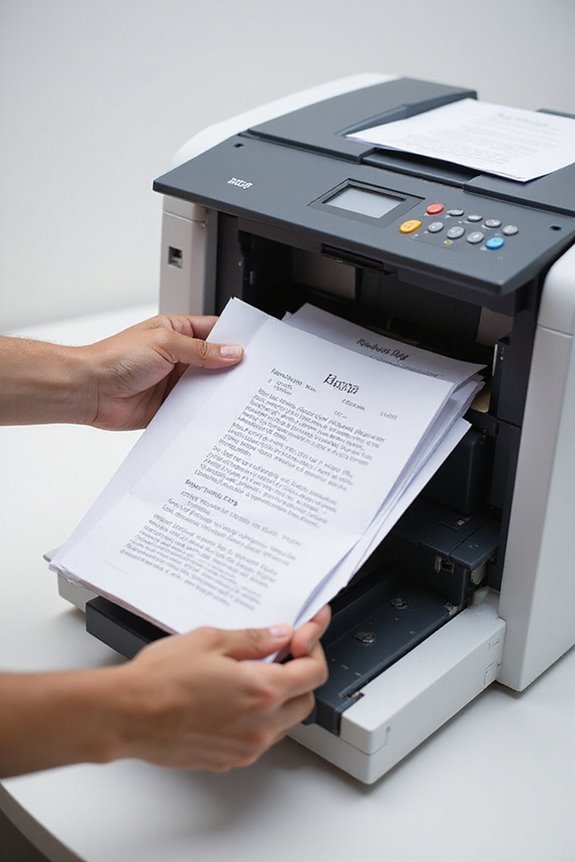
Scanning Process and Workflow Management
The scanning process with a Ricoh Document Scanner offers an efficient way to manage our workflow. By using RICOH Smart Integration Essentials, we can automate tasks like scanning to email, greatly improving our scanning efficiency. We can easily choose destinations, whether it’s email, folders, or cloud platforms like SharePoint and Google Drive. This automation eliminates repetitive duties, such as naming files or creating folders, saving us valuable time. With features like intelligent scanning and automatic data extraction, we intuitively streamline our workflows, making document retrieval faster. Plus, secure print release and user authentication help protect sensitive information. Overall, the Ricoh scanner transforms our project management, allowing us to focus on critical tasks instead of manual processes. Additionally, incorporating strong security features can further enhance the protection of sensitive data during the scanning process.
Software Integration and File Organization
While managing documents can be complex, integrating software with Ricoh Document Scanners simplifies our file organization. With features like RICOH Smart Integration Essentials, we can seamlessly scan to email or cloud platforms such as Google Drive and Dropbox. The Optical Character Recognition (OCR) enhances usability by converting hardcopy documents into editable formats. Automated file routing sends documents to multiple destinations simultaneously, ensuring we have easy access and reliable backups. Consistent file naming conventions boost our traceability, while QR code auto-routing streamlines sorting tasks. Integrating with Microsoft 365, we enhance collaboration, minimizing time spent on manual organization. By automating workflows and utilizing cloud storage, we reinforce efficiency and reduce IT overhead, making document management smoother for everyone involved. Additionally, high-quality image processing ensures clarity and accuracy for professional use, enhancing the overall effectiveness of our scanning tasks.
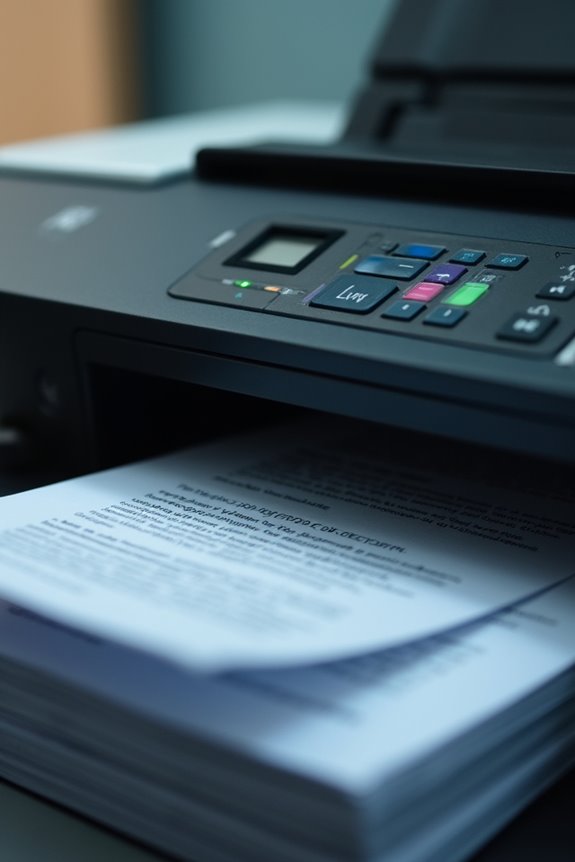
Maintenance and Troubleshooting Tips
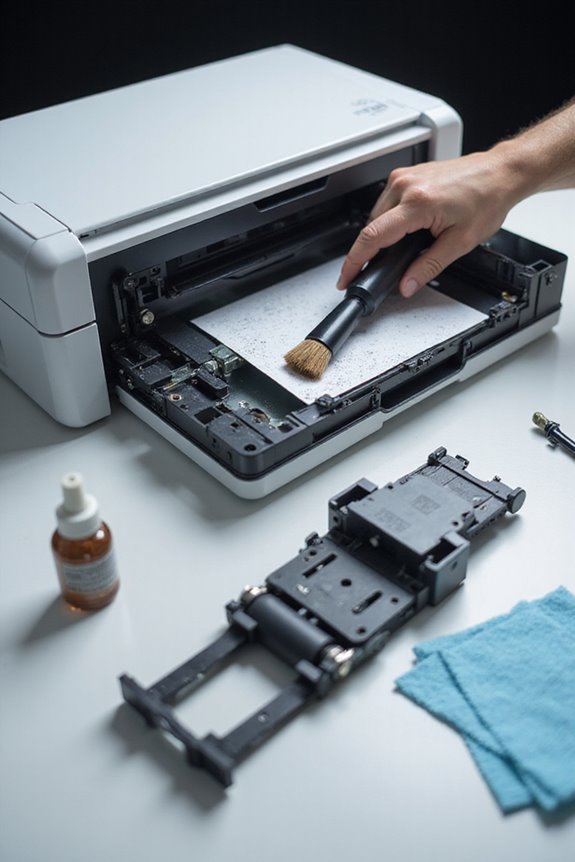
To maintain our Ricoh Document Scanner’s performance and confirm consistent results, it’s essential to follow a regular maintenance routine. We should regularly clean the scanner glass and Automatic Document Feeder (ADF) to avoid streaks or shadows on scans. Following the manufacturer’s guidelines for consumable replacements, like toner and waste toner bottles, guarantees our scanner’s peak performance. Scheduling periodic cleaning cycles keeps image quality high. If we encounter error messages, let’s address them promptly by checking the control panel for specific alerts. For common issues like paper jams, we should refer to the user manual. Additionally, using the right cleaning supplies, such as specialized cleaning solutions, enhances the longevity and output quality of our scanner. By following these maintenance practices and knowing how to resolve errors, we can keep our Ricoh scanner efficient and reliable for all our scanning needs.
Frequently Asked Questions
What Types of Documents Can the Ricoh Scanner Handle?
When we consider document types, we envision contracts, receipts, photographs, and ID cards. Our scanner’s capabilities seamlessly accommodate diverse formats, ensuring efficient digitization for every need, whether it’s letter-sized papers or specialized materials.
How Do I Connect the Scanner to a Network?
To connect our scanner to a network, we’ll focus on proper network setup and scanner configuration. We need to guarantee connectivity, configure settings, and verify compatibility to streamline our document scanning process effectively.
What Is the Maximum Document Thickness for Scanning?
Did you know the Ricoh fi-8040 can handle documents up to 1.18 inches thick? This maximum thickness showcases its impressive scanning capabilities, allowing us to digitize everything from magazines to bound books effortlessly.
Can the Scanner Handle Colored and Black-And-White Documents Simultaneously?
Yes, our scanner handles colored and black-and-white documents simultaneously with dual scanning capabilities. It guarantees color accuracy, processing mixed document types efficiently without sacrificing quality, making our workflow seamless and effective.
Is There a Warranty for the Ricoh Document Scanner?
Yes, there’s a warranty for the Ricoh document scanner. We’ll go over the warranty details, highlighting service options like Advance Exchange and ScanCare, ensuring we’re covered for defects without worrying about those pesky exclusions.