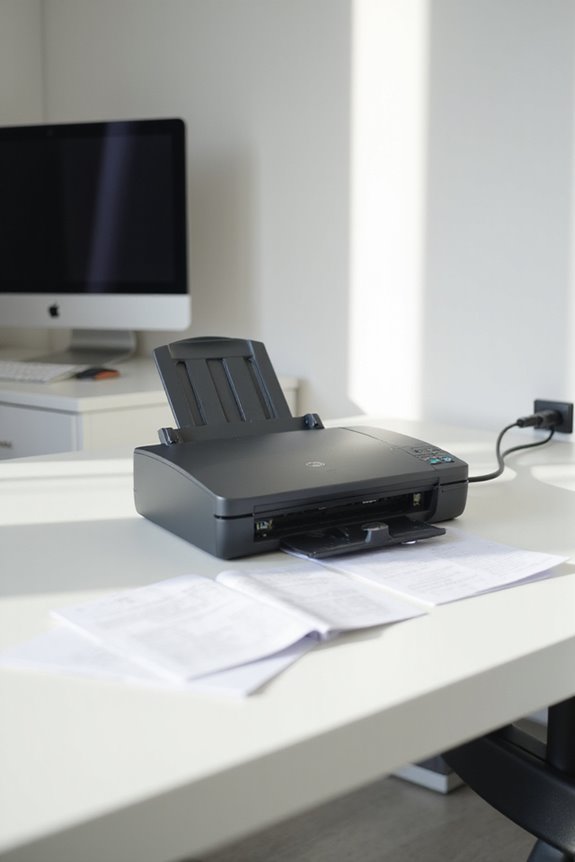
To use the Brother DS-940DW portable scanner, start by connecting it to power and ensuring the battery is fully charged. We can set up either wireless or USB connectivity, then load single-sided documents into the feeder. The scanner supports duplex scanning, processing up to 16 pages per minute. After scanning, we can access files easily on our computer through File Explorer or the Photos app. This device enhances our scanning experience, so let’s explore its standout features.
Key Takeaways
- Power on the scanner and ensure it is charged, then select either wireless or USB connectivity mode depending on your setup preference.
- Insert single-sided documents free from staples and align them with the feeder for smooth scanning.
- Utilize the image enhancement features like automatic rotation and noise removal for improved scan quality.
- Access scanned files via the microSD card or directly through your computer using the Brother folder or the Photos app on Mac.
- Take advantage of duplex scanning for efficiency and explore various scan-to options like email or cloud services for easy file sharing.
Getting Started With Your Scanner
Getting started with your Brother DS-940DW portable scanner is a straightforward process that sets the stage for efficient scanning. We begin with an initial inspection. Remove all packaging materials and check that we have the scanner unit, USB cable, quick setup guide, and any other accessories. Let’s visually inspect the scanner for any damage; if we find any, it’s essential to avoid use and contact Brother support. Next, we’ll focus on battery charging. Connect the scanner to a power source using the included USB cable. Allow the built-in rechargeable lithium-ion battery to fully charge before we turn on the device. Look for indicator lights confirming that our scanner is powered and ready, ensuring peak performance for our scanning tasks. Additionally, ensure the scanner has various paper types support to maximize its functionality for different scanning needs.
Setting Up Wireless Connectivity
Once we’re familiar with our scanner’s basic features, it’s time to set up wireless connectivity for seamless scanning. First, we slide the Mode Select Switch to the Wi-Fi position; a flashing blue light confirms we’re in wireless setup mode. This allows us to scan directly to computers or mobile devices via Wi-Fi, guaranteeing Wi-Fi compatibility. To connect our mobile devices, we enable Wi-Fi Direct and select the scanner’s network in the Wi-Fi settings, using the password on the scanner’s back. For Windows users, we open Brother Utilities to configure settings remotely. Remember to check wireless security and verify all devices are on the same network for a smooth scanning experience. This model features duplex scanning capabilities, allowing for efficient scanning of double-sided documents. Enjoy the convenience of wireless scanning!
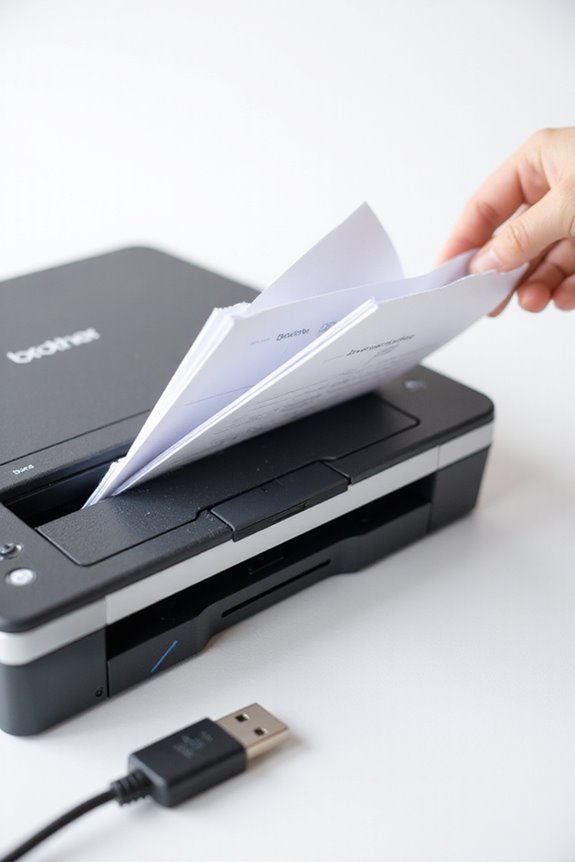
Using the USB Connection
Using a USB connection with the Brother DS-940DW portable scanner is a straightforward process that offers a reliable way to digitize documents. We simply need to connect the included USB 3.0 (Micro) cable from the scanner to our computer’s USB port. It’s essential to guarantee our computer is on and logged in as an Administrator to allow proper installation. We should confirm that the scanner is set to USB mode. If we experience issues, USB troubleshooting tips advise checking cable connection and trying different USB ports. After downloading and installing the required software from Brother’s site, we can initiate scans directly from the software, allowing us to adjust settings like resolution and file format to suit our needs. Additionally, using faster duplex scanning can minimize time spent on document management tasks, making the scanning process even more efficient.
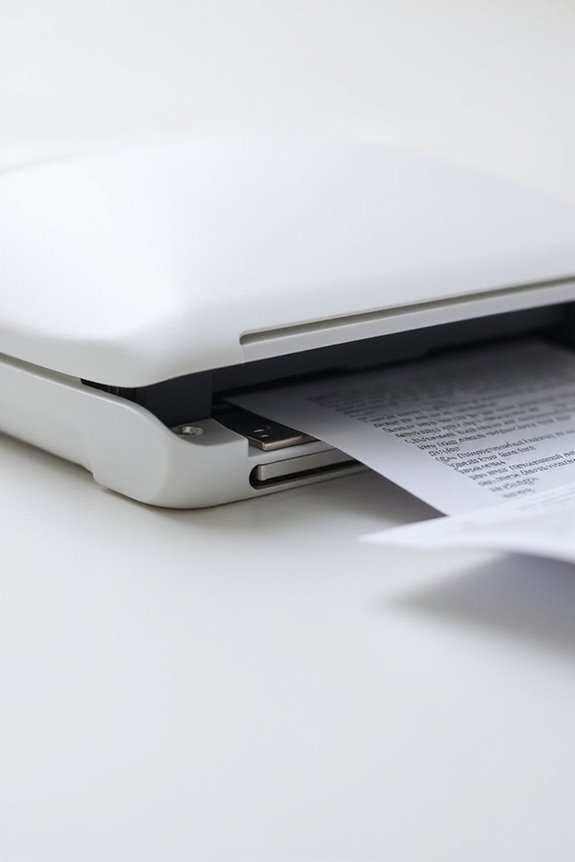
Loading Documents Into the Feeder
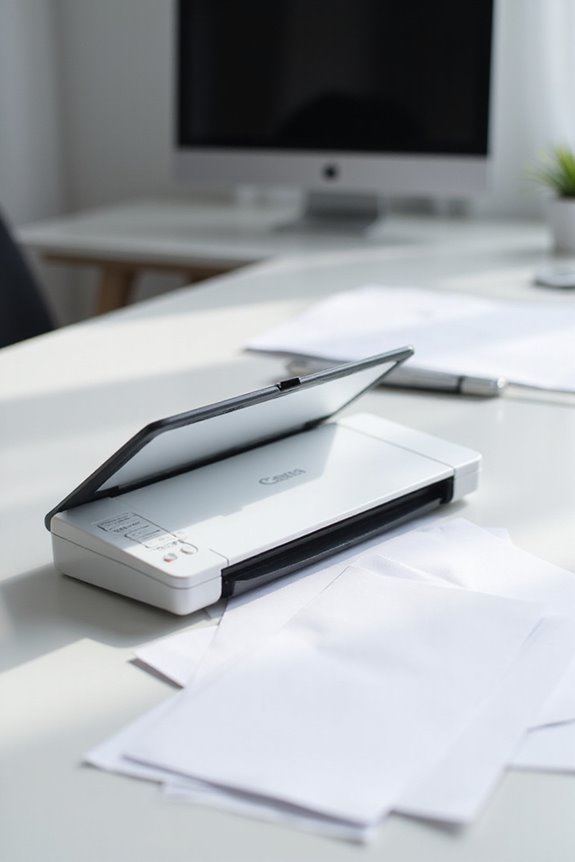
Loading documents into the Brother DS-940DW’s feeder is an important step for efficient scanning. To start, we need to guarantee the scanner is powered on before inserting documents. For best results, we should only feed single-sided pages, checking that they’re free from staples, clips, or bends. Aligning the document’s edge with the feeder entrance is vital for smooth entry. We can gently guide the document in, avoiding any forceful motions during scanning. If we’re dealing with thin receipts, a bit of manual guidance might be necessary. After inserting, it’s wise to keep an eye out for any potential jams or errors, adjusting the document positioning as needed to maintain peak performance. Additionally, the Duplex scanning capability of the Brother DS-940DW enhances efficiency by allowing for the processing of both single and double-sided documents.
Selecting Scanning Preferences
Selecting the right scanning preferences can greatly enhance our scanning experience with the Brother DS-940DW. We can easily access scan profiles via the Devices and Printers section in the Windows control panel. By right-clicking the Brother scanner icon, we can choose pre-existing or custom scan profiles that align with our needs. To optimize our scans, we should consider editing profiles to customize settings like source type, paper size, and color format. It’s beneficial to adjust the DPI for clarity, while keeping file size in mind. Additionally, incorporating features from high-quality models can help ensure consistent performance. Finally, after we’ve fine-tuned everything, we should save these settings to streamline future scans, ensuring consistent quality and efficiency with each document we scan.
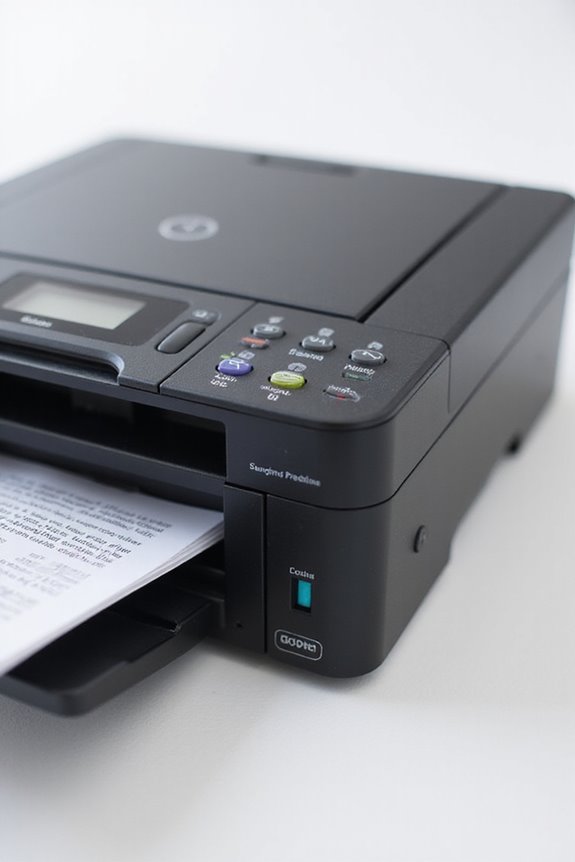
Initiating a Scan
After we’ve set up our scanning preferences, the next step involves initiating the scan with the Brother DS-940DW. First, we can either press the scan button on the scanner or use the Brother scanning software on our device. If we opt for the app, we’ll select the DS-940DW from the scanner list. Once we’re ready, we hit the scan button to start the process. We should watch for any LED indicators that provide scanning status updates. If any issues arise, such as paper jams or unexpected errors, we can consult the troubleshooting section in the manual. This guarantees that we can easily resolve any problems and continue scanning without hassle. Additionally, the scanner supports Wi-Fi and high-speed USB connections for seamless integration with various devices.
Accessing Scanned Files
Accessing the scanned files from our Brother DS-940DW is a straightforward process. To retrieve our scanned images, we first guarantee that the microSD card is inserted into the scanner’s Memory Card Slot. Once we’ve completed our scans, connecting the scanner to a Windows or Mac computer with a USB cable simplifies file access. On Windows, we can open File Explorer and browse the “Brother” folder to find our scanned images, typically saved in PDF or JPEG file formats. If we’re using a Mac, the Photos app automatically launches, allowing easy management of our files. By following these access methods, we can efficiently retrieve and utilize our scanned documents for any purpose we need.
Utilizing Brother Iprint&Scan App
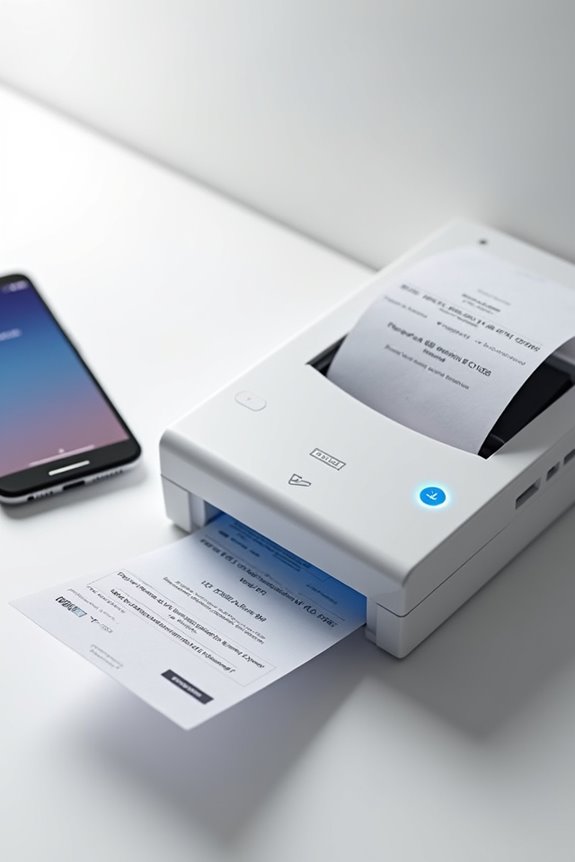
Utilizing the Brother iPrint&Scan app can greatly simplify our scanning and printing tasks, especially when we’re on the go. First, we can download the app for free from the Apple App Store or Google Play Store. By connecting our mobile device to the same wireless network as the Brother DS-940DW, the app automatically detects the scanner. With app features like NFC functionality, we can initiate jobs simply by tapping our device to the scanner. Scanning is straightforward; we choose settings for color mode and resolution, then save files to cloud services or email. This mobile compatibility allows us to print documents, images, or webpages directly from our devices, enhancing our productivity without the need for a computer.
Enhancing Your Scanned Images
While the Brother iPrint&Scan app helps us manage scanning efficiently on the go, enhancing the quality of our scanned images takes things a step further. With automatic color detection and adjustment, it guarantees accurate color correction, which improves readability, especially with colored text. The bundled software, when connected to a PC, also optimizes brightness and contrast for better image clarity. Additionally, features like automatic image rotation save us time by guaranteeing proper document alignment without manual edits. Plus, the software removes background noise and unwanted bleed, enhancing the appearance of our scans. Overall, these tools combine to produce cleaner images that are perfect for archiving and sharing, making our scanning experience seamless and professional.
Tips for Portable Scanning
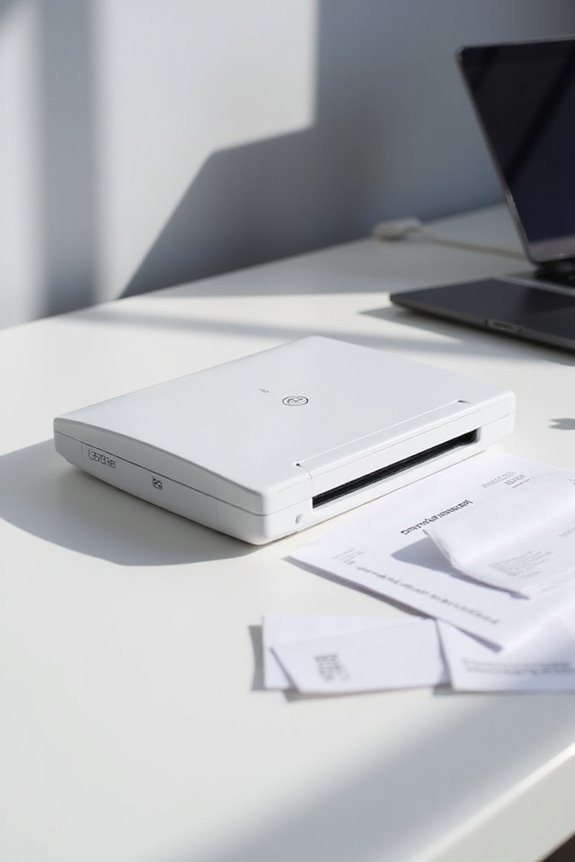
When it comes to portable scanning, the Brother DS-940DW stands out for its ease of use and versatile features. To make the most of this scanner, we should take advantage of its wireless setup for seamless connections to our devices via WiFi Direct. For those who prefer a wired option, a single USB cord powers the device, simplifying our setup. We recommend using its duplex scanning function, achieving speeds of up to 16 pages per minute, maximizing our document management efficiency. With multiple scan-to options like email and cloud services, it guarantees that our scanned files are always ready when we need them. Finally, let’s appreciate the compact design, making this scanner perfect for on-the-go use.
Frequently Asked Questions
What Types of Documents Can I Scan With This Scanner?
When we think about what types of documents we can scan, imagine business documents like contracts and personal records such as receipts. We’ve got versatility in our hands, accommodating various sizes, from IDs to blueprints.
How Do I Charge the Built-In Rechargeable Battery?
To charge the built-in rechargeable battery, we’ll follow the charging instructions, connecting the USB cable to a powered computer. Regular battery maintenance includes keeping it charged and monitoring the indicator for peak performance.
Is There a Limit on the Length of Documents I Can Scan?
Yes, we’ve got scanning limitations to take into account. The maximum document size we can scan is 72 inches long. For anything longer, we’ll need to scan in segments to guarantee proper alignment and quality.
Can I Use the Scanner Without Internet Access?
Sure, who needs internet, right? We can absolutely use the scanner without it! With its wireless functionality and offline scanning to a microSD card, we’re free to scan anywhere, anytime—no Wi-Fi required!
What Software Is Included for Document Management?
The included software enhances document organization and offers excellent software compatibility across multiple operating systems. It streamlines our scanning process, making it easy to manage, optimize, and edit our documents effectively.