
To use a scanner for outdoor scanning, we first need to choose the right equipment—consider options like the ZEB Horizon for its impressive 100-meter range. Next, we should prepare by checking weather conditions and ensuring our scanners are fully charged. When setting up, we want a stable surface and clear line of sight. Maintaining file organization post-scan helps streamline data management. With these steps, we’ll enhance our outdoor scanning experience. There’s more to explore!
Key Takeaways
- Choose a suitable scanner type, such as 3D laser scanners or handheld options, for optimal outdoor performance and range.
- Conduct a thorough environmental assessment to ensure good weather and lighting conditions for scanning.
- Set up the scanner on stable ground, using adjustable tripods and outdoor clamps to avoid movement from wind.
- Define clear objectives for the scan and pre-establish a logical sequence to minimize missing target areas.
- Organize and label scanned data immediately for easy retrieval, using cloud storage for backup and access.
Choosing the Right Scanner for Outdoor Use
When we’re selecting a scanner for outdoor use, it’s vital to contemplate the unique challenges posed by various environments. We should consider different scanner types like 3D laser scanners, mobile units, and handheld options. For larger areas, tools like the ZEB Horizon with a reach of 100 meters are ideal. Certain scanner features also matter; look for longer scanning ranges and high scan rates—up to 300,000 points per second for detailed capture. Accuracy is important too, aiming for precision within 6 mm. Additionally, power independence and sunlight resistance are essential, especially in direct sunlight. With these factors in mind, we can guarantee our outdoor scanning tasks are efficient and effective. To enhance the scanning experience, it’s beneficial to utilize user-friendly software that improves data processing and editing capabilities.
Preparing for Outdoor Scanning
Preparing for outdoor scanning requires careful attention to several key factors that can greatly impact the quality of our data. First, we need to conduct an environmental assessment, checking weather conditions to avoid rain and humidity, which can damage our equipment and degrade scan quality. We should also inspect our gear; ensuring the tripod stands stable and the scanner’s outer casing is in good shape is essential. A good equipment inspection prevents issues during data collection. Additionally, monitoring light conditions helps to reduce glare and shadows. Finally, let’s plan for stable surfaces, minimizing hazards like tripping. By preparing effectively, we set the stage for successful scanning sessions every time. Regular maintenance with the right cleaning solutions enhances longevity and output quality of our scanners.
Setting Up the Scanner Outdoors
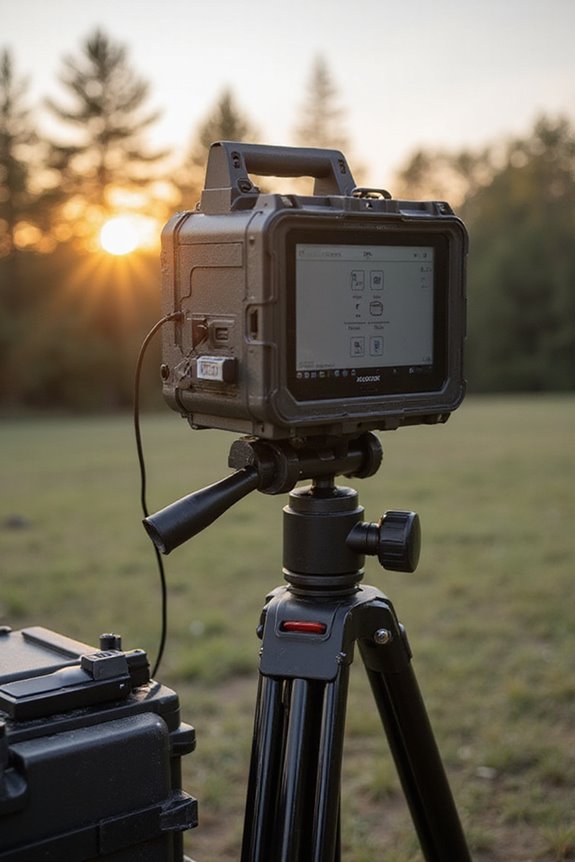
After we’ve laid the groundwork for outdoor scanning, it’s time to set up the scanner. First, let’s choose a location with a clear line of sight to avoid obstructions that can distort data. We want stable ground for proper scanner calibration, so tripods with adjustable legs are perfect for uneven terrain. Elevating the scanner can greatly enhance our scanning range. Remember, we should secure the scanner with clamps designed for outdoor use to guarantee stability against wind. As we position the scanner, we need to monitor environmental factors, like weather conditions, since heavy rain or strong winds could impact performance. Testing multiple setups will guarantee we find the best scanner positioning for the best results before we start scanning. Additionally, ensuring that the scanner’s image quality and resolution settings are optimized can significantly improve the final output of scanned documents.
Technical Considerations for Outdoor Scanning
While setting up for outdoor scanning, it is vital to contemplate the technical aspects of our equipment, as they directly influence the quality of our results. We should opt for portable scanners that balance weight and durability, making outdoor scanning feasible. Resolution settings are essential; using 300-600 DPI for text guarantees clear detail, while higher settings up to 1200 DPI are ideal for images. To tackle lighting variability, we need a scanner with a good dynamic range or adjustable exposure, allowing us to manage shadows and glare effectively. Furthermore, we must consider environmental factors like wind and dust, utilizing protective covers to maintain scan quality. These considerations guarantee our outdoor scanning process is efficient and productive. Additionally, selecting a scanner with battery life options ensures prolonged usage without the need for constant recharging.
Scanning Workflow Best Practices Outdoors
To guarantee our outdoor scanning tasks are both efficient and effective, it’s essential to follow a structured workflow. First, we should define clear objectives, detailing what types of documents or items we’ll scan. Next, conducting a reconnaissance of the site helps us assess light conditions and potential risks. For workflow optimization, we can pre-establish a logical scanning sequence, ensuring we don’t miss any items.
Using consistent settings and stabilizing our equipment helps to avoid blurry images, increasing our chances of successful document preservation. After scanning, we can apply metadata tagging and use standardized file formats for easy retrieval. Remember, organizing files thoughtfully not only streamlines our process but also safeguards our valuable digitized materials. Additionally, considering mobile app integration can enhance the functionality of our scanning equipment, allowing for seamless uploads and management of scanned documents.
Post-Scanning Handling and Maintenance
Ensuring our scanners are well-maintained not only prolongs their lifespan but also enhances our overall scanning efficiency. After scanning, we must follow specific post-scanning procedures, like inspecting components for wear and dirt. Regular cleaning, based on maintenance schedules, is essential; we should power off our scanners before using lint-free cloths to clean feed rollers and sensors. It’s crucial to store our scanners in clean, dry environments to prevent damage and corrosion. During transport, using sturdy cases shields scanners from bumps. Finally, we need to utilize calibration software and document all maintenance activities, ensuring our scanners consistently produce high-quality scans. By adhering to these practices, we optimize performance and longevity for future outdoor projects. Regular cleaning with effective cleaning cards can further enhance performance and reduce the likelihood of operational disruptions.
Enhancing Scanning Efficiency in the Field
Enhancing scanning efficiency in the field can be achieved through careful preparation and strategic execution. First, we should select equipment tailored for outdoor conditions, like a 360° camera. We’ll optimize our data by guaranteeing ample storage and planning our scanning path for thorough coverage. Adapting to environmental factors is vital; we should scan during favorable weather and adjust settings for resolution and lighting. Incorporating techniques like overlapping scans guarantees precise alignment and richer data quality. We can improve operational efficiency through high-speed devices and automation tools in our scanning software. Coordinating with our team will streamline the process and enhance our overall effectiveness in capturing data while maintaining accuracy and safety standards.
Troubleshooting Common Outdoor Scanning Issues
When we encounter issues with outdoor scanning, addressing them promptly can make a significant difference in our results. First, let’s examine our antenna placement; improper setup can lead to poor reception. If we notice interference, adjusting the squelch settings often reduces static and sharpens signal clarity. We should also consider the environment; smoke or dust can unexpectedly switch off our scanner. Remember to shield the device from harsh elements and clean any buildup on the windows, which can degrade performance. If we’re using network-based scanners, ensuring our security settings allow connection is essential. By troubleshooting these common areas, we can enhance our outdoor scanning experience and get the most out of our equipment.
Frequently Asked Questions
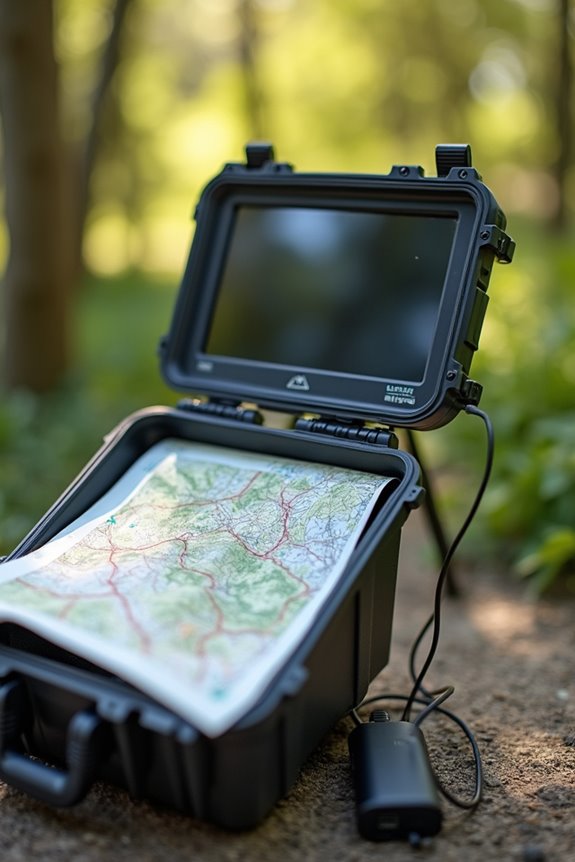
What Types of Documents Can Be Scanned Outdoors?
When we think about outdoor documents suitable for scanning, we consider field notes, maps, sketches, and photographic records. These types thrive in scanning environments, enabling efficient digital preservation and documentation no matter where we are.
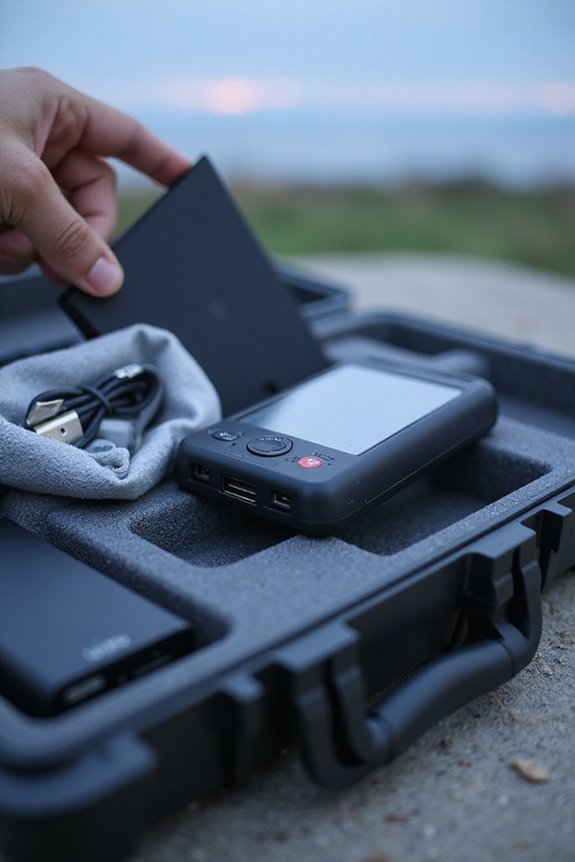
How Do I Transport a Scanner Safely Outdoors?
When transporting our scanner outdoors, we must guarantee its protection. Using weather-resistant cases and padded transport solutions keeps our outdoor equipment safe from damage, while regular inspections confirm it’s ready for the journey ahead.
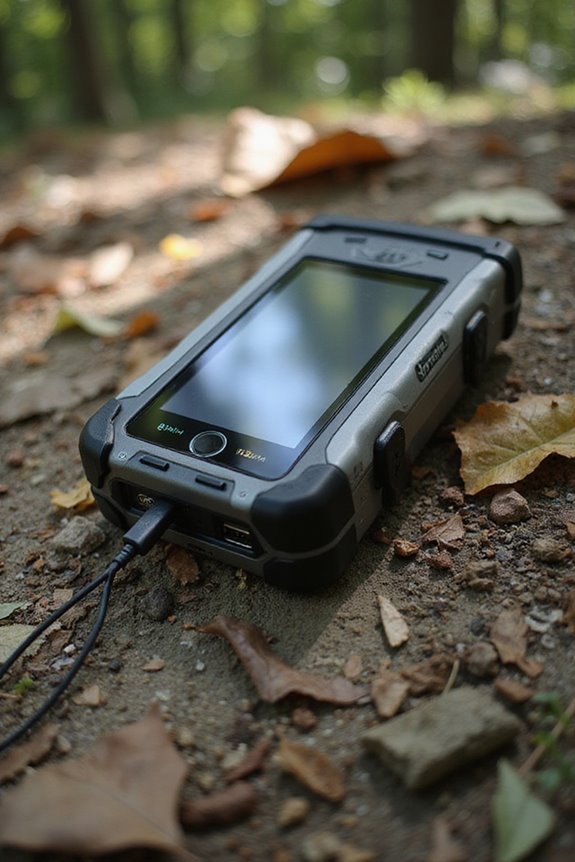
Can I Use My Smartphone as a Scanner?
As we gather our digital tools, our smartphones become magic windows. With smartphone applications, we can capture documents with surprising scanning quality, turning paper clutter into organized files, revitalizing how we manage our daily tasks.
What Is Duplex Scanning and Why Is It Important?
Duplex scanning’s benefits are immense; it streamlines our document processes by capturing both sides at once. In applications like law firms or healthcare, it boosts efficiency, accuracy, and saves resources overall. We can’t overlook its importance!
Are There Specific Brands Recommended for Outdoor Scanning?
When considering brands for outdoor scanning, we’ve found that Epson scanners and Canon scanners offer reliable performance. They’re portable, feature-rich, and perfect for capturing documents efficiently in various outdoor settings. Let’s explore their options together.