As an Amazon Associate, we earn from qualifying purchases. Some links on this site are affiliate links at no extra cost to you. Our recommendations are based on thorough research and editorial judgment.
How To Use Scanner Ethernet Wired Connection?
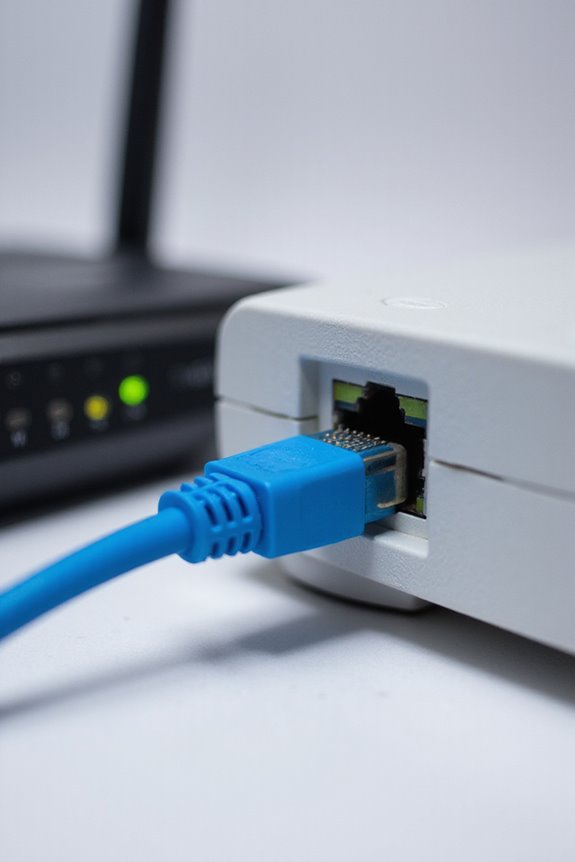
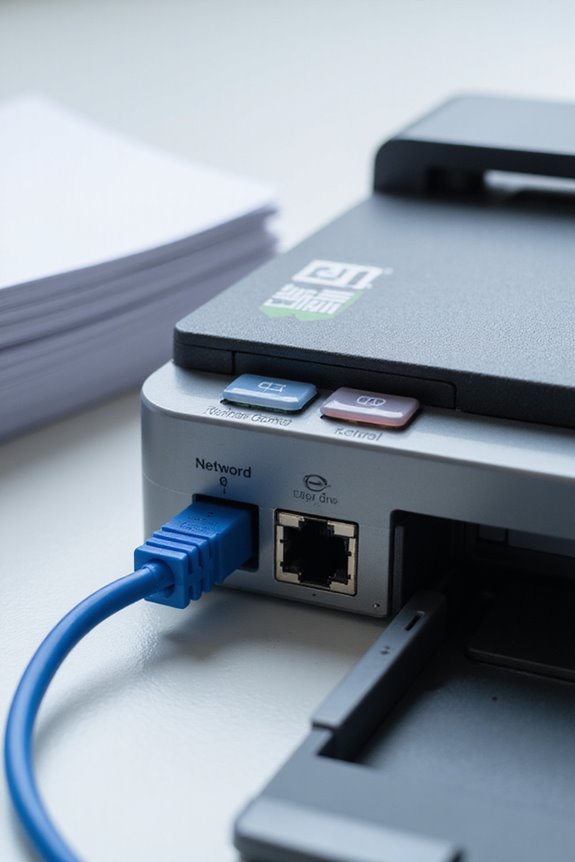
To use your scanner with an Ethernet wired connection, we first connect it to the router using an Ethernet cable. After that, we configure the IP address, choosing either a static IP for consistency or DHCP for automatic assignment. Next, we install the necessary scanner software, ensuring it’s compatible with our operating system. Finally, let’s troubleshoot any connection issues and maintain security to safeguard our data. Continue with us to discover best practices for peak scanner performance.
Key Takeaways
- Unpack the scanner, connect it to the router with an Ethernet cable, and select [Wired LAN] on the scanner interface.
- Configure the scanner’s IP settings using a static IP for consistent identification or DHCP for automatic assignment.
- Install the latest scanner software from the manufacturer’s website and follow the setup wizard for proper installation.
- Verify the connection by conducting a ping test and checking for IP conflicts between the scanner and computer.
- Ensure a stable connection by regularly updating firmware, using strong passwords, and monitoring network traffic for security.
Initial Setup for Wired Ethernet Scanner Connection
You may be interested


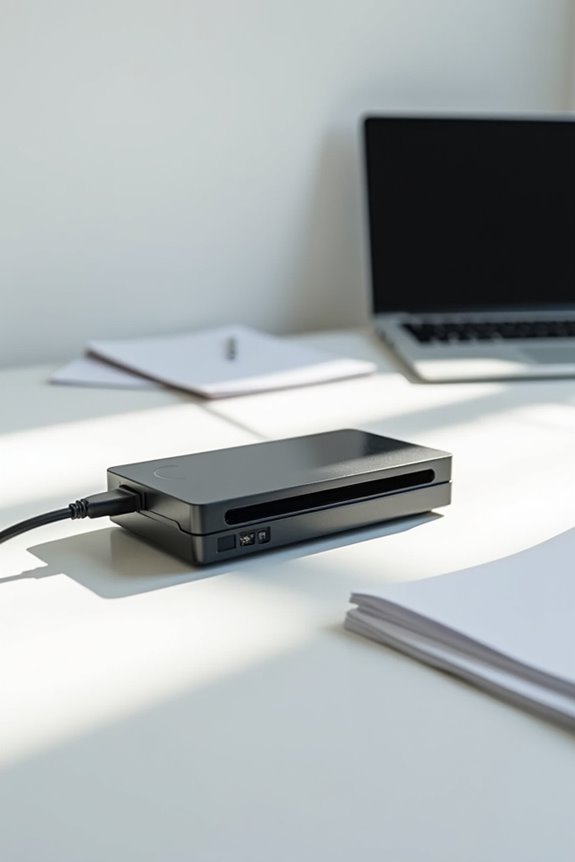
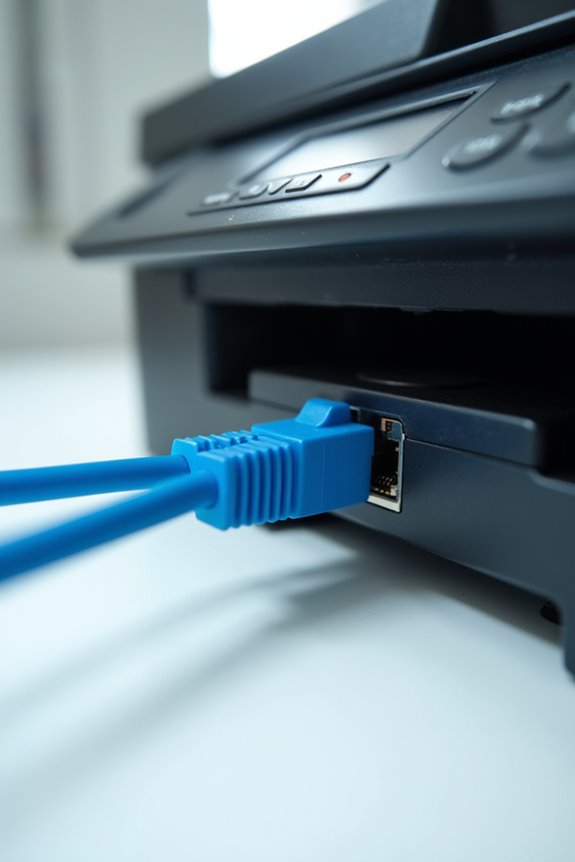
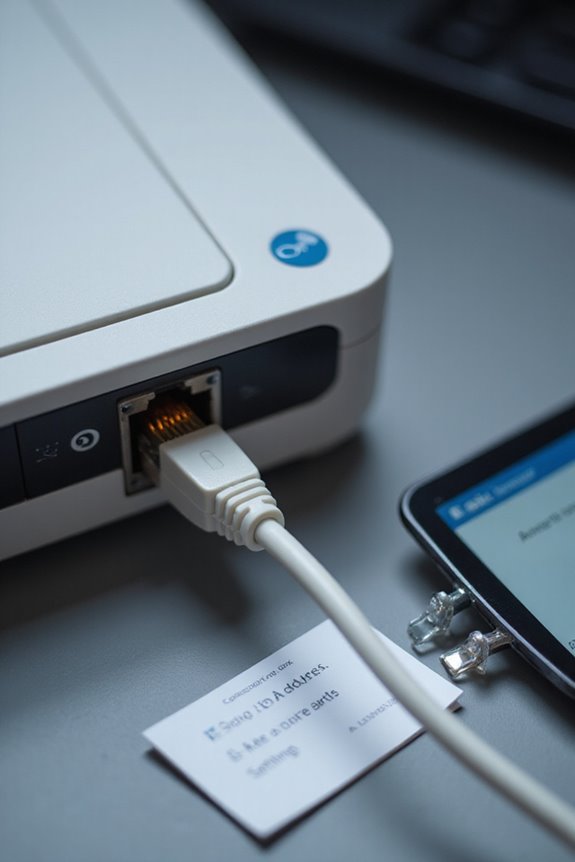
Setting up your wired Ethernet scanner connection is a straightforward process that can usually be completed in just a few minutes. First, we need to unpack the scanner and connect it to a router or switch using a standard Ethernet cable connection. Double-check that the network device is powered on and the cable is secure. After powering on the scanner, we’ll navigate the scanner interface to select [Wired LAN] at the connection type screen. It’s important to choose [No] when prompted about Wi-Fi connectivity to reinforce our Ethernet setup. Following the on-screen instructions is essential; they guide us through confirming the settings efficiently. By doing this, we guarantee our scanner is ready for seamless operation within the network. Ensuring a stable connection can significantly reduce connectivity issues that users often experience.
IP Address Configuration Methods
While configuring the IP address for our scanner may seem challenging, we have several methods at our disposal to simplify the process. One effective technique is static IP assignment, which gives us a fixed address for consistent network identification. Alternatively, Dynamic Host Configuration Protocol (DHCP) allows automatic IP assignment, easing integration into larger networks. If DHCP isn’t available, Link-Local Addressing (APIPA) assigns an address in the 169.254.x.x range automatically. Moreover, we can specify IP ranges for more precise control, ensuring our scanner communicates efficiently. Using versatile vendor-specific configuration tools or compliant open interfaces can enhance our ability to manage network protocols, ensuring reliable connectivity and performance across various devices. Remember, choosing the right method is vital for efficient operation. Additionally, maintaining compliance with HIPAA regulations is essential to ensure the security of patient information during the scanning process.
Scanner Software Installation and Setup
Installing and setting up scanner software is an essential step in guaranteeing our device functions correctly on the network. First, we need to confirm the installation requirements, checking for compatibility with our operating system—whether it’s Windows, Mac, or Linux. We’ll also need administrative privileges on Windows and a functioning Ethernet port.
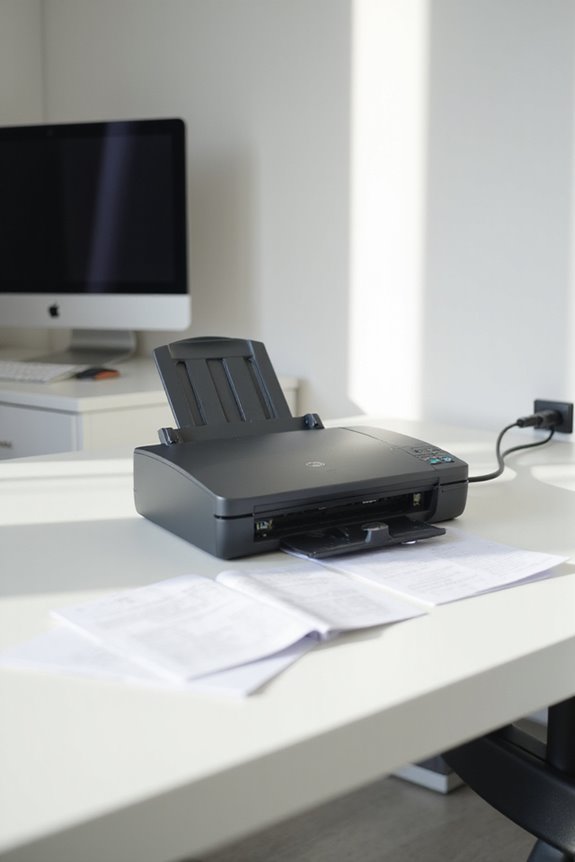
Next, let’s download the latest scanner software from the manufacturer’s official website. Prior to installation, we’ll uninstall any old versions to prevent conflicts and back up existing data, if necessary. After double-clicking the installer, we’ll follow the setup wizard, monitor the progress, and finalize the installation. Finally, we should verify our scanner communicates over the network by selecting ‘Wired LAN’ and testing connectivity. Additionally, ensuring that the scanner supports high optical resolutions can enhance the accuracy of text recognition.
Network and DNS Settings for Scanning
To guarantee our scanner functions effectively over the network, we need to carefully configure the network and DNS settings. First, let’s assign a static IPv4 address and set the IPv4 gateway for smooth traffic routing. If our network supports IPv6, we might consider enabling it along with the appropriate gateway and using Stateless Address Autoconfiguration (SLAAC) for address management.
Next, we must focus on DNS resolution. Specifying the DNS server address is essential for resolving hostnames to IP addresses. Depending on our setup, we can define primary and secondary DNS servers. Additionally, incorporating a static DNS entry might prove useful for consistent access. With these network configurations in place, our scanner will operate efficiently in our environment, ensuring enhanced Triple Layer Security during document handling.
Troubleshooting and Network Verification
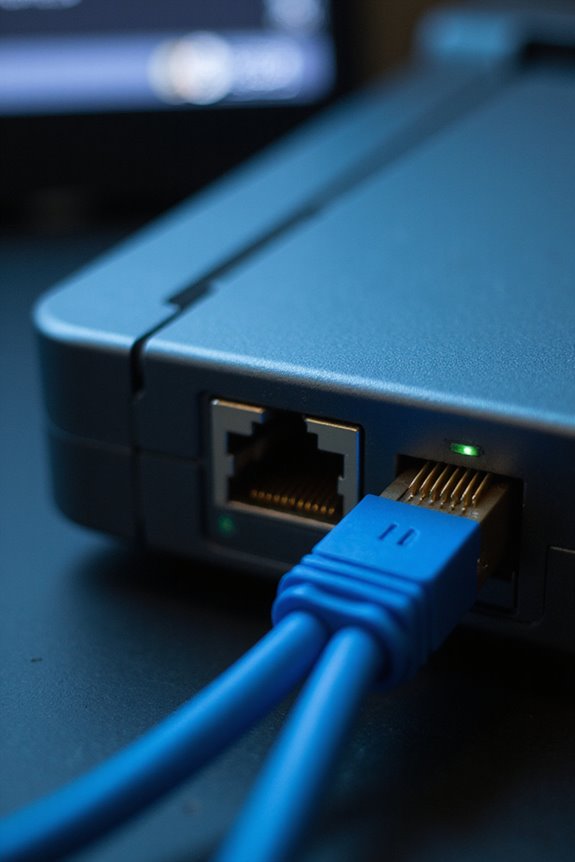
Troubleshooting network issues can often be a straightforward process, especially when we systematically verify each component of our Ethernet connection. First, we should verify that the scanner’s LAN cable is securely attached and connected to the correct network device, like a router or switch. If the connection is unstable, we can try switching ports or checking the cable for damage. Power cycling network devices may clear any transient faults. Next, let’s conduct network diagnostics by running a ping test from the scanner to a computer, verifying they’re both on the same network. Finally, confirming there’s no IP conflict contributes greatly to connection stability, helping to prevent further issues and verifying efficient scanning operations. Additionally, ensuring compatibility with various operating systems can enhance the overall performance and reliability of the scanner.
Best Practices for Wired Ethernet Scanner Use
When we utilize a wired Ethernet scanner, guaranteeing ideal setup and configuration is essential for seamless operation. First, we must connect our scanner using high-quality Ethernet cables to promote reliable data transfer. Effective cable management will prevent tangling and reduce wear on cables. Next, we need to set strong passwords and implement user authentication to safeguard our settings from unauthorized access. Regularly checking and updating our scanner’s firmware guarantees security and functionality remain optimal. It’s important to configure the IP address correctly and, if needed, enable dynamic DNS for easier device recognition. Additionally, prioritizing the scanner in our network settings can enhance performance and prevent congestion, improving our scanning experience.
Ensuring a Stable Connection
Guaranteeing a stable connection is essential for getting the most out of our wired Ethernet scanner. First, let’s check the Ethernet cable for any damage or loose connections; a well-managed cable is critical for connection stability. We must also confirm that the scanner’s IP address is unique and not conflicting with other devices. If issues arise, performing a ping test can help verify connectivity. It’s imperative to regularly monitor the connection status lights on our network device. If connection problems persist, restarting both the scanner and the network hub in the right order will often resolve them. Finally, let’s make sure our network settings match, so our communication remains smooth and uninterrupted.
Maintaining Scanner Performance and Security
After establishing a stable Ethernet connection, our attention shifts to maintaining the scanner’s performance and security. For performance optimization, we should regularly update scanner hardware and software, ensuring compatibility with the latest features and minimal resource usage. Let’s allocate sufficient system resources to avoid any lag, and schedule maintenance tasks to prevent wear and tear.
On the security side, employing robust security measures is essential. We can configure firewalls to block unauthorized access while implementing strong encryption like WPA3 for data protection. Limiting access through role-based controls and maintaining detailed audit trails helps monitor user activity effectively. Continuous monitoring for threats, along with regular firmware updates, will further protect against potential vulnerabilities, keeping our scanner and network secure.
Frequently Asked Questions
What Types of Scanners Support Wired Ethernet Connections?
When considering scanners that support wired Ethernet connections, we’ll find options like network document scanners, high-speed scanners, and shared network scanners, unlike USB scanners or wireless scanners that offer different functionalities and flexibility.
Can I Connect Multiple Scanners to the Same Network?
We can joyfully connect multiple scanners to the same network, ensuring proper scanner compatibility and thoughtful network configuration. Just remember, each device deserves its unique address to avoid any hiccups in communication!
How Do I Reset the Scanner Network Settings?
When we consider resetting our scanner network settings, we’ll explore effective reset methods and network troubleshooting steps. It’s crucial we follow the prompts carefully to guarantee a smooth reconnection afterwards. Let’s get started!
Is a Static IP Address Necessary for All Installations?
Did you know nearly 65% of businesses rely on static IP addresses? While static IP benefits include reliability and remote access, dynamic IP considerations often suffice for home networks. It really depends on your specific needs.
How to Determine the Scanner’s IP Address After Installation?
To determine our scanner’s IP address after installation, we should check the scanner configuration settings or use network troubleshooting tools. Scanning our network can help us identify its IP among other connected devices.