As an Amazon Associate, we earn from qualifying purchases. Some links on this site are affiliate links at no extra cost to you. Our recommendations are based on thorough research and editorial judgment.
How To Use Canon ImageFORMULA R40 Scanner?
To use the Canon ImageFORMULA R40 scanner, we first verify our system is compatible and download drivers from Canon’s site. Next, we connect the scanner to our computer using the USB cable provided. After installing the necessary software, we load documents face up in the 60-sheet ADF, adjusting for size. Finally, we select our scanning preferences, including duplex options for efficiency. Understanding these steps will help us harness the scanner’s capabilities effectively, revealing its full potential.
Key Takeaways
- Confirm your computer’s compatibility with Windows or macOS, then download drivers from Canon’s official website for the R40 model.
- Connect the scanner using the included USB cable; your computer should automatically recognize and install necessary drivers.
- Load documents face up in the ADF, ensuring they are aligned and not damaged for optimal scanning performance.
- Adjust scanning settings, selecting custom modes for simplex or duplex, and utilize auto detection features for accurate results.
- Regularly maintain the scanner by cleaning rollers and updating drivers to ensure consistent performance and prevent jams.
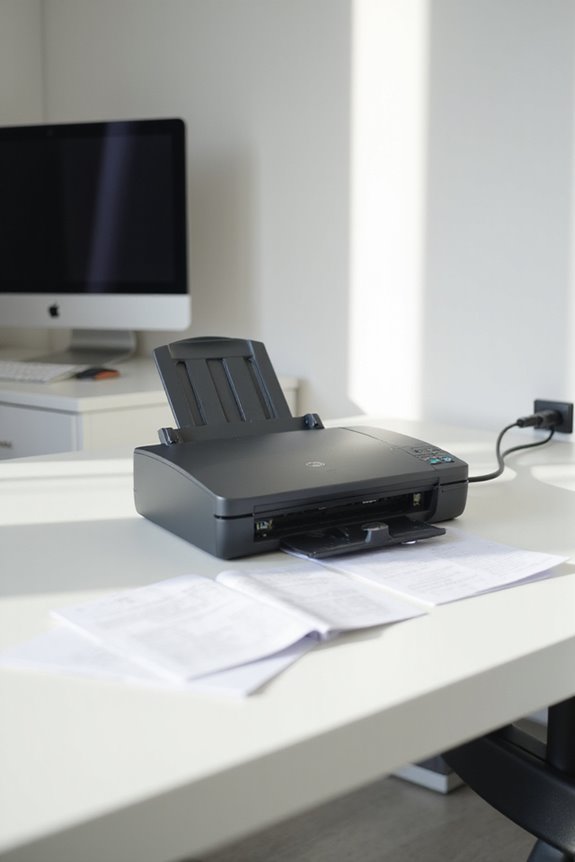
Setting Up Your Canon ImageFORMULA R40 Scanner
You may be interested

Setting up your Canon ImageFORMULA R40 Scanner is a straightforward process that guarantees you make the most of its impressive capabilities. First, we should confirm compatibility with our Windows or macOS systems by downloading the necessary drivers from Canon’s official website. The scanner supports document sizes from 2 to 8.5 inches wide and 2.1 to 14 inches long, making it versatile for various tasks. With a feeder capacity of 60 sheets, we can efficiently handle larger jobs. As we set it up, keeping some scanner maintenance tips in mind will help us avoid common troubleshooting errors. Regularly updating drivers and checking connections will enhance performance, confirming we get professional-quality scans every time. Additionally, the Canon imageFORMULA R10 offers mobile efficiency with duplex scanning capabilities, making it a great option for users on the go.
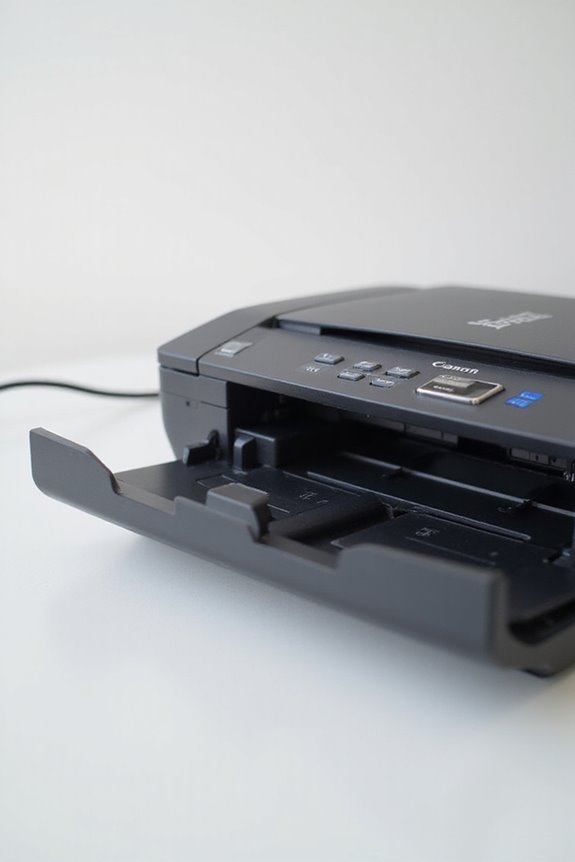
Connecting the Scanner to Your Computer
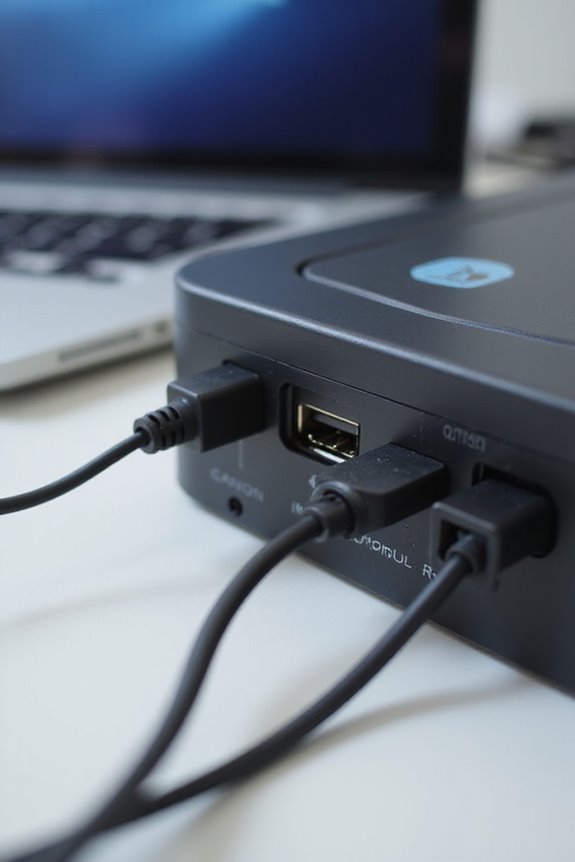
Connecting your Canon ImageFORMULA R40 scanner to your computer is simple and efficient, allowing us to quickly harness its scanning capabilities. First, let’s make sure the computer is on and compatible with either Windows or Mac. We’ll locate the USB cable included with the scanner, then connect one end to the scanner and the other to an available USB port on our computer. Typically, the computer automatically recognizes the scanner and starts installing the necessary drivers. If we encounter any issues, like the scanner not being detected, it’s helpful to restart the computer and reconnect the USB cable. Checking for updates and performing USB troubleshooting can also resolve connectivity issues, making certain our scanner works seamlessly. Additionally, using a scanner with high scanning speed can enhance productivity by allowing for quicker document processing.
Installing the Necessary Software
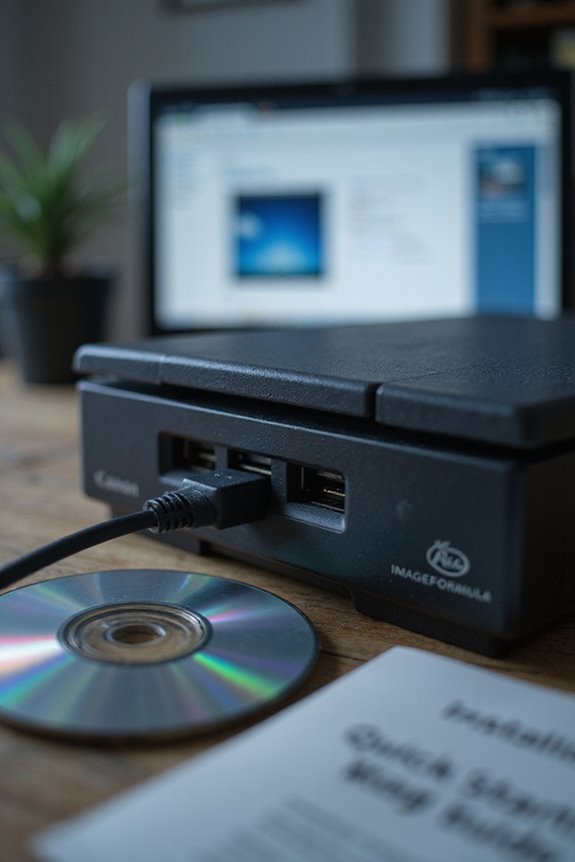
Once the Canon ImageFORMULA R40 scanner is connected to our computer, the next step is installing the necessary software to access its full potential. First, we need to check the software requirements. We can download the Canon software from Canon’s official website, including the powerful CaptureOnTouch software, for both Windows and macOS. To begin, we’ll navigate to the Canon support page, select our R40 model, and download the installation guide along with the appropriate software installer. After downloading, we simply follow the on-screen instructions to install all required files, including necessary drivers. Completing this step guarantees that our scanner functions effectively, providing customizable settings for various scan modes and file formats. Additionally, ensuring software compatibility with your operating system is crucial for optimal scanner performance.
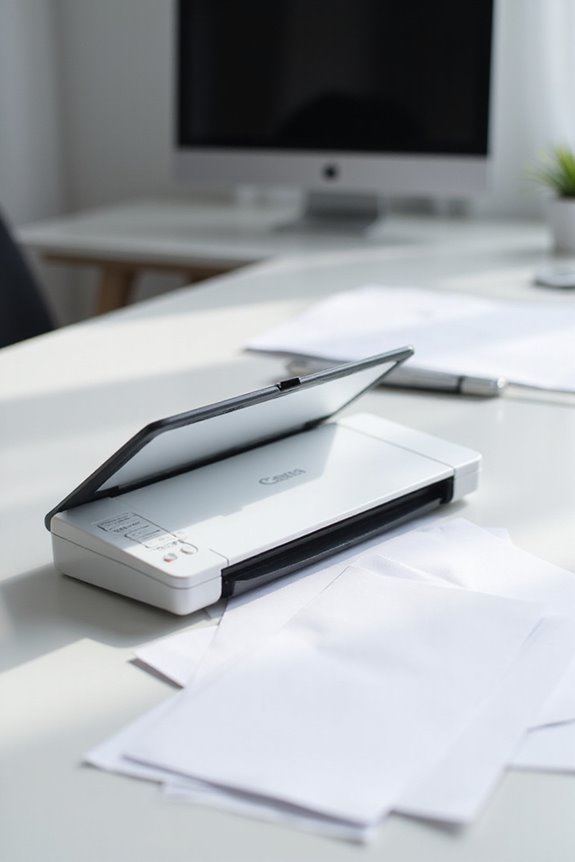
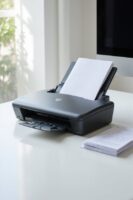
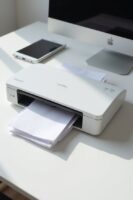
Loading Documents Into the Auto Document Feeder
Loading documents into the Auto Document Feeder (ADF) is a straightforward process that can greatly enhance our scanning efficiency. First, we need to prepare our documents properly by placing them face up in the feeder, aligning the top edge with the arrow on the tray. The ADF can hold up to 60 sheets, supporting various sizes from 2 to 8.5 inches in width and up to 14 inches in length. To avoid jams, let’s make sure documents are not skewed, bent, or contain staples. Regular feeder maintenance, like cleaning the rollers, is essential for smooth feeding. Additionally, the Canon imageFORMULA R40 supports various document types, ensuring it meets diverse scanning needs. By following these steps, we can optimize our scanning experience and enjoy reliable performance every time.
Selecting the Right Scanning Settings
Selecting the right scanning settings is essential for achieving ideal results with the Canon ImageFORMULA R40 Scanner. We can take advantage of custom scan modes, like simplex and duplex, to match our specific document needs. Features such as auto page size detection and auto color detection help guarantee our scans are accurate every time. We should also set our document preferences for auto page orientation and deskew to improve clarity. Utilizing options like text enhancement and background smoothing allows us to produce crisp, legible documents. Additionally, using features like moiré reduction can greatly enhance our scanned images. By properly selecting these settings, we optimize our workflow and enjoy high-quality scans tailored to our requirements. Moreover, understanding scanning speed capabilities allows us to efficiently handle high-volume tasks without sacrificing quality.
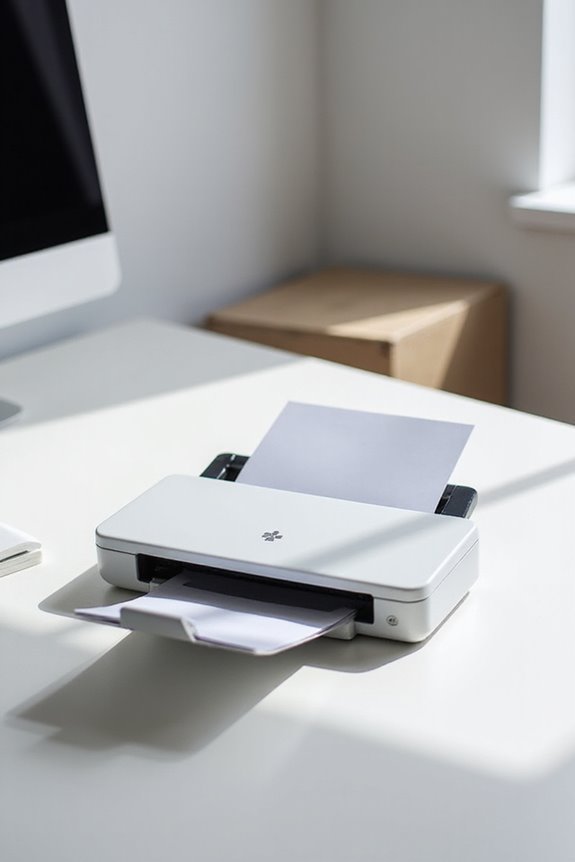
Performing Your First Scan
Ready to commence your scanning journey? To perform our first scan with the Canon imageFORMULA R40 scanner, we start by ensuring our scanner is powered on and connected to our computer via the USB 2.0 cable. Next, let’s open the Canon Capture OnTouch software. We can place up to 60 sheets face down in the feeder, adjusting the guides for ideal document alignment. After selecting our desired settings—like file format and resolution—we simply hit the “Start Scan” button. If we encounter any issues, troubleshooting tips such as reducing document weight or checking the USB connection can be handy. With a scanning speed that varies based on settings, we’re ready to enjoy seamless scanning! Additionally, the OCR technology enables efficient conversion of scanned documents into editable formats, enhancing our workflow and document management.
Frequently Asked Questions
How Do I Clean the Scanner’S Glass Surface?
Maintaining our scanner’s glass surface is like caring for a prized painting. With gentle cleaning tips and regular maintenance techniques, we’ll guarantee our scans always capture bright, clear details, enhancing every document’s presentation.
What Do I Do if the Scanner Jams?
If our scanner jams, we should follow jam prevention techniques and scanner maintenance tips: power cycle, check connections, clear obstructions, and clean regularly. This helps guarantee smooth operation and reduces future jamming issues.
Can I Scan Different Document Sizes in One Batch?
We’ve successfully scanned a mix of invoices and contracts in one batch, showcasing document flexibility. Yes, we can scan different document sizes together, allowing efficient batch scanning while maintaining clear and organized results.
How Can I Update the Scanner’S Firmware?
To update the firmware, we should access Canon’s website or our scanner’s interface. Regular firmware updates help with scanner maintenance, ensuring peak performance and feature improvements for our device. Let’s keep it up-to-date!
Is There a Warranty for the Canon Imageformula R40?
Yes, there’s warranty coverage for the Canon imageFORMULA R40. We should register our warranty to guarantee we’re covered for defects within a year from purchase, but remember, consumable parts aren’t included in this warranty.