To use the Canon Maxify Office Scanner, we start by ensuring it’s powered on and properly connected, either via USB or network. Next, we place our document face-down on the glass and close the lid. We configure settings for resolution, color mode, and document type before pressing the scan button. For multi-page documents, we can utilize the Automatic Document Feeder. This scanner offers up to 600 dpi resolution and advanced features to boost our productivity. More tips and tricks await!
Key Takeaways
- Ensure the Canon Maxify scanner is powered on and properly connected to your computer or network.
- Place the document face-down on the glass platen, aligning it with the corner guides.
- Select your preferred scan settings, including color mode, resolution, and file format before starting the scan.
- For multi-page documents, utilize the Automatic Document Feeder (ADF) for efficient scanning of up to 50 sheets.
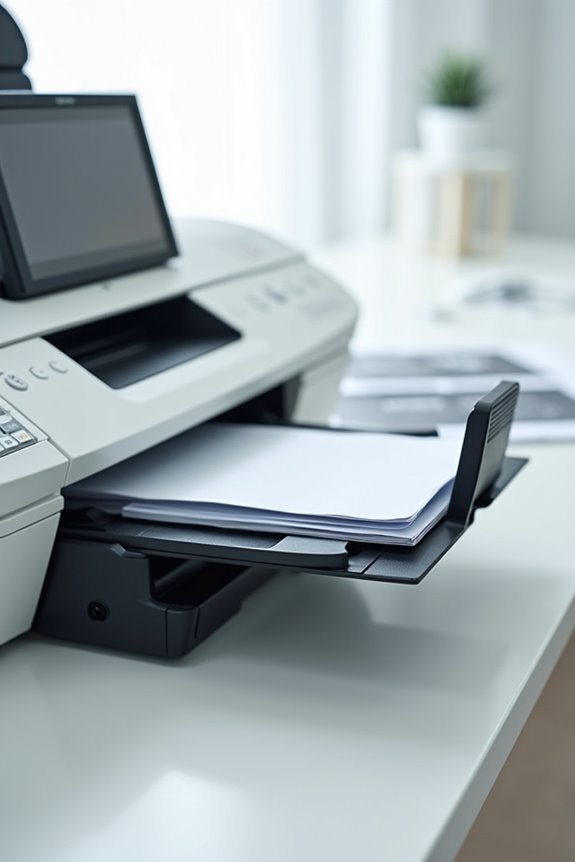
- Once the scan is complete, determine the save location, and if desired, share or upload the scanned files to cloud storage.
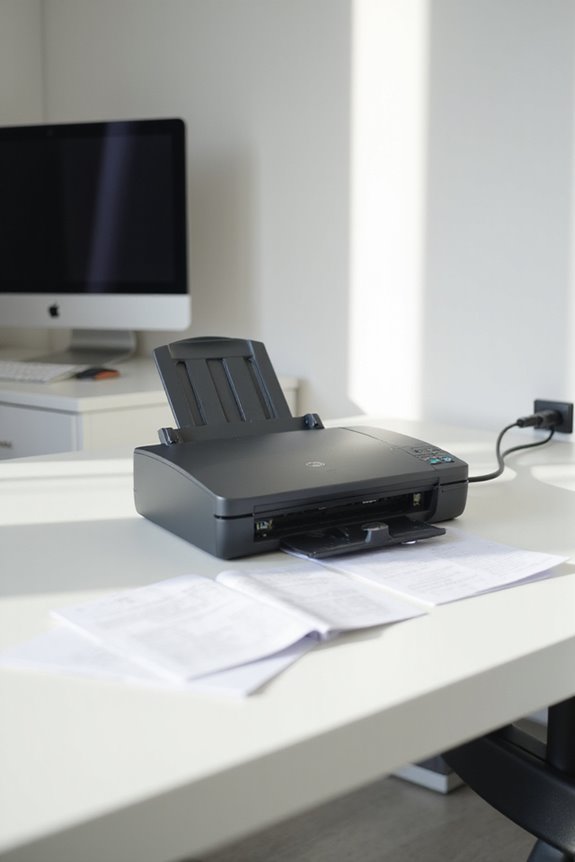
Preparing the Scanner for Use
Preparing our Canon Maxify Office Scanner for use involves several important steps. First, we need to verify the scanner connections are secure, whether via USB or network, to prevent any issues later. Next, it’s crucial to check that the scanner’s glass platen is clean and free of debris for ideal scan quality. When placing documents, we should confirm proper document alignment by aligning them with the top-left corner of the platen. This helps in producing clear and accurate scans. Additionally, handling the documents carefully and flattening them guarantees they scan smoothly. Once everything is set, we can close the scanner lid, readying it for the next steps in our scanning journey. To enhance productivity, ensure that the scanner software supports Optical Character Recognition (OCR) for creating searchable PDFs.
Configuring Scanner Settings
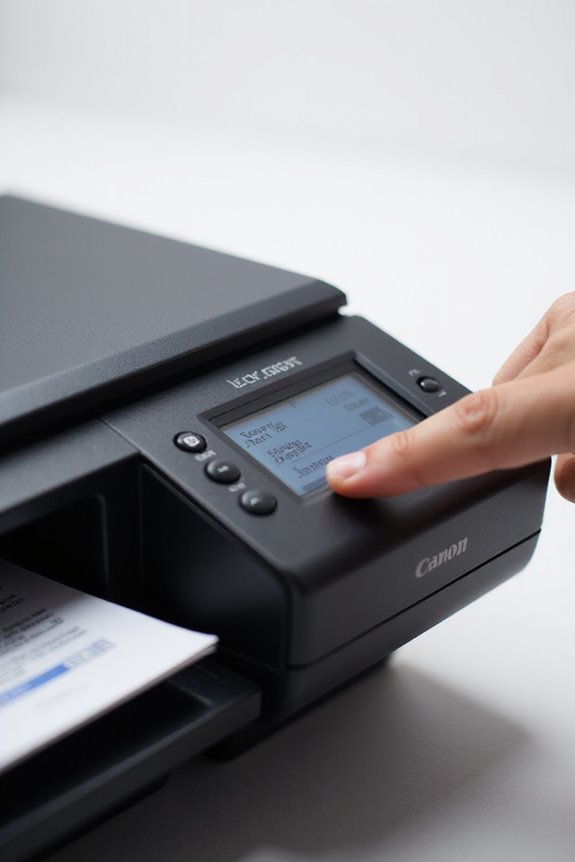
When setting up our Canon Maxify Office Scanner, we can take advantage of several key configuration options that enhance our scanning experience. First, we’ll select our scan source, choosing between the Automatic Document Feeder (ADF) or the flatbed. Understanding the scan configurations also allows us to specify document orientation and binding sides, essential for double-sided materials. We can select color modes like color, grayscale, or black and white, and adjust resolution settings up to 600 dpi for better image quality. Additionally, enabling features like Auto Document Fix improves text clarity. Finally, we’ll determine save locations and formats, ensuring our scanner preferences align precisely with our needs for efficient scanning and easy access to documents. Furthermore, understanding the scanning speed and performance of different scanner models can help us choose the best option for our specific requirements.
Executing the Scanning Process
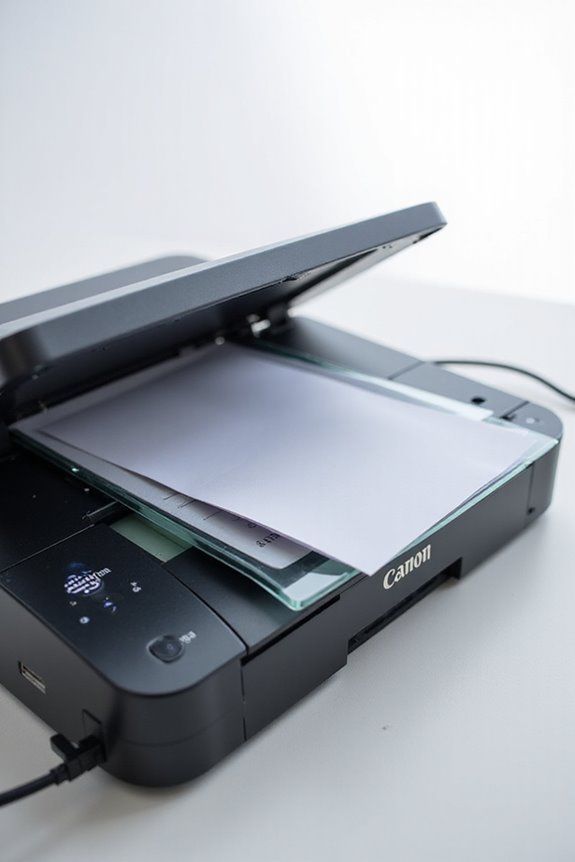
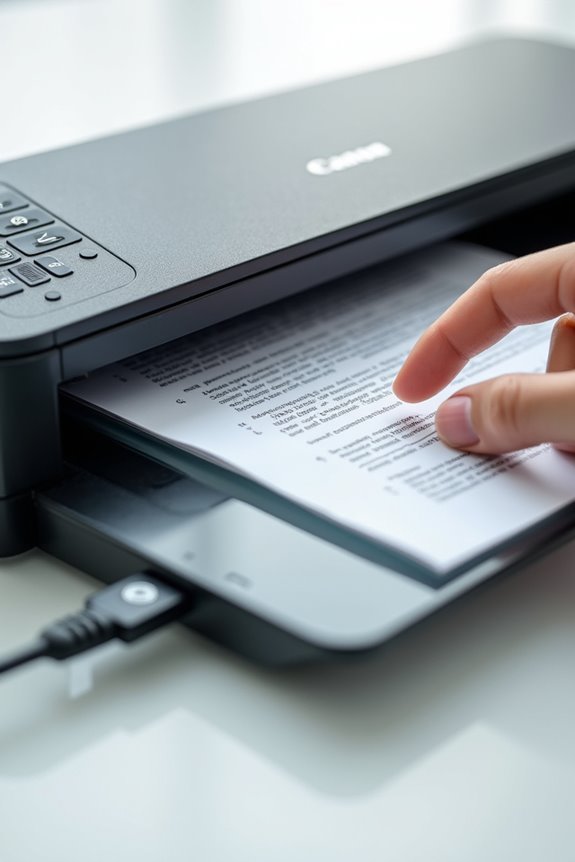
To get started with the scanning process on our Canon Maxify Office Scanner, we first need to confirm that the printer is powered on and connected to our computer, whether through USB or a wireless link. Next, we’ll place the document face-down on the scanner glass, aligning it with the corner guides for accuracy. We simply press the scan button on the printer panel, recognizable by its document icon. Selecting our scan source is essential; we can use the platen for single sheets or the automatic document feeder for multiple pages. Before executing the scan, we can adjust settings for color, resolution, and file format to guarantee ideal document quality. Additionally, ensuring that the resolution is set to at least 2400 x 2400 dpi will help achieve high-quality images, similar to the capabilities of the Canon CanoScan LiDE 300. Then, we’ll initiate the scan on the printer or via our computer interface.
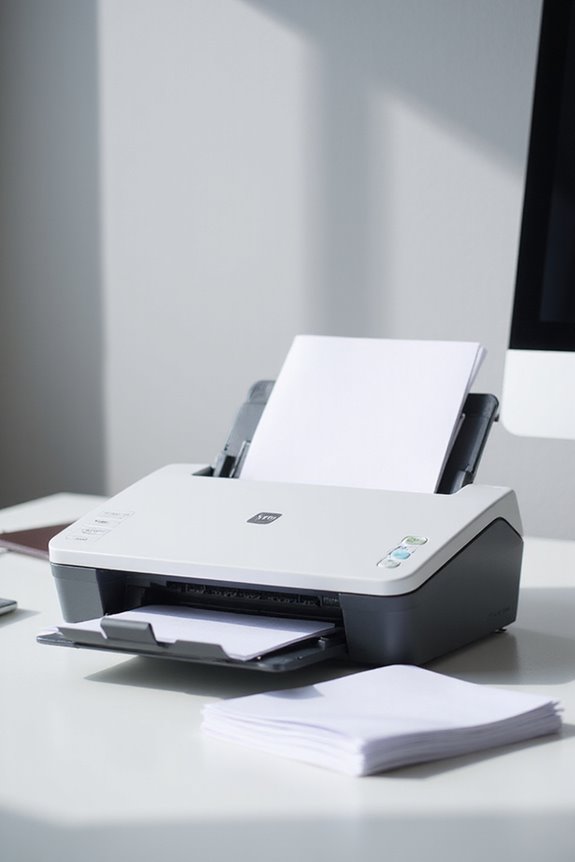
Utilizing the Automatic Document Feeder
The Automatic Document Feeder (ADF) on the Canon Maxify Office Scanner is designed to streamline our scanning tasks, particularly when we have multi-page documents. With a capacity of up to 50 sheets, the ADF allows for quick scanning, copying, or faxing jobs without constant manual intervention. One of the ADF advantages is its supported single-pass duplex scanning, which efficiently handles double-sided documents. However, it does have limitations; we need to guarantee documents are properly aligned to avoid jams and avoid mixing different paper types to maintain smooth feeding. Regular maintenance, like cleaning the ADF rollers, enhances its functionality, allowing us to maximize productivity in our office environment. Additionally, ensuring that we utilize advanced paper handling technology can significantly reduce the chances of jams and rescans, further improving efficiency.
Understanding Scan Features and Capabilities
Understanding the features and capabilities of the Canon Maxify Office Scanner is essential for maximizing our efficiency in document management. This scanner offers impressive optical resolution at 1,200 x 2,400 dpi, ensuring detailed scans for our documents. With multiple scan modes, including Push Scan, we can start scans directly from the printer panel, saving time. The advanced color processing maintains color fidelity, which is great for reproducing images accurately. Plus, we have options for various scan destinations, such as email and cloud services, allowing flexible document sharing. Each scan can also be customized, from brightness adjustments to removing unwanted backgrounds. Overall, these features greatly enhance our scanning experience and productivity in the office. Additionally, the scanner’s USB-powered feature enhances mobility, eliminating the need for an additional power adapter.
Troubleshooting Common Issues
Common issues can arise with the Canon Maxify Office Scanner, but addressing them quickly helps us maintain smooth operations. If we encounter power problems, checking the power cord and confirming the scanner is on can be our first step. For network connectivity, verifying our connections to the right network, be it wired or wireless, is essential. Updating the scanner drivers regularly keeps our system compatible. If we face error messages, consulting the user manual can lead to effective error message solutions. Additionally, understanding network configuration tips can guarantee smooth communication between our devices. Finally, rebooting both the scanner and computer often resolves minor glitches, so don’t hesitate to restart when in doubt.
Consider implementing strong security features to protect sensitive data during scanning to enhance overall safety.
Maintaining Your Scanner
To guarantee our Canon Maxify Office Scanner continues to perform at its best, regular maintenance is essential. We should prioritize scanner cleaning by wiping the glass and platen with a soft, lint-free cloth and mild cleaner to prevent dust and smudges from affecting scan quality. Regularly inspecting the ADF rollers and following Canon’s schedule for replacement is vital too. Keeping ink cartridges clean avoids leaks that might contaminate the scanner. Updating firmware secures peak performance. We must operate the scanner in a clean, dry environment, positioned on a stable surface to avoid overheating and damage. Finally, scheduling professional servicing allows deeper cleaning and calibration that goes beyond our day-to-day maintenance efforts, keeping our scanner in prime condition.
Integrating Scanning Into Office Workflow
As we integrate scanning into our office workflow, it’s essential to leverage the advanced features of the Canon Maxify Office Scanner. This scanner offers excellent compatibility with both Windows and Mac PCs through Canon’s IJ Scan Utility software, which simplifies document organization. With high optical resolution scanning at 1,200 x 2,400 dpi, we can guarantee detailed digitization for our office documents. The Automatic Document Feeder (ADF) supports batch scanning, which can achieve up to 7.1 images per minute—perfect for high-volume tasks. Customized scan settings allow us to save documents in various formats, enhancing flexibility in our workflows. By using these features, we can streamline processes and improve overall efficiency in our workspace.
Advanced Scanning Techniques
Building on our discussion of integrating scanning into the office workflow, exploring advanced scanning techniques can further enhance our productivity. The Canon MAXIFY scanner’s high-resolution capability of 1,200 x 2,400 dpi guarantees we capture detailed images. With advanced image adjustments, we can modify intensity with nine settings to match our document’s lighting conditions. Color management techniques, supported by 16-bit input and 8-bit output, promote vibrant, faithful color reproduction. For bulk scanning, the Automatic Document Feeder simplifies our workflow, processing legal-size documents quickly. Plus, features like two-sided copying and 2-on-1 function allow for efficient, professional output. By mastering these techniques, we can elevate our scanning practices to meet diverse business needs seamlessly.
Exploring Mobile Scanning Options
When we consider the flexibility of mobile scanning options with the Canon MAXIFY scanner, we reveal new levels of productivity. The Canon PRINT mobile app features allow us to control our scanners directly from our smartphones or tablets. By connecting to the same Wi-Fi network, we can scan documents without needing a PC. We can customize settings like color mode and resolution, ensuring quality results tailored to our needs. Additionally, scanned documents can be emailed or saved directly to cloud storage services, facilitating easy sharing and organization. This integration not only enhances workflow efficiency but also provides secure, encrypted transfers, safeguarding our documents. With these mobile capabilities, we can truly transform how we manage our documents in today’s fast-paced environment.
Frequently Asked Questions
What Types of Documents Can I Scan With the Canon MAXIFY Scanner?
We can scan various types of documents with the Canon MAXIFY scanner, including business documents and personal records. It handles everything from single sheets to multi-page files, ensuring our important information is preserved efficiently.
How Do I Clean the Scanner Glass Properly?
To guarantee ideal scanner maintenance, we should use soft microfiber cloths and gentle cleaning techniques. Dampen the cloth, wipe carefully, and avoid harsh chemicals to keep our scanner glass crystal clear and functioning well.
Can I Scan Photos With the Canon MAXIFY Scanner?
Absolutely, we can capture memories like hidden treasures! With the right scanning settings, our Canon MAXIFY guarantees stunning photo quality, allowing us to preserve every cherished detail beautifully for years to come. Let’s get started!
What Is the Warranty Period for the Canon MAXIFY Scanner?
When it comes to Canon warranty details, we can expect a typical coverage of 3 years for MAXIFY scanners in some regions. Always check your specific model to confirm the warranty length and conditions.
How Do I Connect the Scanner to a Wireless Network?
To connect our scanner, we’ll go through the wireless setup and guarantee our network configuration is correct. Let’s verify the SSID and password, then follow the prompts on the control panel for a successful connection.