To use the Epson Perfection Photo Scanner, we start by connecting it via USB and installing the necessary drivers. We can adjust settings for ideal scanning, choosing modes like Professional for higher quality. The scanner’s optical resolution goes up to 6400 dpi, ensuring detailed images. We should carefully prepare our originals, ensuring they’re clean and flat before scanning. Finally, we can save our files in organized folders for easy access. There’s more to discover about enhancing our scanning experience.
Key Takeaways
- Ensure the scanner is set up correctly with all necessary connections and the scanning software installed on your computer.
- Place the original document or photo face down on the scanner glass and close the cover securely.
- Launch the scanning software, select the appropriate scanning mode, and adjust settings as needed before proceeding.
- Preview the scan to confirm correct alignment and quality, and select the desired folder for saving the scanned files.
- After scanning, regularly clean the scanner and check for software updates to maintain optimal performance.
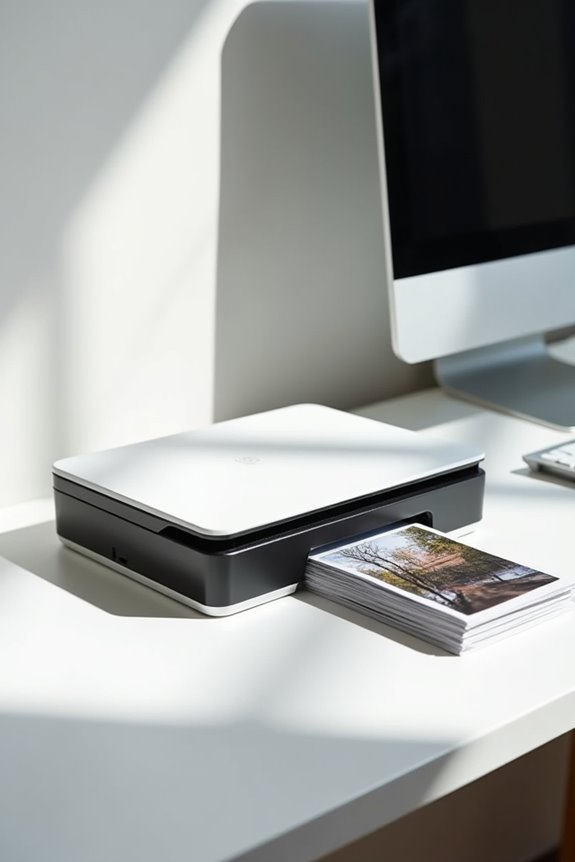
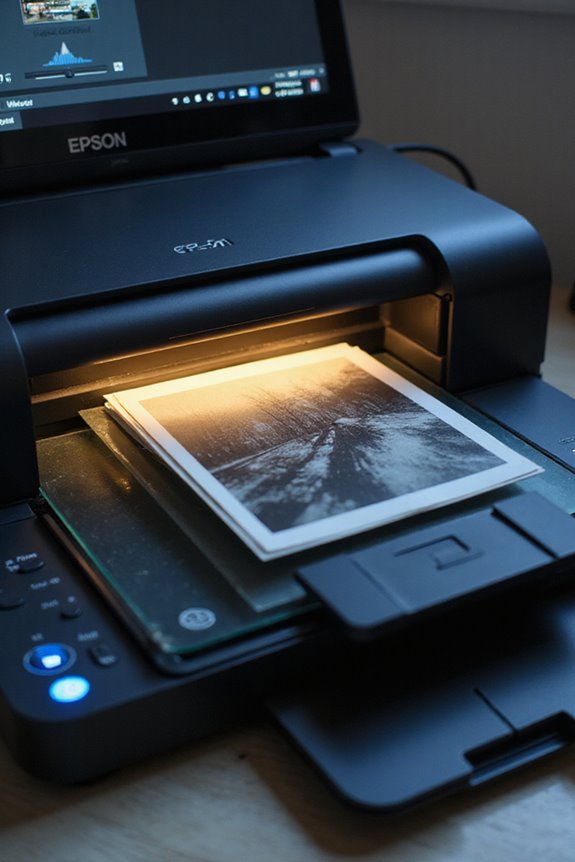
Overview and Specifications of Epson Perfection Photo Scanner
The Epson Perfection Photo Scanner represents a blend of advanced technology and user-friendly design, making it an excellent choice for both professional photographers and everyday users. With an optical resolution of up to 6400 dpi, we get image quality that’s remarkable for photo reproduction. Plus, some models utilize Micro Step technology, enhancing resolution up to 9600 dpi.
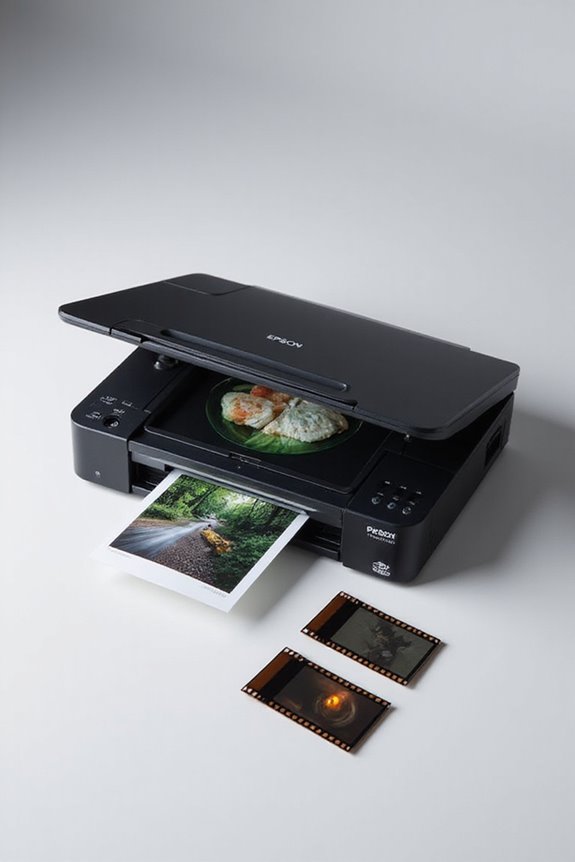
The scanner features a maximum scanning area of 8.5″ x 11.7″, accommodating standard document sizes easily. It captures 16 bits per pixel per color channel, ensuring rich colors and smooth gradations. The ReadyScan LED light sources eliminate warm-up time and lower energy consumption. Altogether, these capabilities support fast, detailed scans that meet various creative needs while maintaining exceptional image quality. Additionally, the scanner supports various film types such as 35mm and 120, making it a versatile choice for digitizing both photos and films.
Scanner Setup and Hardware Components
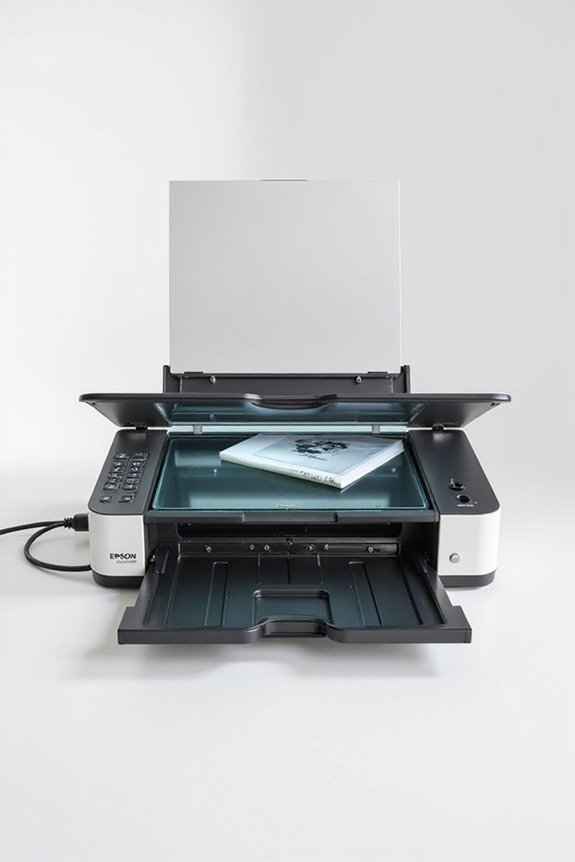
Setting up the Epson Perfection Photo Scanner is straightforward, allowing us to start scanning quickly. Its flatbed scanner design features a color CCD line sensor, ensuring accurate photo reproduction. We place our originals on the scanner glass, protected by a cover that helps keep them flat during scanning. Many models also offer a transparency unit for scanning films and slides. Regarding connectivity options, we have a USB Type B interface compliant with USB 2.0 Hi-Speed for reliable data transfer, and some models include a FireWire connection for even faster communication. Additionally, a stable scanner stand is provided to enhance ergonomics and support during our scanning tasks. These features combine to streamline our scanning experience effectively. The scanner’s high optical resolution of 4800 dpi allows for exceptional photo enlargements and detail capture.
Preparing Originals for Scanning
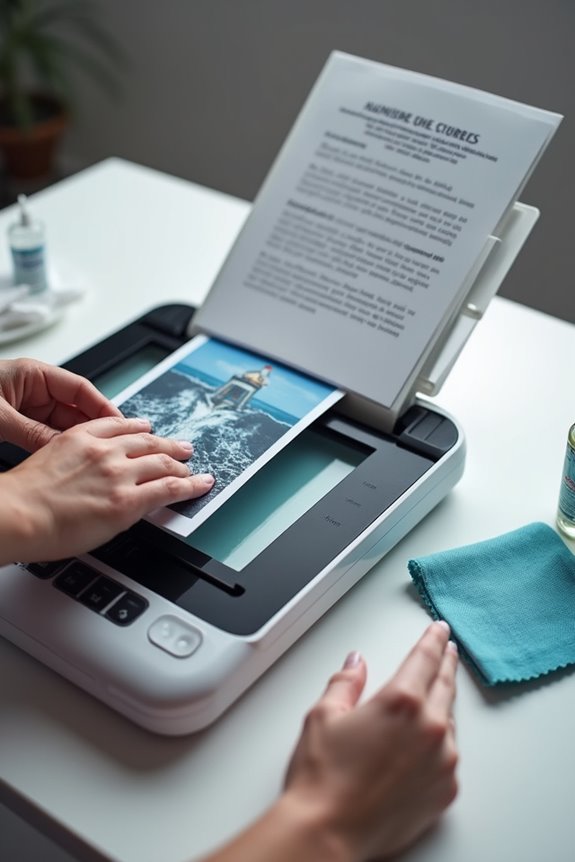
Before we begin scanning, it’s essential to prepare our originals carefully to provide the best results. First, we should make sure that our documents are free of dust, dirt, and fingerprints using appropriate cleaning techniques. A soft, lint-free cloth or an anti-static brush works wonders. For film or slides, we’ll handle them carefully with gloves or tweezers to avoid any damage. Next, let’s eliminate any staples or sticky notes and avoid folding our originals. Flatten curled edges gently before placing documents face down on the scanner glass, aligning them with the front-left corner. If scanning multiple items, we should space them apart to prevent overlaps. This thorough document preparation sets us up for ideal scanning success, particularly when utilizing high-resolution capabilities to ensure the best image quality.
Scanning Process and Software Usage
When we begin the scanning process with our Epson Perfection photo scanner, ensuring everything is in place is essential for achieving ideal results. First, we check for software compatibility, making sure we’ve installed the proper drivers for our operating system. After confirming that our scanner is powered on and connected, we launch the dedicated scanning software, like Epson Scan or VueScan. Choosing the right scanning mode—whether Full Auto, Home, Office, or Professional—based on our needs helps us optimize settings for resolution and output format. It’s beneficial to preview the scan to guarantee correct placement and quality. Finally, we set our desired destination folder, ensuring our scanned files are organized for easy access later. Additionally, understanding automatic dual-sided scanning features can enhance workflow efficiency during the digitization process.
Film and Slide Specific Scanning Tips
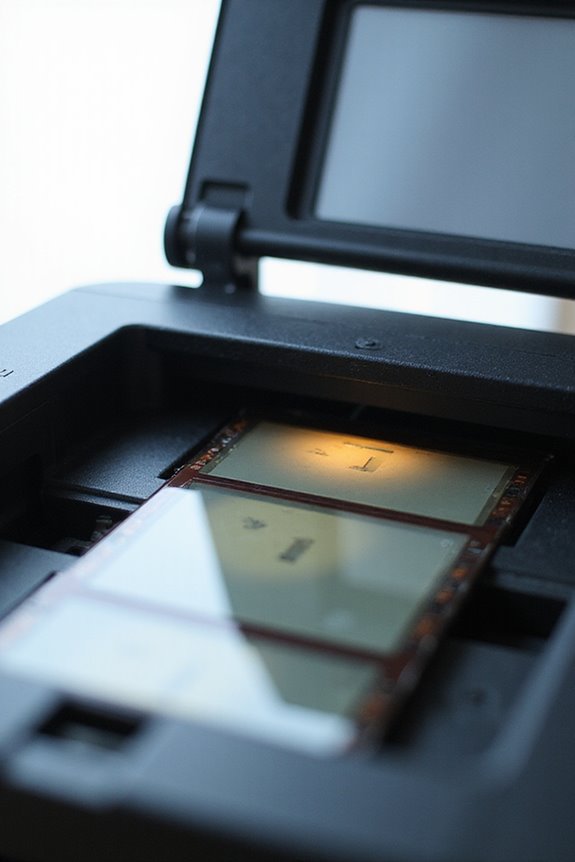
After we’ve explored the scanning process and software usage, it’s time to focus specifically on film and slide scanning techniques. To start, we need to prepare the film holder correctly, removing the document mat from the scanner cover. Aligning the film holder with the upper right corner guarantees proper scanning orientation. Be sure to use the right film holder: ‘A’ for 35 mm or ‘B’ for medium format. Load slides with the shiny base side facing down to avoid image reversal. For ideal results, select the film type accurately and avoid scanning negative slides in slide holder mode. Remember to keep everything clean, as dust can hamper scan quality. Additionally, using image enhancement technologies can significantly improve the archival quality of your scans. Let’s take our time to get those details just right for the best outcomes!
Enhancement Features and Settings Adjustments
Enhancement features in the Epson Perfection Photo Scanner can considerably elevate our scanning results. One standout is the text enhancement option, which boosts the sharpness and accuracy of scanned documents, making them more legible. It’s particularly useful for optical character recognition (OCR), and we can easily toggle it on or off in the Epson Scan software settings.
Moreover, the image restoration features, such as Colour Restoration and Backlight Correction, bring faded colors back to life while balancing exposure. This helps us achieve vibrant images, especially from backlit originals. Additionally, Grain Reduction and Auto Exposure guarantee our scans are clean and professionally polished. By leveraging these settings, we can improve quality while tailoring outputs to suit our specific needs. Furthermore, utilizing advanced features like image enhancement technology can further ensure clear and accurate scans, enhancing overall document management.
Saving and Organizing Scanned Files
As we plunge into saving and organizing scanned files, it’s crucial to understand how proper file management can streamline our workflow. We should consider using effective naming conventions, like prefixes combined with three-digit numbers, for easy identification. Creating subfolders within the “Scan To” folder helps us categorize our scans by project or date. It’s also wise to save files to external storage or cloud services like Google Drive to safeguard against data loss. Always choose the appropriate format—JPEG for photos and PDF for documents—to enhance organization. Regular backups and categorization by type guarantee we can quickly access the files we need. By following these practices, we can greatly improve our file organization and management.
Maintenance and Cleaning
Maintaining and cleaning your Epson Perfection Photo Scanner is essential for peak performance and longevity. To guarantee effective scanner care, we need to regularly check the power cord and plug for any damage. For cleaning techniques, using a soft, damp cloth is ideal for the exterior, while water and a lint-free cloth are best for the glass top. We should also use compressed air to gently remove dust from the scanner’s interior. Remember, we shouldn’t use liquid or aerosol cleaners, as these can damage the device. Finally, it’s wise to unplug the scanner when we’re not using it and store it in a dry, cool area to prevent potential issues down the road.
Troubleshooting Common Issues
Even with proper maintenance and cleaning, issues can arise with the Epson Perfection Photo Scanner from time to time. If your scanner isn’t turning on, we should first check the power connection and make sure it’s plugged into a working outlet. If it still won’t power up, pressing the Power button for a few seconds can help. For communication errors, we must verify that the USB cable is securely connected and check the Device Manager to confirm recognition. If all else fails, reinstalling the latest scanning software can resolve many problems. It’s essential to make sure all software is closed before turning off the scanner to avoid freezing or power drain. Keeping these steps in mind can keep our scanning sessions smooth!
Frequently Asked Questions
What Types of Files Can I Scan With the Epson Perfection Scanner?
When we think about the files we can scan with the Epson Perfection scanner, we’re looking at formats like JPEG and TIFF. Adjusting our scanning settings and image resolution guarantees the best quality results every time.
Is Scanning Multiple Images at Once Efficient on This Scanner?
“Time’s a-wastin’,” we say, and scanning multiple images at once on our Epson scanner proves efficient. The high image quality and impressive scanning speed guarantee we maximize productivity without sacrificing detail. What’s not to love?
Can I Edit Scanned Images Using the Provided Software?
Yes, we can edit scanned images using the provided software capabilities. While basic editing features are limited, we can easily export our images to other editing software for more extensive image editing options.
How Do I Know if the Scanner Is Functioning Properly?
Sleek scans signify successful operation! To determine if our scanner’s functioning properly, we’ll check performance indicators and engage in scanner troubleshooting. Steady lights and clear images usually mean we’re in the clear for seamless scanning.
What File Formats Does the Scanner Support for Saving Scans?
When saving scans, we have great options like JPEG for everyday use and TIFF for high-quality needs. These formats suit both casual and professional applications, ensuring our images look their best in all scenarios.