To use a photo quality scanner effectively, we should start by choosing a model with at least 1200 dpi resolution for detailed scans. Next, we need to set up the scanner on a flat surface and connect it, ensuring we install the latest drivers for compatibility. When scanning, we aim for a resolution of 600 PPI or higher, using lossless formats like TIFF for preservation. Let’s remember to clean surfaces and adjust settings for ideal results. There’s more to explore!
Key Takeaways
- Set the scanner resolution to at least 600 PPI for high-quality photos and use lossless formats like TIFF for preservation.
- Clean the scanning surface and handle photos with cotton gloves to avoid fingerprints and dust interference.
- Use preview scans to check brightness and contrast, adjusting as necessary for optimal results.
- After scanning, inspect images for clarity, rename files for organization, and remove duplicates.
- Utilize digital editing tools to enhance image quality, crop, and align images before saving.
Choosing the Right Scanner
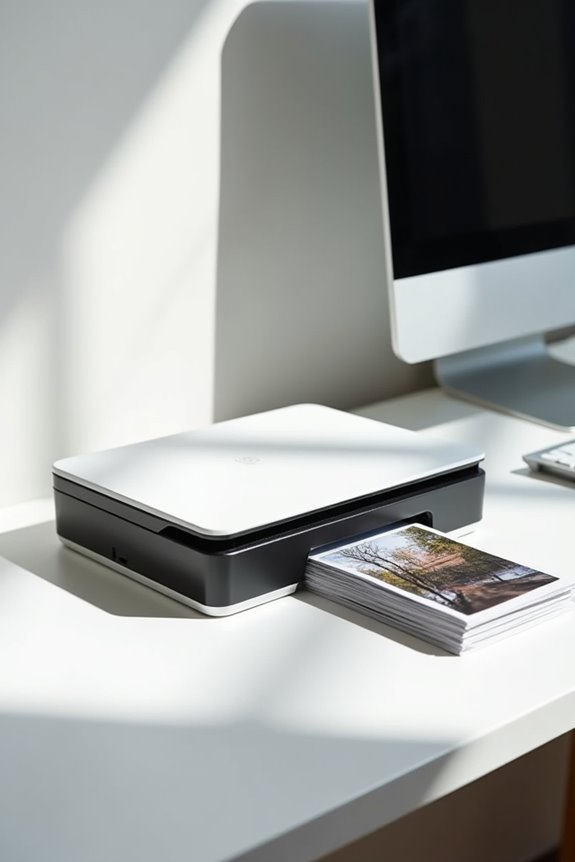
When it comes to choosing the right scanner for photo quality, we need to contemplate several key factors. First, resolution is essential; a scanner with 1200 dpi or higher guarantees detailed scans. We have options, like flatbed scanners or specialized models from brands like Epson, such as the FastFoto FF-680W. Budget matters too—affordable choices, like the Canon CanoScan Lide 400, offer decent quality, while the Epson Perfection V850 is for professionals. The size of the scan bed is important too; larger beds can accommodate bigger photo formats. Finally, dust removal features can greatly enhance image clarity. By balancing these factors, we can confidently select a scanner that meets our photo scanning needs. Additionally, the Epson FastFoto FF-680W is particularly notable for its ability to scan up to one photo per second, making it ideal for high-volume archiving tasks.
Understanding Scanner Components and Technology
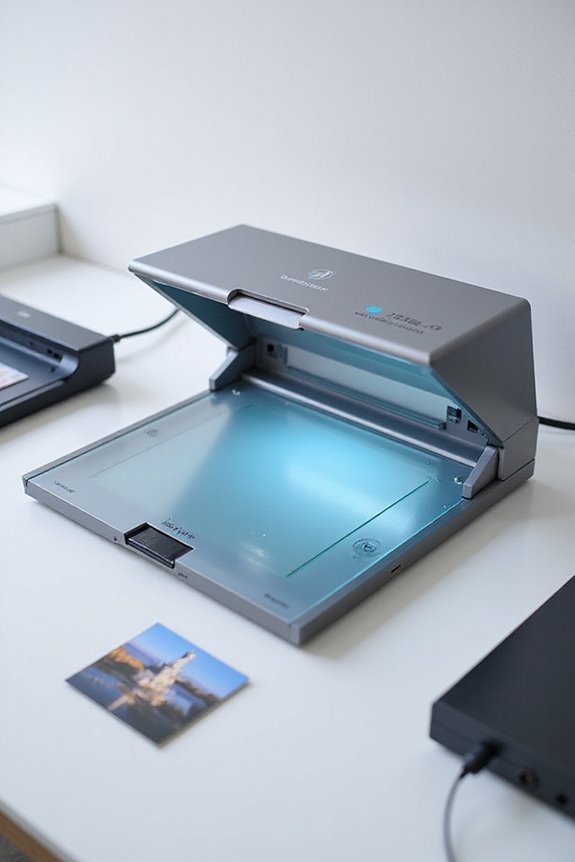
Understanding the components and technology behind photo quality scanners is essential for maximizing their performance. The scanner technology we choose often includes either charge-coupled devices (CCD) or contact image sensors (CIS). CCD uses complex optical components like mirrors and lenses, providing superior depth of field for scanning uneven surfaces—perfect for books. Alternatively, CIS sensors sit close to the document, meaning they’re more compact and energy-efficient but require a flat surface for sharp scans. The choice of lens, light source, and scanning bed size also affects our results considerably. A clean platen glass and adjustable scan spot size help capture essential details, while higher resolution increases the quality of our images, ensuring we get the best reproductions possible. Additionally, utilizing high-resolution imaging capabilities, such as those found in the Epson V600, can significantly enhance the detail and clarity of scanned photographs.
Setting Up Your Scanner
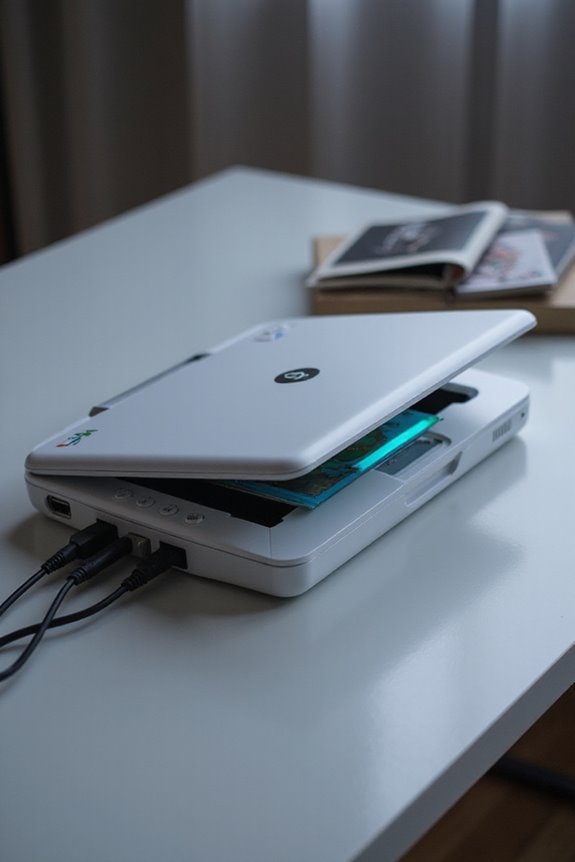
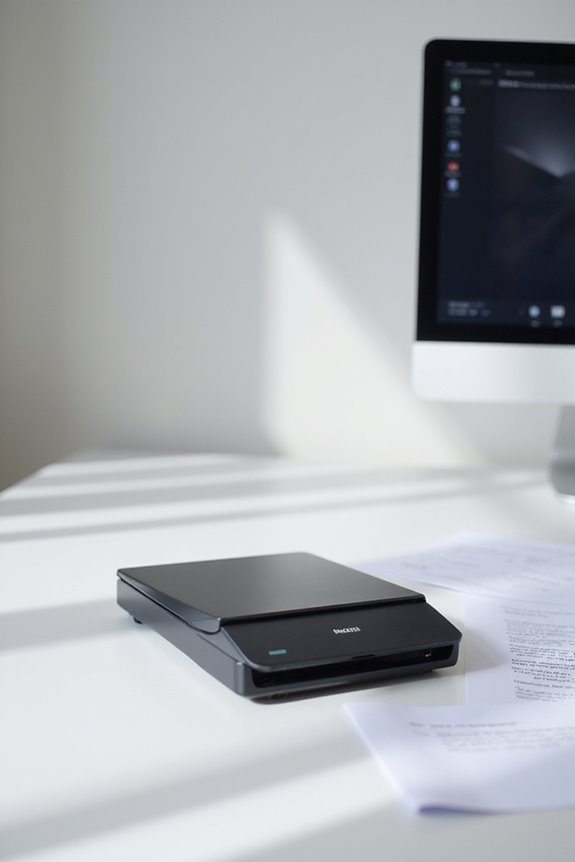
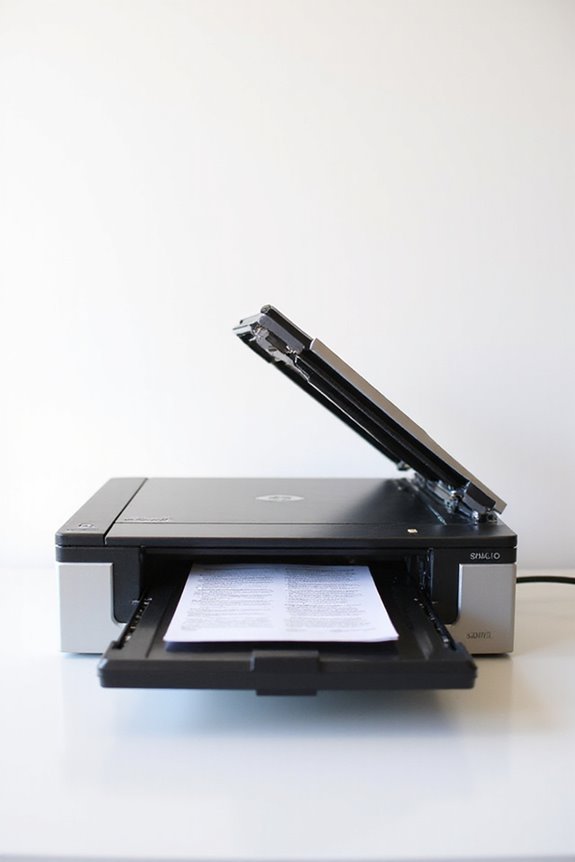
Setting up your scanner properly is crucial for achieving peak performance and quality in our scans. First, let’s unbox the scanner and remove all packaging materials. For ideal scanner placement, find a flat, clean surface where dust won’t contaminate our photos. Next, connect the power cable to the scanner and plug it into an outlet for our power connection. Once we turn on the scanner, it’s time to connect it to our computer using a USB or Wi-Fi connection. Make sure to install the latest drivers from the manufacturer’s website, following the on-screen instructions. Additionally, ensure that the scanner is compatible with your operating systems to avoid any installation issues. After installation, a quick restart of the computer may be necessary to guarantee it detects our scanner effectively. This sets us up for successful scanning!
Scanning Techniques and Tips
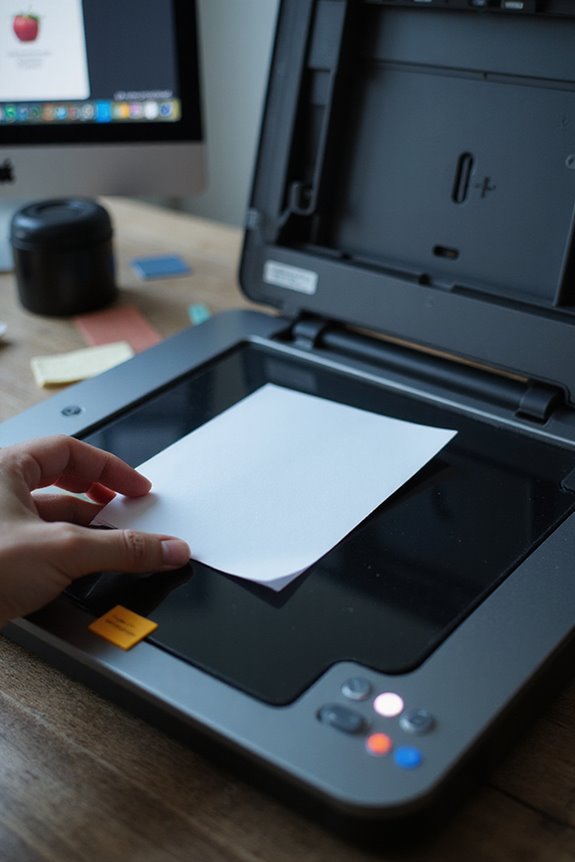
Now that our scanner is set up and ready, we can explore effective scanning techniques and tips that will elevate the quality of our digital images. First, we should aim for a scanning resolution of at least 600 PPI for detailed prints, while maintaining 200 DPI as the minimum to guarantee adequate sharpness. Using lossless file formats like TIFF or PNG protects our images for photo preservation. Let’s also handle photos with cotton gloves, avoiding oils and dirt that can damage them. Confirming our scanning surfaces are clean will prevent dust from affecting quality. Finally, using preview scans allows us to adjust brightness and contrast for best results. Additionally, considering high-resolution scanners can further enhance the detail captured in our scans. Let’s make each scan count!
Post-Scan Processing

Post-scan processing is a crucial phase in digitizing our images, where we refine and enhance our scanned photos for lasting preservation and enjoyment. First, we inspect each image for clarity and focus, sorting them into organized folders by date or event. We systematically rename files for easy retrieval and remove any duplicates. Next, we use digital tools to clean up imperfections like dust or scratches, restoring faded colors for a more vibrant appearance. Cropping and aligning images guarantees they look their best in albums. Finally, we adjust output settings for quality and file size, embedding helpful metadata. With these steps, we optimize image enhancement while guaranteeing effective file organization for future access. Additionally, utilizing advanced ABBYY OCR technology can improve the accuracy of text recognition in scanned documents, enhancing usability for future projects.
Maintenance and Troubleshooting
Maintaining our photo quality scanner is key to guaranteeing it works effectively over time. Regular scanner upkeep includes cleaning the glass surface to prevent dust buildup, which impacts scan quality. We should also inspect rollers and feeder trays for wear; replacing these parts when necessary helps avoid common errors like paper jams. Lubricating moving parts enhances performance, while routine calibration adjusts settings for ideal image quality. Keeping drivers updated ensures compatibility with our systems. If we notice image distortion, it’s often due to miscalibration or software issues. With these maintenance tips in mind, we can troubleshoot effectively, allowing our scanner to deliver the high-quality results we expect. Additionally, using cleaning solutions with Isopropyl Alcohol can help maintain the scanner’s performance by effectively removing dust and debris.
Best Practices for Image Storage
When it comes to storing images, following best practices can make a significant difference in preserving their quality for years to come. For physical storage, we should keep our photos in a cool, dark place, using archival-quality materials like acid-free paper to prevent degradation. Labeling photos clearly can help us easily identify them later. When it comes to digital storage solutions, employing cloud platforms is essential for secure backups—this guarantees we don’t lose any precious files. We should also store digital images in lossless formats like TIFF and consider using lossless compression to maintain quality. Finally, implementing an organization system and including metadata will help enhance accessibility and data management for effective image preservation.
Advanced Scanning Features
While effective image storage is essential for preserving our photos, utilizing advanced scanning features can markedly enhance the initial quality of our scanned images. Features like multi-feed prevention guarantee that overlapping sheets are detected, reducing the risk of image loss and paper jams. Automated quality assessments monitor the scanning process in real time, flagging any inconsistencies for our review. High-resolution options, with optical DPI up to 1,200, deliver detailed results perfect for professional use. Additionally, intelligent document handling adjusts settings according to media type, while batch processing streamlines our tasks. Overall, leveraging these advanced features allows us to achieve superior clarity and preservation of our cherished photographs, retaining their value and quality for years to come.
Frequently Asked Questions
How Much Does a Good Photo Quality Scanner Cost?
When we consider how much a good photo quality scanner costs, budget options start around $100. However, for better scanner features, investing in a mid-range model from $400 is often more beneficial for quality.
Can I Use My Smartphone to Scan Photos?
It is understood that some might doubt smartphone capabilities for scanning photos, but with effective scanning techniques and apps like Google PhotoScan, we can achieve surprisingly high-quality results, making it a convenient and accessible option for everyone.
What Is the Difference Between TIFF and JPEG Formats?
When we think about TIFF and JPEG formats, image quality often takes center stage. TIFF uses lossless file compression, preserving detail, while JPEG employs lossy compression, making it smaller but potentially degrading quality over time.
How Do I Know if My Scanner Is Compatible With Windows 11?
To check our scanner compatibility with Windows 11, we should visit the manufacturer’s site for updates. Regular windows updates can help too, ensuring our devices remain functional and compatible with current software requirements.
Are There Any Mobile Apps for Scanning Photos?
Picture us preserving memories with a swipe! With mobile technology, we’ve got great photo scanning apps like Adobe Scan and Google PhotoScan, perfect for transforming cherished images into digital treasures we can cherish forever.