As an Amazon Associate, we earn from qualifying purchases. Some links on this site are affiliate links at no extra cost to you. Our recommendations are based on thorough research and editorial judgment.
How To Scan Documents To PNG?
To scan documents to PNG, we start by organizing papers into labeled folders and removing staples. Next, we adjust scanner settings to save in PNG format, selecting 300 DPI for text and 600 DPI for detailed prints. After placing documents flat on the scanner, we make certain the lid is closed to block light. Finally, we name files descriptively and categorize them in secure storage. There’s still more to explore about enhancing your scanning experience.
Key Takeaways
- Prepare documents by sorting, removing staples, and smoothing out wrinkles before placing them on the scanner.
- Configure the scanner settings to export files as PNG and adjust the color mode as needed.
- Set the resolution to 300 DPI for text documents or higher for prints and intricate designs.
- Ensure documents are placed flat and the lid is closed to maintain quality during scanning.
- Organize scanned PNG files with descriptive names and secure storage solutions, ensuring regular backups.
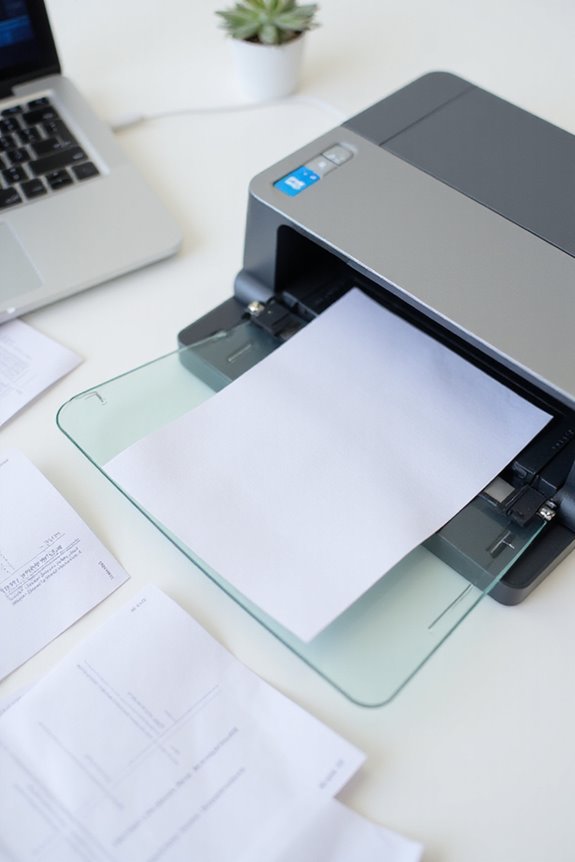
Preparing for Scanning Documents
You may be interested


Before we start scanning our documents, it’s essential to confirm they’re prepared properly. We should begin by sorting our document types into labeled folders, making sure each group is organized for easy access. Next, let’s remove any staples or paper clips, as these can jam our scanning equipment. We ought to smooth out wrinkles and creases by straightening pages, preventing any scanning mishaps. Additionally, separating sheets keeps them from sticking together during the scanning process. For smaller items like receipts, taping them onto a blank sheet helps maintain clarity. Finally, setting up a designated area for our scanned documents guarantees everything stays organized. Taking these steps now sets us up for efficient and successful scanning later on. Moreover, ensuring that we have a scanner with mobile device connectivity can further streamline the scanning process by allowing us to easily transfer files to our devices.
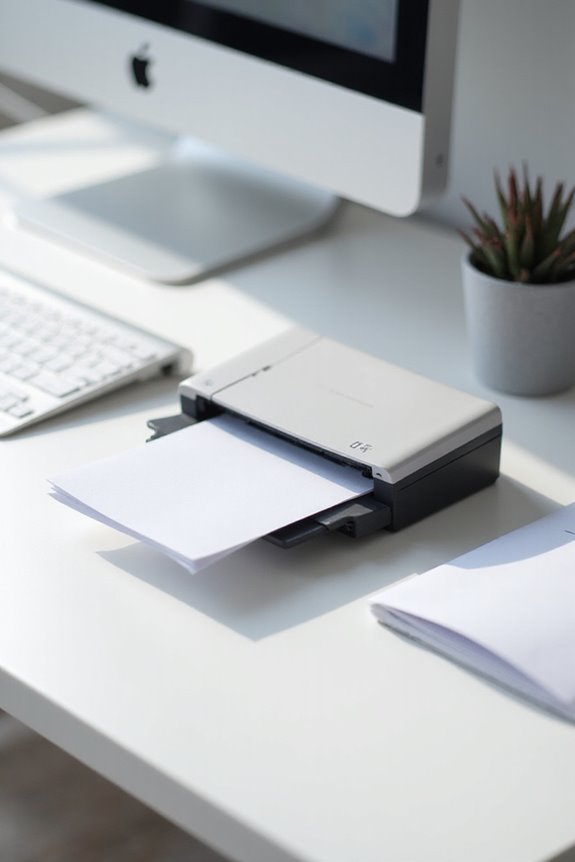
Configuring Scanner Settings
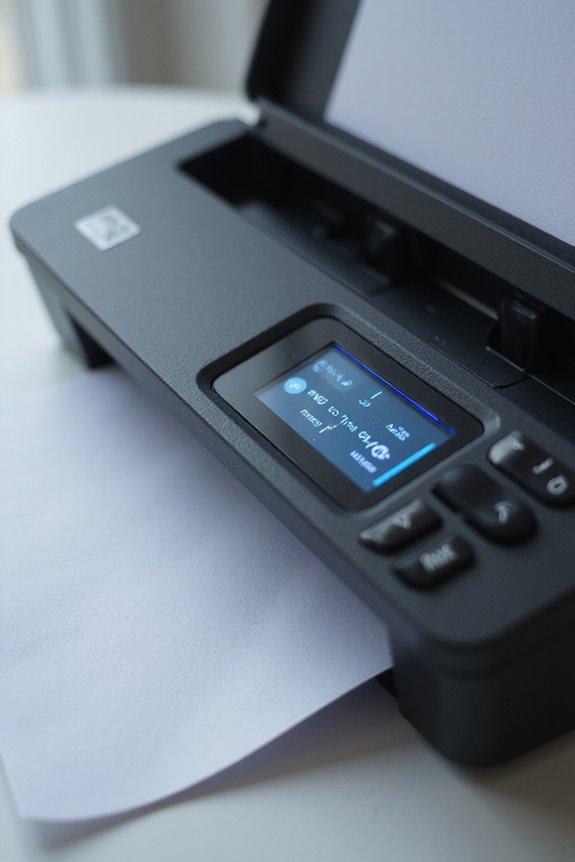
Configuring scanner settings is an essential step to secure high-quality PNG outputs. We can access the scanner interface through the control panel or our computer software. First, we should locate the format options to set the output file type explicitly to PNG. Depending on the document, adjusting the color mode to color, grayscale, or black-and-white enhances clarity. Let’s confirm our scanner firmware and software versions support PNG export for best results. We can select between Automatic Document Feeder (ADF) or flatbed scanning based on document size and quantity. For efficiency, saving configuration profiles for batch scans will save time during repetitive tasks. By tailoring these settings, we maximize our workflow while minimizing issues like cropping or unwanted margins. Choosing a scanner with high scanning speed can also significantly improve the efficiency of your scanning process.
Optimizing Resolution and Quality
Achieving ideal resolution and quality in our scanned PNG documents is essential for producing clear and usable files. We recommend using 300 DPI for most text documents, as it strikes the right balance between clarity and manageable file size. For prints, consider 600 DPI to guarantee detail fidelity. Higher resolutions like 900 or 1200 DPI might be necessary for intricate designs or line art. However, excessive DPI on low-quality originals can degrade readability due to amplified blemishes. We must also understand the resolution impact on OCR accuracy; higher resolutions facilitate better character recognition, reducing errors in automated workflows. By optimizing our scanning settings, we guarantee we get the best quality for both viewing and editing needs. Additionally, choosing a scanner with high optical resolution can significantly enhance the clarity of scanned images, especially for detailed documents.
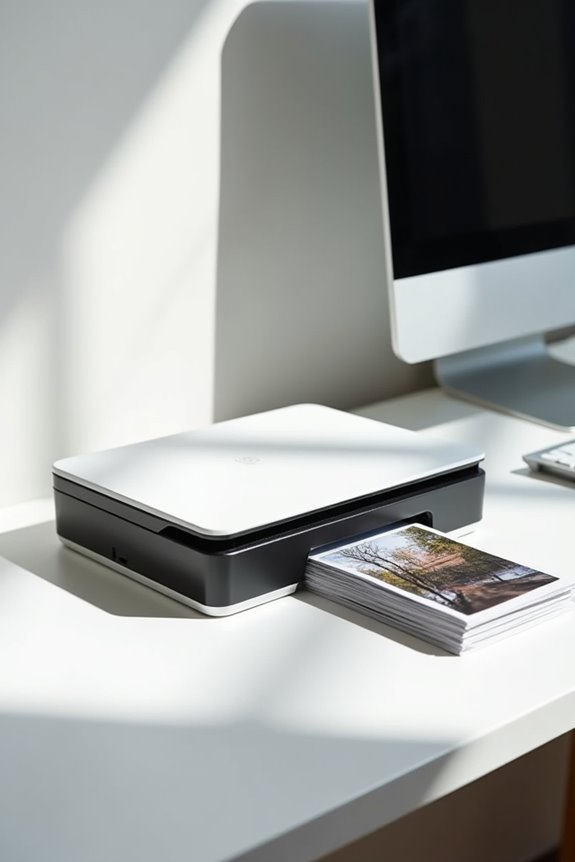
Executing the Scanning Process
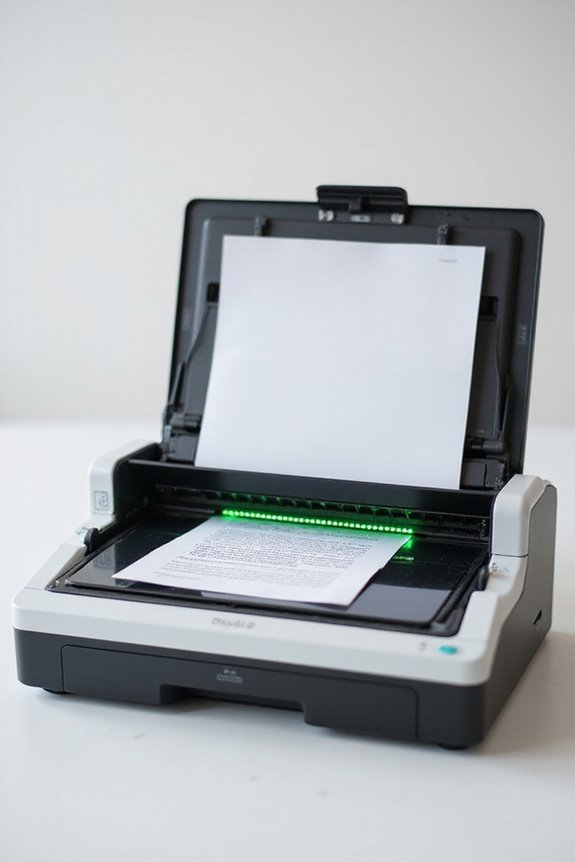
Executing the scanning process begins with proper setup and document handling to guarantee high-quality results. First, we place our documents flat on the scanner glass plate to avoid distortion, making sure the lid is closed to block external light. Using effective scanning techniques, the scan head moves steadily across the document for ideal image capture. Advanced scanners utilize multiple passes with angled mirrors and lenses that enhance focus, resulting in clear images. For convenience, mobile scanner apps allow us to capture documents using smartphone cameras, utilizing features like automatic capture and deskewing. Ultimately, we must make certain our scanned images are saved in appropriate document formats, such as PNG, for enhanced quality and easy accessibility. Additionally, high optical resolution is crucial for ensuring that the scanned images maintain their clarity and detail.
Saving and Organizing Scanned PNG Files
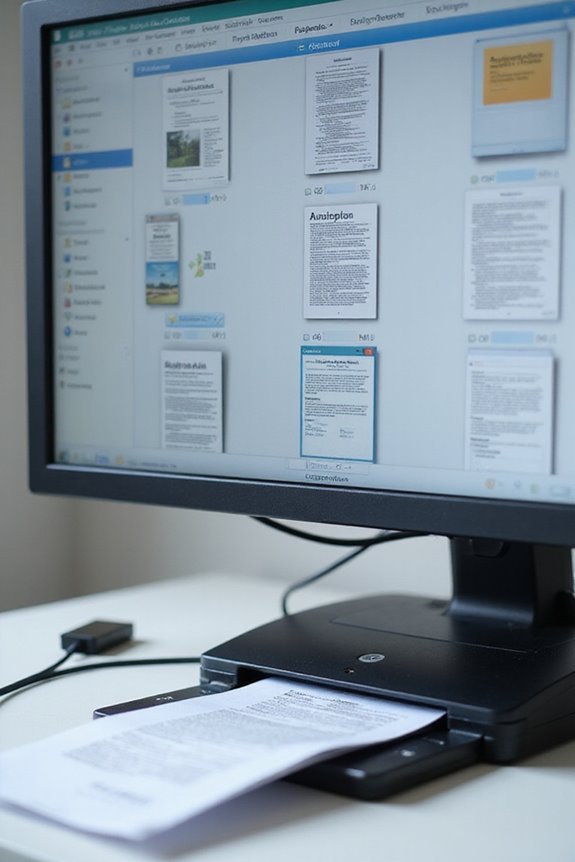
Saving and organizing scanned PNG files efficiently can greatly enhance our document management process. First, we should prioritize proper file naming, using descriptive titles that make it easy to locate files later. Consistency in naming is key to staying organized. Next, we can categorize scanned files into folders based on document types or dates, helping us retrieve information quickly. For data security, we must use secure storage methods, like cloud services that offer encryption, ensuring our sensitive documents are protected from unauthorized access. Additionally, implementing strong security features can further safeguard our digital files. Regular backups are also essential to prevent data loss. By following these practices, we enhance our workflow and safeguard our important documents, making our scanning experience both effective and secure.
Frequently Asked Questions
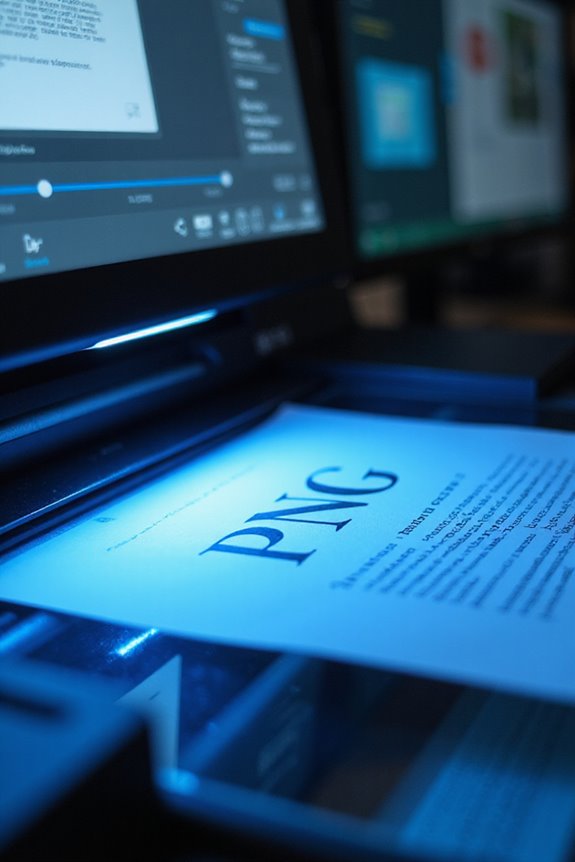
What Is the Advantage of Using PNG Format Over JPEG?
When we consider PNG benefits over JPEG limitations, we find PNG’s lossless compression preserves image quality and supports transparency, making it ideal for detailed graphics, while JPEG may sacrifice clarity for smaller file sizes.
Can I Scan Documents Using My Smartphone?
Absolutely, we can use our smartphones for scanning! With various scanning apps available, we can easily convert documents into clear images or PDFs, making smartphone scanning a convenient option for quick document management.
How Can I Reduce Scanned File Sizes Without Losing Quality?
Like a magician with tricks up our sleeves, we can use file compression techniques and image optimization strategies to reduce scanned file sizes and retain quality. Let’s explore effective methods to achieve that together!
What Types of Documents Are Best Suited for PNG Scanning?
When considering the types of documents best suited for PNG scanning, we find that legal documents and artwork scans benefit greatly from PNG’s high quality and clarity, ensuring important details remain intact and visually appealing.
Is It Possible to Batch Scan Multiple Documents Into One PNG File?
While we’ve got a stack of papers ready for batch scanning, we can’t combine multiple documents into one PNG file. Instead, we’ll need to save them separately or choose PDF for multi-page convenience.