As an Amazon Associate, we earn from qualifying purchases. Some links on this site are affiliate links at no extra cost to you. Our recommendations are based on thorough research and editorial judgment.

How To Use Plustek Photo Scanner Flatbed?
To use the Plustek photo scanner flatbed, we start by setting it up correctly and installing the software. With compact dimensions of 289.9 mm in width and 1.48 kg weight, it’s easy to position. Once our photos are loaded face down, we can choose a scanning resolution between 300 and 600 DPI, depending on our needs. The scanner’s advanced features, like color restoration and dust removal, help enhance our images. There’s much more to explore for ideal results!
Key Takeaways
- Load photos face down on the scanner glass, aligning with the reference mark, ensuring they are flat and wrinkle-free.
- Install the software via the setup CD/DVD or download, following on-screen instructions for proper detection.
- Select an appropriate scan resolution, with 300 DPI for quick scans and 600 DPI for detailed images.
- Use software features like auto color restoration and dust removal to enhance scanned image quality before saving.
- Regularly clean the scanner with a soft cloth and keep the scanning area free of dust for optimal performance.
Scanner Setup and Hardware Specifications
You may be interested


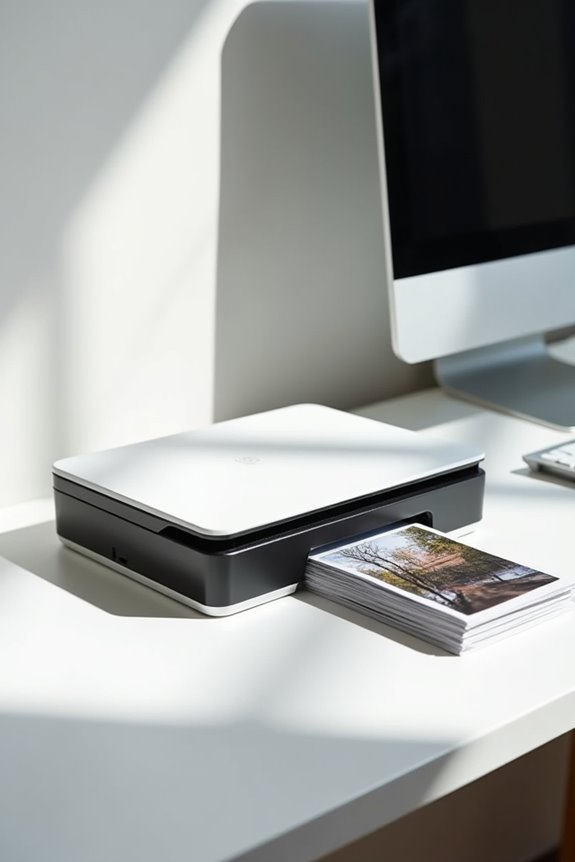
Setting up the Plustek Photo Scanner is straightforward, and knowing its hardware specifications helps us maximize its potential. This compact device measures 289.9 mm in width, 160.6 mm in depth, and 158 mm in height, making it perfect for home offices with limited desk space. We appreciate its lightweight design at just 1.48 kg, allowing for easy relocation when needed. The scanner features a USB 2.0 interface for reliable connectivity, ensuring compatibility with common PCs. With an impressive scanning speed of around 2 seconds for a 4″ x 6″ photo, it efficiently converts multiple documents to digital format. Understanding these specifications makes our scanning tasks quicker and more streamlined, enhancing our overall experience. Additionally, the scanner’s 48-bit color depth ensures vibrant image reproduction, further improving the quality of your digital files.
Preparing the Scanner and Software Installation

Once we’ve covered the scanner’s setup and hardware specifications, it’s time to prepare the Plustek Photo Scanner for use by installing the necessary software. First, let’s make sure our computer meets the scanner requirements—Windows 7, 8, 10, 11, or Mac OS X versions 10.8 to 15.x. We need at least a 2 GHz processor and 2 GB RAM, but 4 GB is recommended for smooth performance.
Next, we can use the setup CD/DVD or download the latest ePhoto software from the Plustek website for software compatibility. During installation, we should follow the onscreen instructions carefully to detect the hardware correctly. Once installed, launching the software will confirm that our scanner is ready for use. Additionally, having robust Optical Character Recognition (OCR) capabilities can significantly enhance the quality of our scanned documents.
Loading and Scanning Photos
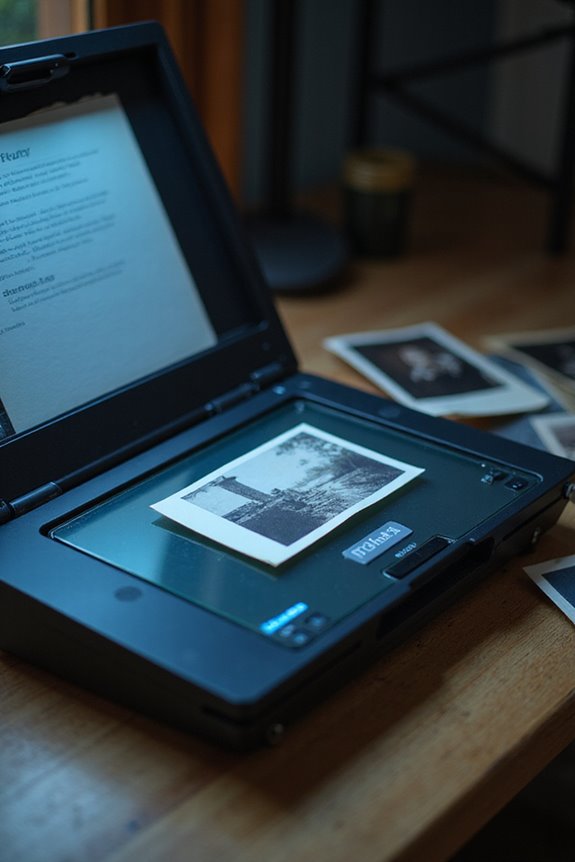
Loading photos onto the Plustek Photo Scanner is a straightforward process that sets the stage for high-quality scans. First, we need to position our photos face down on the scanner glass. Align the corner with the reference mark to guarantee accurate photo orientation. Gently push the photo against the edges to keep it straight and flat, avoiding wrinkles. Before closing the scanner lid, double-check that it’s clean and that no gaps exist between the lid and glass. Next, we’ll select the correct scan resolution, typically between 300 to 600 DPI, based on our needs. Additionally, using a higher optical resolution can significantly improve the quality of your scanned images. Finally, press the scan button, and let’s make sure we don’t disturb the photo until it’s finished processing. Happy scanning!
Using Software Features for Image Enhancement
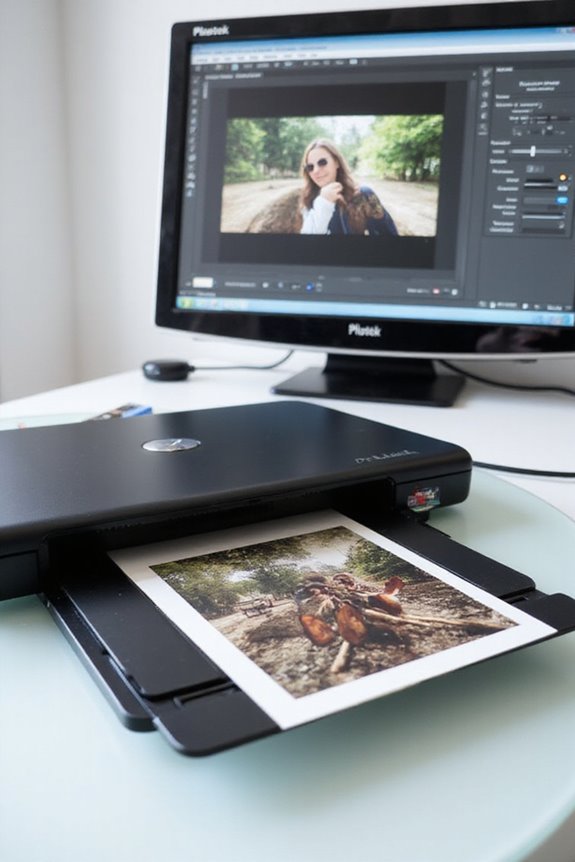
When it comes to enhancing the quality of our scanned images, Plustek’s software is packed with features that make a noticeable difference. We can utilize the automatic color restoration tool to bring faded photos back to life by balancing colors effectively. For unwanted artifacts, the scratch and dust removal features clean our images seamlessly, enhancing overall clarity. Adjusting brightness and contrast using auto exposure correction helps create more vivid images. Plus, the sharpening filters add detail we may have thought lost. For precision, we have manual sliders that allow fine-tuning brightness, contrast, and saturation, ensuring our images look their best. With these image restoration and color correction tools, we can transform our scans into stunning keepsakes. Additionally, using high-resolution scans of 4800 x 4800 dpi can significantly improve the detail captured in our images.
Troubleshooting Common Issues
Having learned how to enhance our scanned images using Plustek’s software, we now need to address some common issues that may arise during the scanning process. For scanner detection problems, make certain that all USB connections are secure and verify that the correct scanner source is selected in the software. If image quality isn’t up to par, check the scanner glass for dust or smudges, as well as the document’s alignment. Don’t forget to set your video display settings to at least 16 bits per pixel for better color accuracy. If our scans appear grainy, consider using a higher DPI, but remember, it won’t always fix low-quality originals. Additionally, ensure that your scanner supports multi-page scanning to streamline your workflow. Let’s make our scanning experience seamless!
Advanced Usage and Efficiency Tips
To enhance our scanning workflow and efficiency, we can utilize a range of advanced features available with Plustek scanners. For ideal image quality, we should adjust the resolution settings to 300 dpi for quicker scans or 600 dpi for detailed photo reproduction. Batch processing allows us to scan multiple documents at once, which can dramatically reduce our workload. Using compatible software, we can perform tasks like color correction and auto-straightening while scanning, ensuring polished results. Let’s also take advantage of one-touch buttons to streamline actions such as saving or emailing scanned content. Finally, regular software updates will keep our scanners functioning at peak performance, maximizing both speed and precision for all our scanning needs. Incorporating features like intelligent imaging technology can further enhance our scanning efficiency and accuracy.
Tips for Maintaining Your Scanner
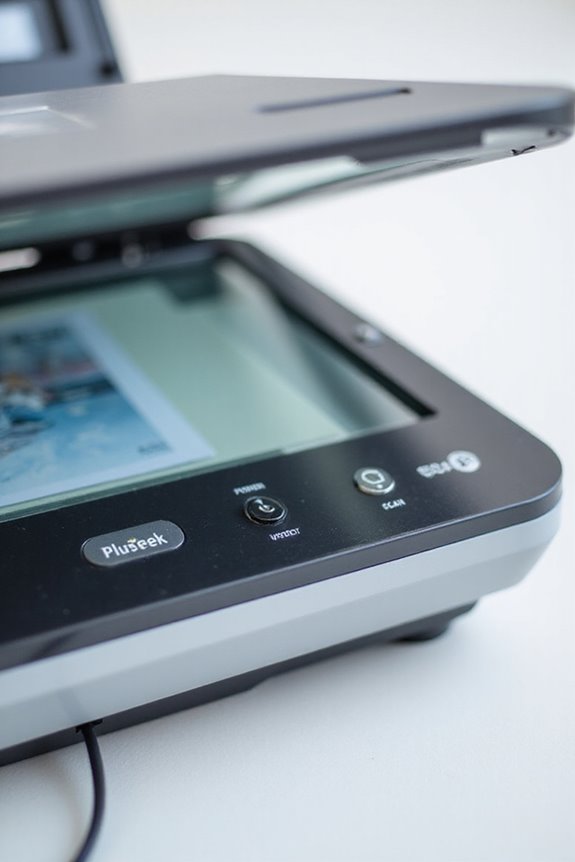
Maintaining our Plustek scanner is essential for ensuring peak performance and longevity. Regular scanner cleaning is vital; we should always use a soft, lint-free cloth or microfiber cloth to wipe the glass surface free of dust and smudges. Avoid harsh chemicals; applying a mild glass cleaner to our cloth is a safe bet. To prevent dust accumulation, we can keep the scanning environment clean and use protective sleeves for negatives or photos. Additionally, using compressed air gently helps clear dust from corners. Remember to align our photos or negatives correctly and close the lid carefully. These simple practices make a big difference in scan quality and extend the life of our scanner. Happy scanning!
Frequently Asked Questions
Can I Scan Photos Larger Than A4 Size?
When we’re scanning photos larger than A4 size, we encounter scanning limitations. While photo resizing is possible with multiple scans, using a flatbed model like the OpticPro A320E guarantees a seamless process for oversized images.
What Image Formats Are Supported for Saving Scanned Photos?
When we consider the supported image formats for saving our scanned photos, we’ll find JPEG compatibility for quick sharing and TIFF options for high-resolution archiving, ensuring we have flexibility based on our needs.
How Do I Update the Scanner’s Firmware?
To update the firmware, we should focus on scanner maintenance. It enhances compatibility and security while improving performance. Let’s guarantee everything’s connected and follow the steps to enjoy the benefits of a well-updated scanner!
Is There a Mobile App for the Plustek Ephoto Z300?
Like a bridge connecting memories, the Plustek ePhoto Z300 indeed has mobile compatibility through an app. It enhances scanning efficiency, allowing us to share stories and organize our photos effortlessly while on the go.
Can I Use the Scanner Without Installing the Software?
We can’t effectively use the scanner without installing the software, as scanner compatibility hinges on drivers. While there may be software alternatives, they often lack necessary features for ideal performance and functionality.