As an Amazon Associate, we earn from qualifying purchases. Some links on this site are affiliate links at no extra cost to you. Our recommendations are based on thorough research and editorial judgment.
How To Use Scanner Thunderbolt Connection Port?
To use a scanner with a Thunderbolt connection, we first verify our devices support Thunderbolt technology. We connect using a certified Thunderbolt cable, preferably one supporting 5V at 3A, for ideal power and data transfer rates. Thunderbolt can reach speeds of 40 Gbps, enhancing scanning efficiency greatly. After connecting, we check the ports’ functionality and update any necessary drivers for smooth operation. By following these steps, we can maximize our scanner’s performance and efficiency. There’s more to explore, so let’s continue!
Key Takeaways
- Verify that both your scanner and computer have compatible Thunderbolt ports (3 or higher) for optimal connection and speed.
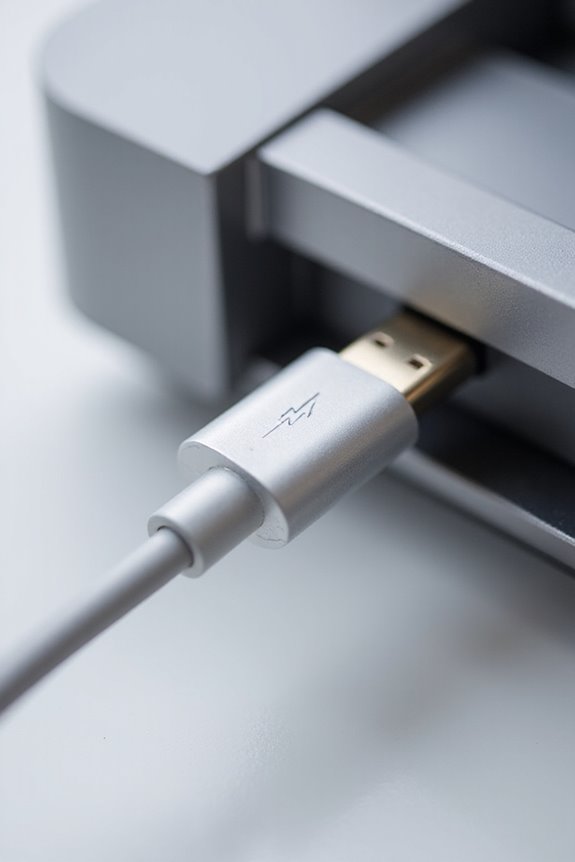
- Use a certified Thunderbolt cable to connect your scanner to the computer, ensuring it supports at least 5V and 3A power delivery.
- Power on the scanner before establishing the Thunderbolt connection to ensure proper detection by the computer.
- After connecting, check the functionality of all Thunderbolt ports to confirm a successful link between the devices.
- Regularly update drivers and software for your scanner and computer to maintain performance and compatibility with Thunderbolt technology.
Understanding Thunderbolt Technology
You may be interested


Thunderbolt technology revolutionizes data transfer and connectivity for modern devices. Its amazing advantages let us experience bidirectional data transfer, with Thunderbolt 3 hitting speeds up to 40 Gbps, and Thunderbolt 5 doubling that to an impressive 80 Gbps. This evolution supports various protocols, like PCI Express and DisplayPort, which enhances compatibility with numerous devices. Additionally, the universal USB-C connector simplifies our setups, reducing clutter. We benefit from full-duplex channels, meaning we can send and receive data simultaneously without bandwidth issues. Its switched fabric architecture guarantees every Thunderbolt port provides full bandwidth. Whether for gaming, video editing, or multi-device connection, Thunderbolt greatly enhances our digital experience, making it a game-changer in connectivity solutions. Furthermore, its capabilities are complemented by devices like the wireless Xerox duplex scanners, which streamline document management tasks.
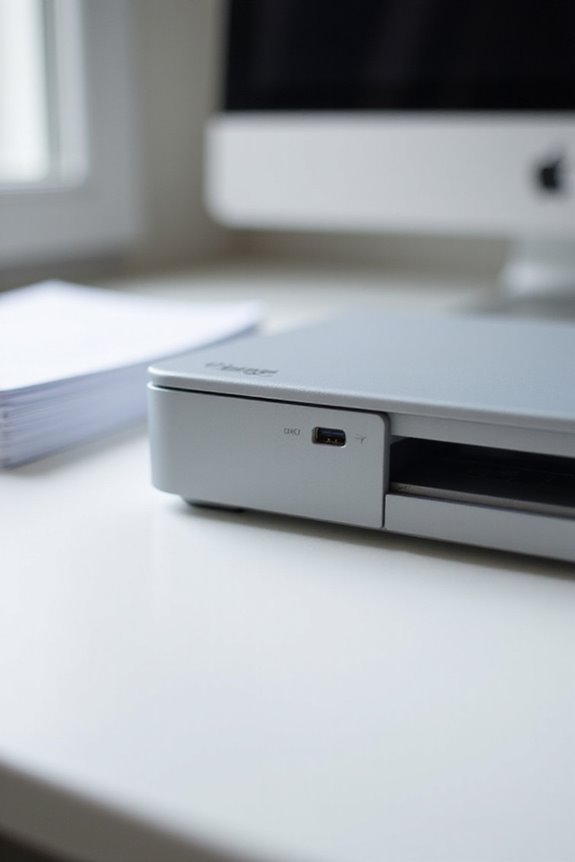
Required Equipment for Connecting Your Scanner
When connecting a scanner, having the right equipment is vital for achieving peak performance. First, we need to verify our computer has Thunderbolt 3 or higher ports, as these support the fastest data transfer speeds of up to 40 Gbps. Picking the right scanner types is key—confirm they are compatible with Thunderbolt protocols. We also can’t overlook cable quality; using certified Thunderbolt cables is essential for maintaining bandwidth and reliability, especially during high-resolution scans. For maximum performance, select cables that support at least 5V and 3A power delivery, reducing extra power adapters. Remember, active cables may be required if lengths exceed 0.7 meters. Quality cables guarantee a stable connection, boosting our scanning efficiency considerably. Additionally, consider scanners with USB-C connectivity options for enhanced versatility and compatibility with modern devices.
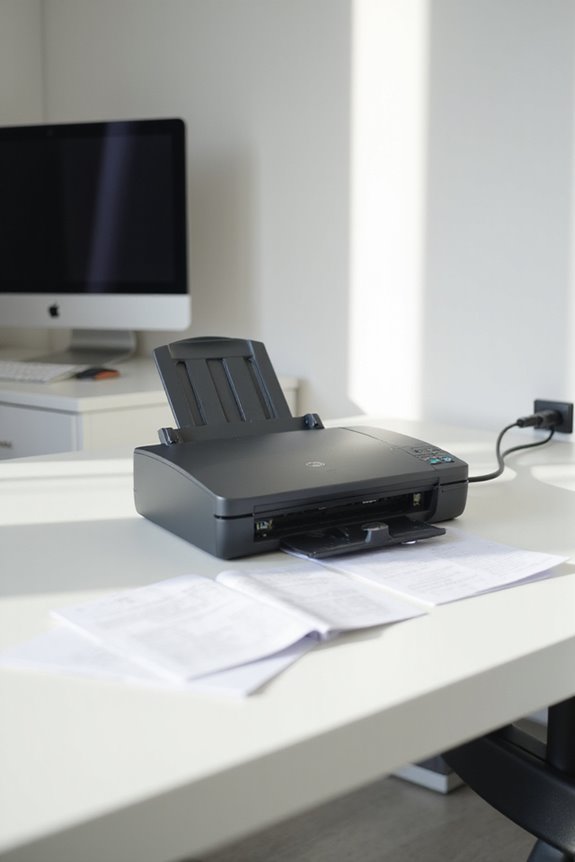
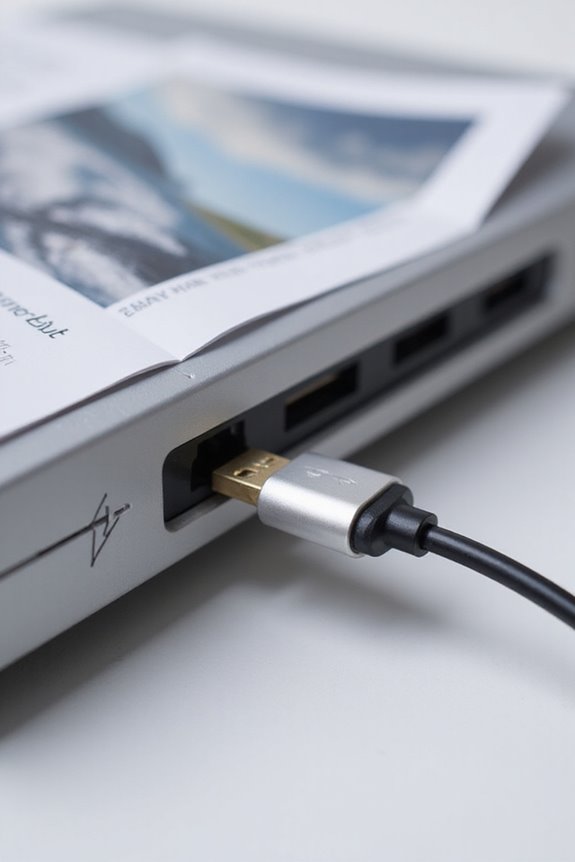
Steps to Connect Your Scanner via Thunderbolt
To connect your scanner via Thunderbolt, we need to follow a series of straightforward steps that guarantee everything works smoothly. First, let’s check scanner compatibility; both the scanner and computer must support Thunderbolt. Next, we’ll identify the Thunderbolt ports on each device. Use an appropriate Thunderbolt cable for the connection and make certain the scanner’s powered.
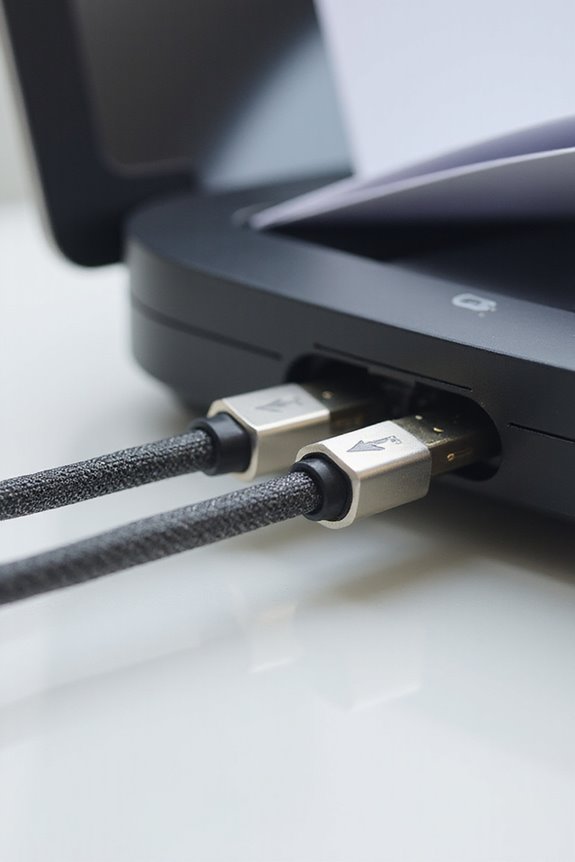
Now, we connect the scanner to the computer using the Thunderbolt cable. It’s essential to verify that all Thunderbolt ports are functioning properly. If we need adapters for different Thunderbolt generations, let’s use them. Secure all connections and power on the scanner. Utilizing Thunderbolt offers advantages like high-speed data transfer, greatly enhancing our scanning experience. Additionally, ensure that the scanner is compatible with TWAIN and ISIS drivers to facilitate smooth integration with document management applications.
Troubleshooting Connection Issues
Even with a successful connection established using Thunderbolt, issues can still arise that prevent our scanner from working properly. Common errors can stem from power delivery problems or faulty cables, so let’s check that the Thunderbolt port provides the required 5V and 3A. Updating drivers, especially for the USB and Thunderbolt, is another essential troubleshooting tip. We should also make sure that our PC’s BIOS is up-to-date. If problems persist, it’s wise to reset the connections or test different devices. Finally, inspecting cables for any physical damage can help us identify hidden issues. By systematically addressing these areas, we can effectively resolve most connection challenges that may come our way. Additionally, ensuring compatibility with various vehicle brands is crucial for OBD2 scanners to function properly in diagnostics.
Performance Benefits of Thunderbolt Scanning
The impressive performance advantages of Thunderbolt scanning can greatly augment our scanning experiences. With Thunderbolt 5, we benefit from a staggering 120 Gbps bandwidth, doubling our data transfer speeds compared to earlier versions. This increase in speed translates directly to improved scanning efficiency, allowing us to process large documents quickly. Thunderbolt’s compatibility with USB4 guarantees seamless integration with various devices, enhancing our workflow. Additionally, its support for multiple high-resolution displays means we can multitask effectively, managing multiple scanning operations without lag. By utilizing Thunderbolt technology, we can experience faster file transfers and real-time data access, optimizing our productivity. Overall, these Thunderbolt advantages make scanning not just quicker but also more efficient and reliable for our needs. Furthermore, many OCR scanners today offer high optical resolutions which can significantly enhance text recognition accuracy.
Best Practices for Using Your Thunderbolt Scanner
When it comes to using your Thunderbolt scanner effectively, following best practices can greatly enhance our scanning experience. First, we should use certified Thunderbolt cables to guarantee a stable and high-speed connection. It’s crucial to connect the cable firmly to avoid disconnections. Proper cable management is important; let’s avoid sharp bends that can damage our cables over time. Before scanning, we must check our scanner settings, including resolution and color profiles, to minimize rework later. Regularly updating our scanner’s firmware can also optimize performance. Additionally, let’s keep our scanned data organized, implementing naming conventions synced with storage solutions. By adopting these practices, we can guarantee efficient and reliable scanning for all our projects. Furthermore, ensuring that our scanner is HIPAA-compliant is vital to protect electronic protected health information during the scanning process.
Compatible Scanners and Operating Systems
Having a solid grasp of compatible scanners and operating systems is important as it lays the foundation for maximizing our Thunderbolt scanning experience. Scanners equipped with Thunderbolt 3 or Thunderbolt 4 ports deliver impressive data transfer speeds, ideal for professional-grade tasks. Most high-end flatbed and film scanners support these connections, providing superior image processing. However, not all USB-C labeled scanners guarantee Thunderbolt compatibility, so we should verify their specifications for peak performance. For OS requirements, Windows 10 and 11 natively support Thunderbolt, while macOS versions from Mojave onward do as well. Linux users might need kernel updates for seamless functionality. Staying updated on firmware guarantees smooth operations and maintains scanner compatibility, enhancing our overall scanning experience.
Maintaining Your Thunderbolt Scanner Setup
To maintain an ideal Thunderbolt scanner setup, it’s vital to implement a routine that combines regular cleaning, calibration, and data management. We should regularly perform cleaning procedures by using isopropyl alcohol for both the scanner surfaces and racks. Weekly inspections help us catch any physical damage early, guaranteeing peak performance. Calibration is also significant; aligning our scanner weekly, as per the manual, enhances scanning accuracy. We must schedule automatic backups for scan data to prevent loss. Additionally, keeping software updated and addressing daily prompts guarantees the system remains reliable. Each step in our scanner maintenance routine contributes to a longer lifespan for the equipment and more effective and accurate scanning results.
Frequently Asked Questions
Can I Use a Thunderbolt Scanner With a Usb-Only Computer?
We can use a Thunderbolt scanner with a USB-only computer, but it often requires Thunderbolt adapters, which won’t provide full performance. Exploring scanner alternatives like Wi-Fi can help us bypass this limitation effectively.
What Should I Do if My Scanner Isn’t Recognized by My Computer?
When the scanner isn’t recognized, we say, “A stitch in time saves nine.” Let’s try some troubleshooting tips, like checking driver updates and ensuring all connections are secure to fix this pesky issue together.
Are Thunderbolt Cables Interchangeable With Other Types of Cables?
Thunderbolt cables are not fully interchangeable with other types, as they maintain specific speeds and functions. We’ve learned that using certified cables guarantees peak Thunderbolt speed while connecting various devices efficiently and safely.
How Do I Confirm My Scanner’s Thunderbolt Compatibility?
To confirm our scanner’s Thunderbolt compatibility, let’s follow a scanner compatibility checklist. We can refer to the Thunderbolt specifications guide to verify port types, cable requirements, and manufacturer details, ensuring everything aligns for ideal connectivity.
Is There a Maximum Cable Length for Thunderbolt Connections?
When considering Thunderbolt connections, there’s a maximum cable length we shouldn’t exceed to avoid signal degradation. For copper cables, that limit’s 3 meters, while optical cables can reach up to 100 meters without loss.